GlamAR is a virtual try-on solution that allows customers to experience products such as makeup, eyewear, jewelry, and accessories through Augmented Reality. Using this technology, users can see how items look on them in real time, helping them make more informed purchasing decisions. GlamAR works across multiple platforms, including web, mobile, and in-store environments, providing an integrated shopping experience.
Go to Extensions in Fynd Commerce.
Click GlamAR (Virtual Try-on) extension.
Once installed, this extension will be available in the list here.
- Select Extension in the sales channel where you want to add products.
Log in to Pixelbin portal.
Navigate to the Settings icon in the top right corner of the PixelBin.io dashboard.
Click Tokens, in the left sidebar.
Click Create Token.
Enter Token Name, such as "Demo".
Your Token has been created. After creating the token, find it in the list. Click token to view details.
Click here to copy the API token.
To get started with the GlamAR SDK, follow these steps and understand how you can integrate GlamAR SDK within your existing application. If you need further assistance, please contact us at support@glamar.io.
Paste the key in the API Token field.
Paste the CSS and UI icons in the Icon Setting field.
Paste the SDK viewer CSS and UI code in the SDK Config code editor field.
Paste the custom metadata in the GlamAR config code editor field.
Feed Sync
With Feedsync, you can map your products on the Fynd Commerce using the GlamAR catalogue. Here’s how the mapping works:
Publish List: All mapped and published products appear here.
Unpublish Category: Mapped products that have not yet been published.
No Data Field: Products that haven't been mapped.
Click Settings.
Click Deactivate Account to deactivate GlamAR in the sales channel.
Go to pixelbin console.
Click GlamAR.
Add bulk product via catalogue (using CSV file to upload multiple products).
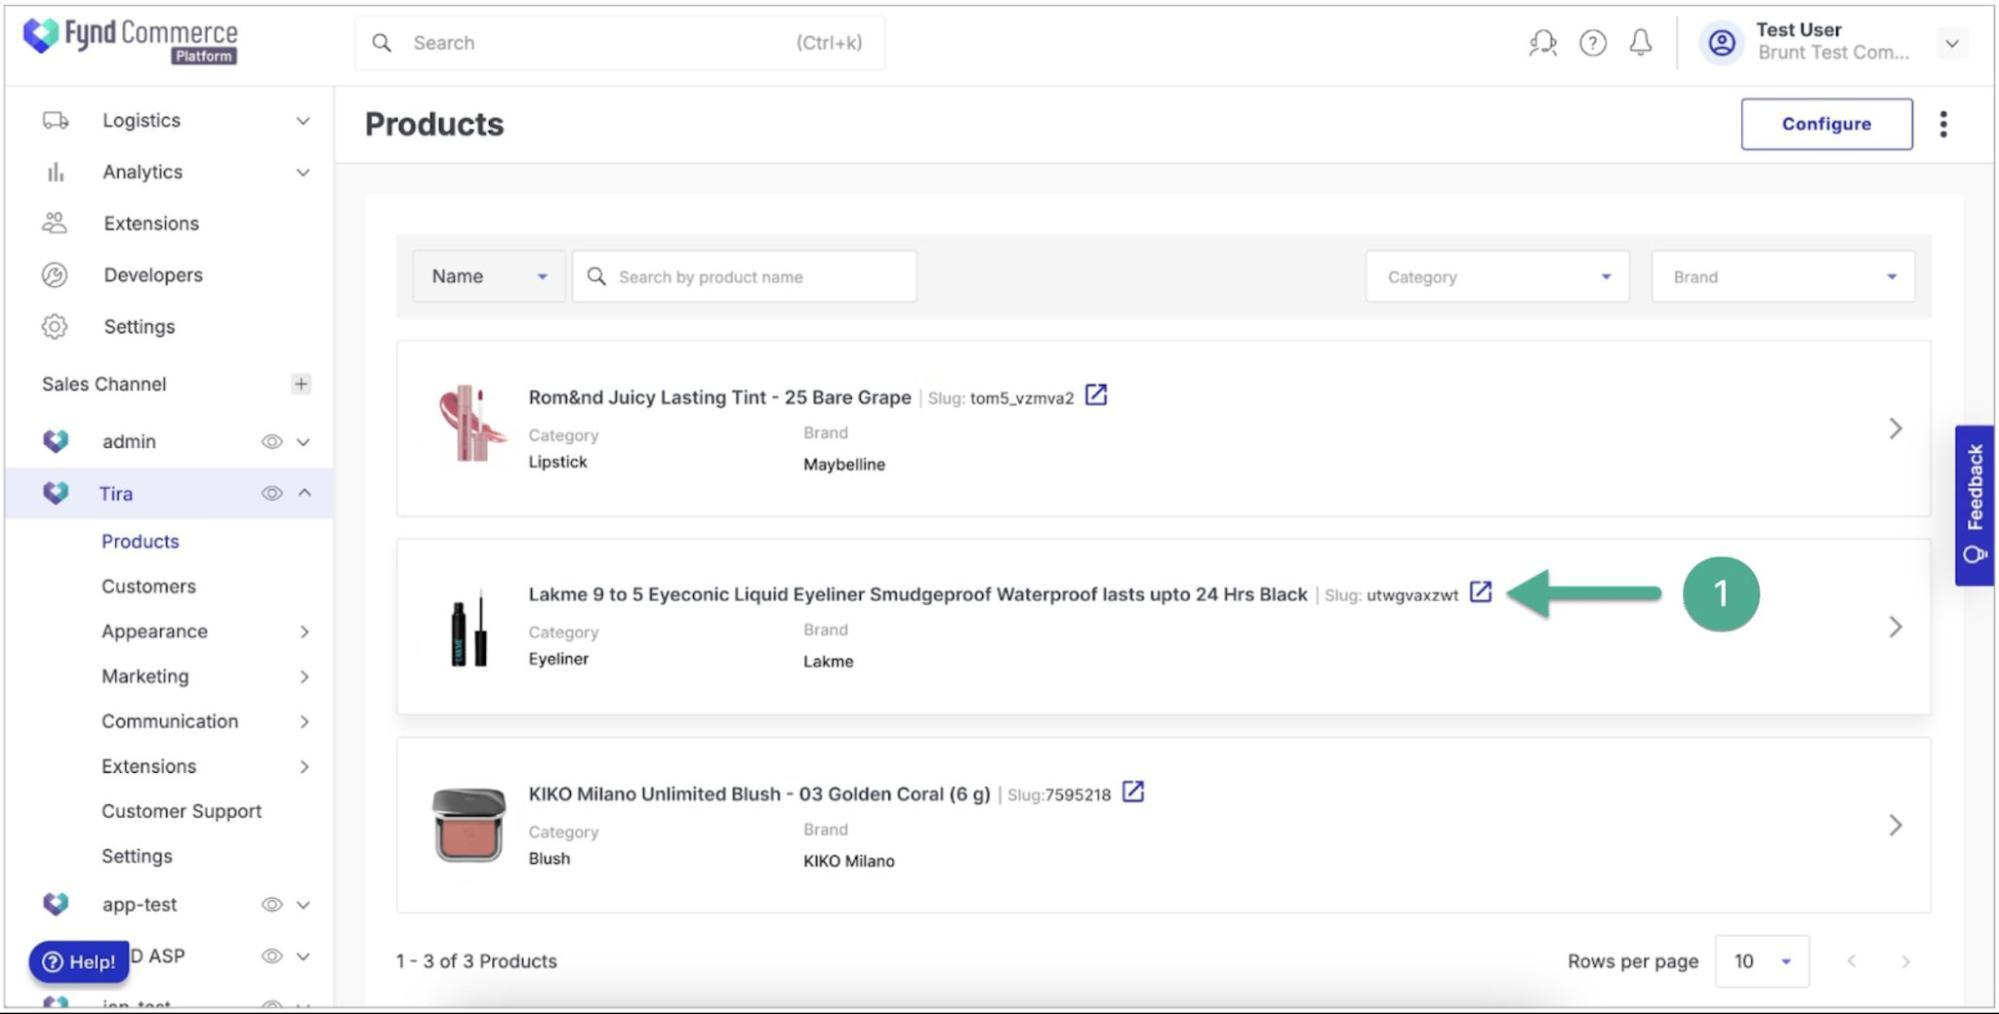
- Click here (as shown in the image below) to go to the product description page. There you will find GlamAR available and configured for the products.
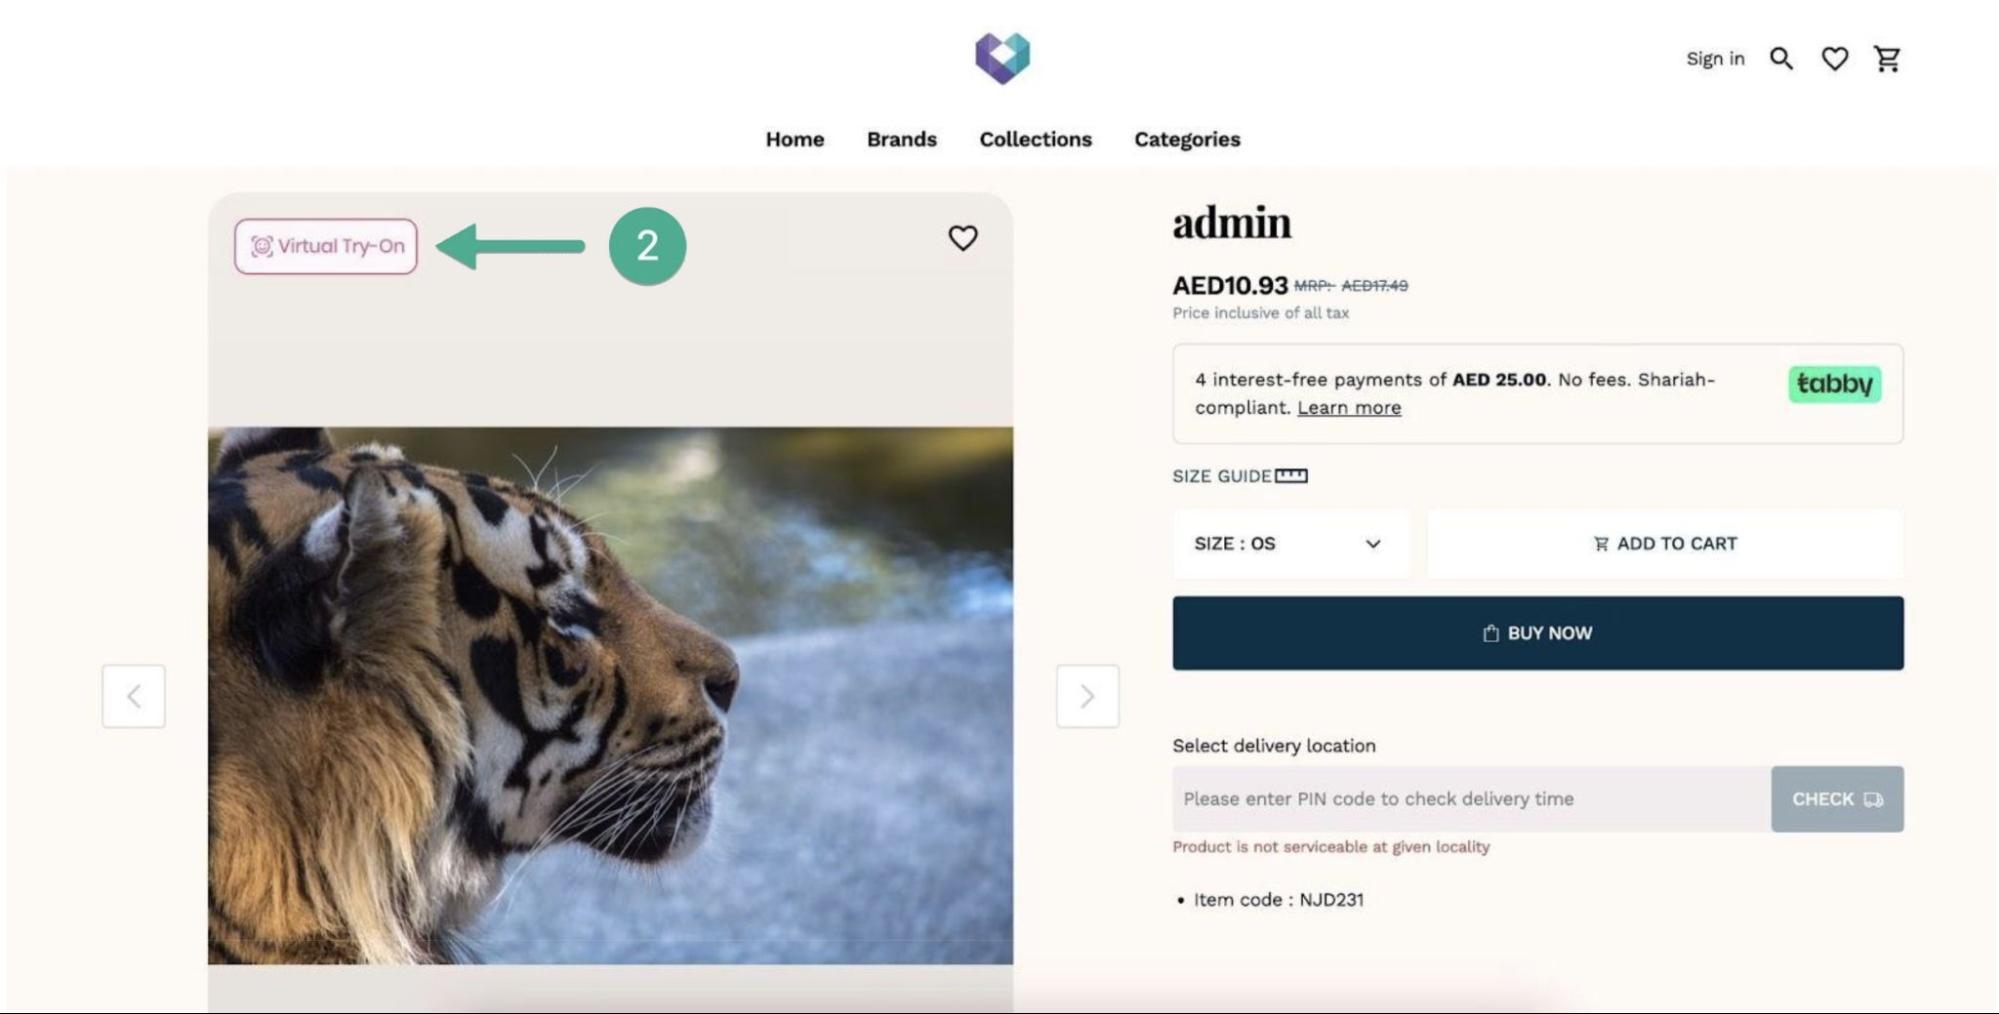
- Click Virtual Try-On button to experience GlamAR's try-on feature.