Commerce panel → My Products → Create → Bundle
Product bundles allow you to group multiple SKUs and sell them together as a single product. Bundles help you increase average order value, promote complementary items, and simplify fulfilment by shipping items together.
Use product bundles when you want to:
- Sell combos or sets (for example, shirt + T-shirt).
- Offer better pricing on grouped products.
- Control shipping and returns for multiple items sold together.
Before creating a bundle, make sure that:
- All products and SKUs already exist in your catalogue.
- Inventory is available for all selected SKUs at the same store location.
- You have access to create and edit products.
If any SKU is out of stock at a store, that store cannot sell the bundle.
Follow the steps below to configure and publish a product bundle.
- Click Create.
- Click Bundle.
You are now on the Create product bundle page.
Complete these fields to define the bundle identity.
Select how the bundle should be treated operationally.
- Select Virtual for most bundles where items are grouped logically.
- Select Physical only if the bundle is pre-packed as one unit.
This is the name customers see on the storefront. Enter the customer-facing name of the bundle. Example: Men’s Casual Wear Combo
This creates a clean, SEO-friendly URL for the bundle. Enter a URL-friendly version of the bundle name. Example: mens-casual-wear-combo
A unique internal identifier for reporting and inventory reference. Enter a unique internal code to identify this bundle. Example: BNDL-MEN-CASUAL-001
Control when the bundle can be purchased.
Turn this on when the bundle is ready to sell.
Schedule the bundle to go live automatically. Add this only if you want the bundle to go live later. Example: 20 Mar 2026, 11:00 AM
Add tags to help you find and manage bundles later. Example: sale, combo, menswear
This step defines what items are included in the bundle. Add the SKUs that make up the bundle.
- Select Add in the Add SKU section.
- Search for a product by name.
- Expand the product.
- Select the sizes (SKUs) you want to include.
- Select Add SKU.
Rules you must follow:
- Select up to 5 SKUs per product.
- All SKUs must have inventory at the same store.
After adding SKUs, configure how the bundle behaves.
Set how many units of each SKU are included. Example: 4
Select the three-dot menu next to the product and choose Mark as base product to set that product as the base for the bundle. Example: Men’s Black Striped Casual Shirt – Size M
Remove any SKU you do not want in the bundle. Select the three-dot menu next to the product and click Delete.
Enter pricing for the entire bundle.
- Actual price : Enter the combined MRP of all included items.
- Selling price: Enter the price customers will pay.
- Discount: Review the auto-calculated discount.
Set how the bundle should be shipped.
- Identifier : Select the identifier type from the dropdown and enter the identifier value. This is how the bundle is identified for shipping.
Choose how items should be packed.
- Enable Use individual product packaging if each item ships separately.
- Disable it if all items ship in one package.
Enter accurate measurements for shipping calculations. Example:
- Length:
30 cm - Width:
25 cm - Height:
10 cm - Dead weight:
900 grams
Upload visuals to represent the bundle. Optional: Add videos, YouTube links, or 3D models.
Explain the bundle clearly to customers.
- Short description : Enter a one-line summary of the bundle. Example: A value-packed casual wear combo for everyday use
- Long description: Describe what the bundle includes and why it is valuable. Example: This combo includes a black striped casual shirt and a grey printed T-shirt. Perfect for office casuals and weekend wear. Buy together and save more.
Highlight key benefits of the bundle.
Examples:
- Better value than individual items
- Single shipment convenience
- Perfect everyday essentials
Add custom fields only if required for integrations or storefront logic. Examples:
- HTML product:
<div>Limited time combo</div> - URL:
https://brand.com/combo-offer - JSON product:
{
  "bundleType": "seasonal",
  "priority": "high"
}Decide how returns should work for this bundle.
Enable this if customers should be allowed to return items separately.
If the full bundle is returned, separate shipments are created for each product.
- Select Preview to review the bundle.
- Select Save to publish it.
To manage bundles after creation:
- Locate the bundle.
From here, you can:
- Edit pricing
- Update SKUs
- Change availability
- Preview the bundle
Disable a bundle when you want to stop selling it without deleting it.
- Open the bundle.
- Turn off Bundle available.
- Save changes.
Since you have created a product bundle, it's time to attach it as an add-on to your products. There are 3 ways of attaching a bundle:
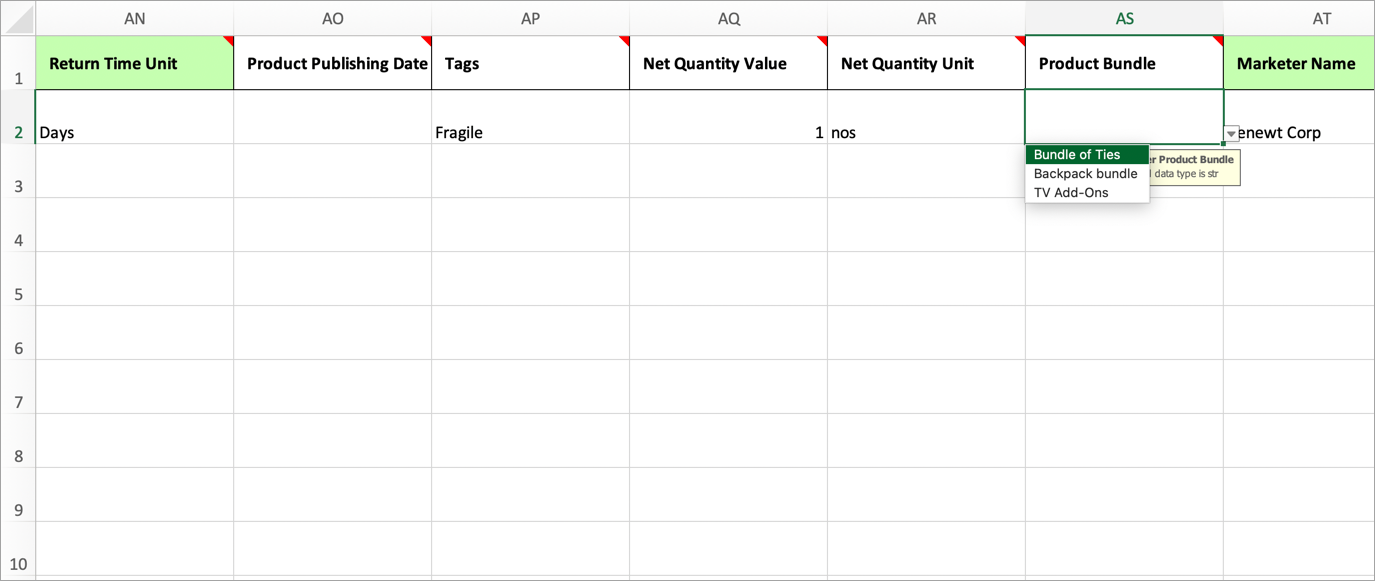
If you haven't created a product yet, use the Import Product feature to download a sample excel file, fill all the product attributes, choose your bundle from the drop-down and upload the excel file.
If you aren't familiar with this feature, click How To Import Products to know more.
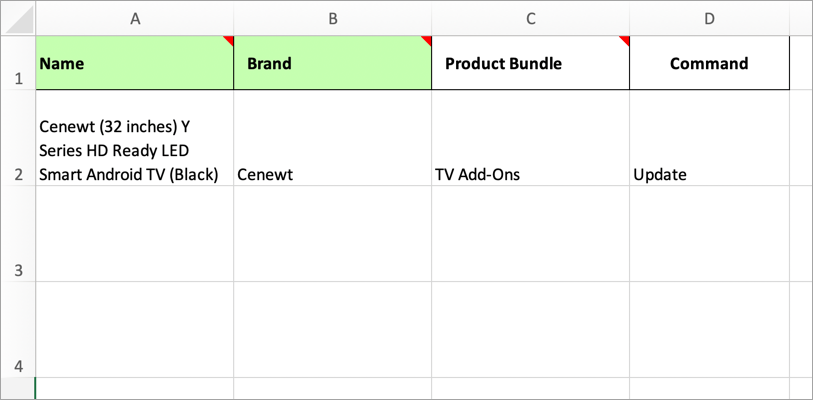
This is applicable if you already have products and you want to attach a bundle to them. In the excel sheet, add a column header named 'Product Bundle', enter the 'Title' of your product bundle and upload the excel file.