Commerce Panel → Sales Channel (select application) → Communication → Audience
This section is for creating an audience who will be the recipients of your communication campaigns. All the individuals in your audience will receive your message by Email or SMS that are run through your campaigns. For this, you can upload a CSV file containing the contact details of your target audience.
Click Create.
Click Select & Proceed.
Click Download sample CSV to download a sample CSV file.
Open the CSV file.
Enter the audience details in the file.
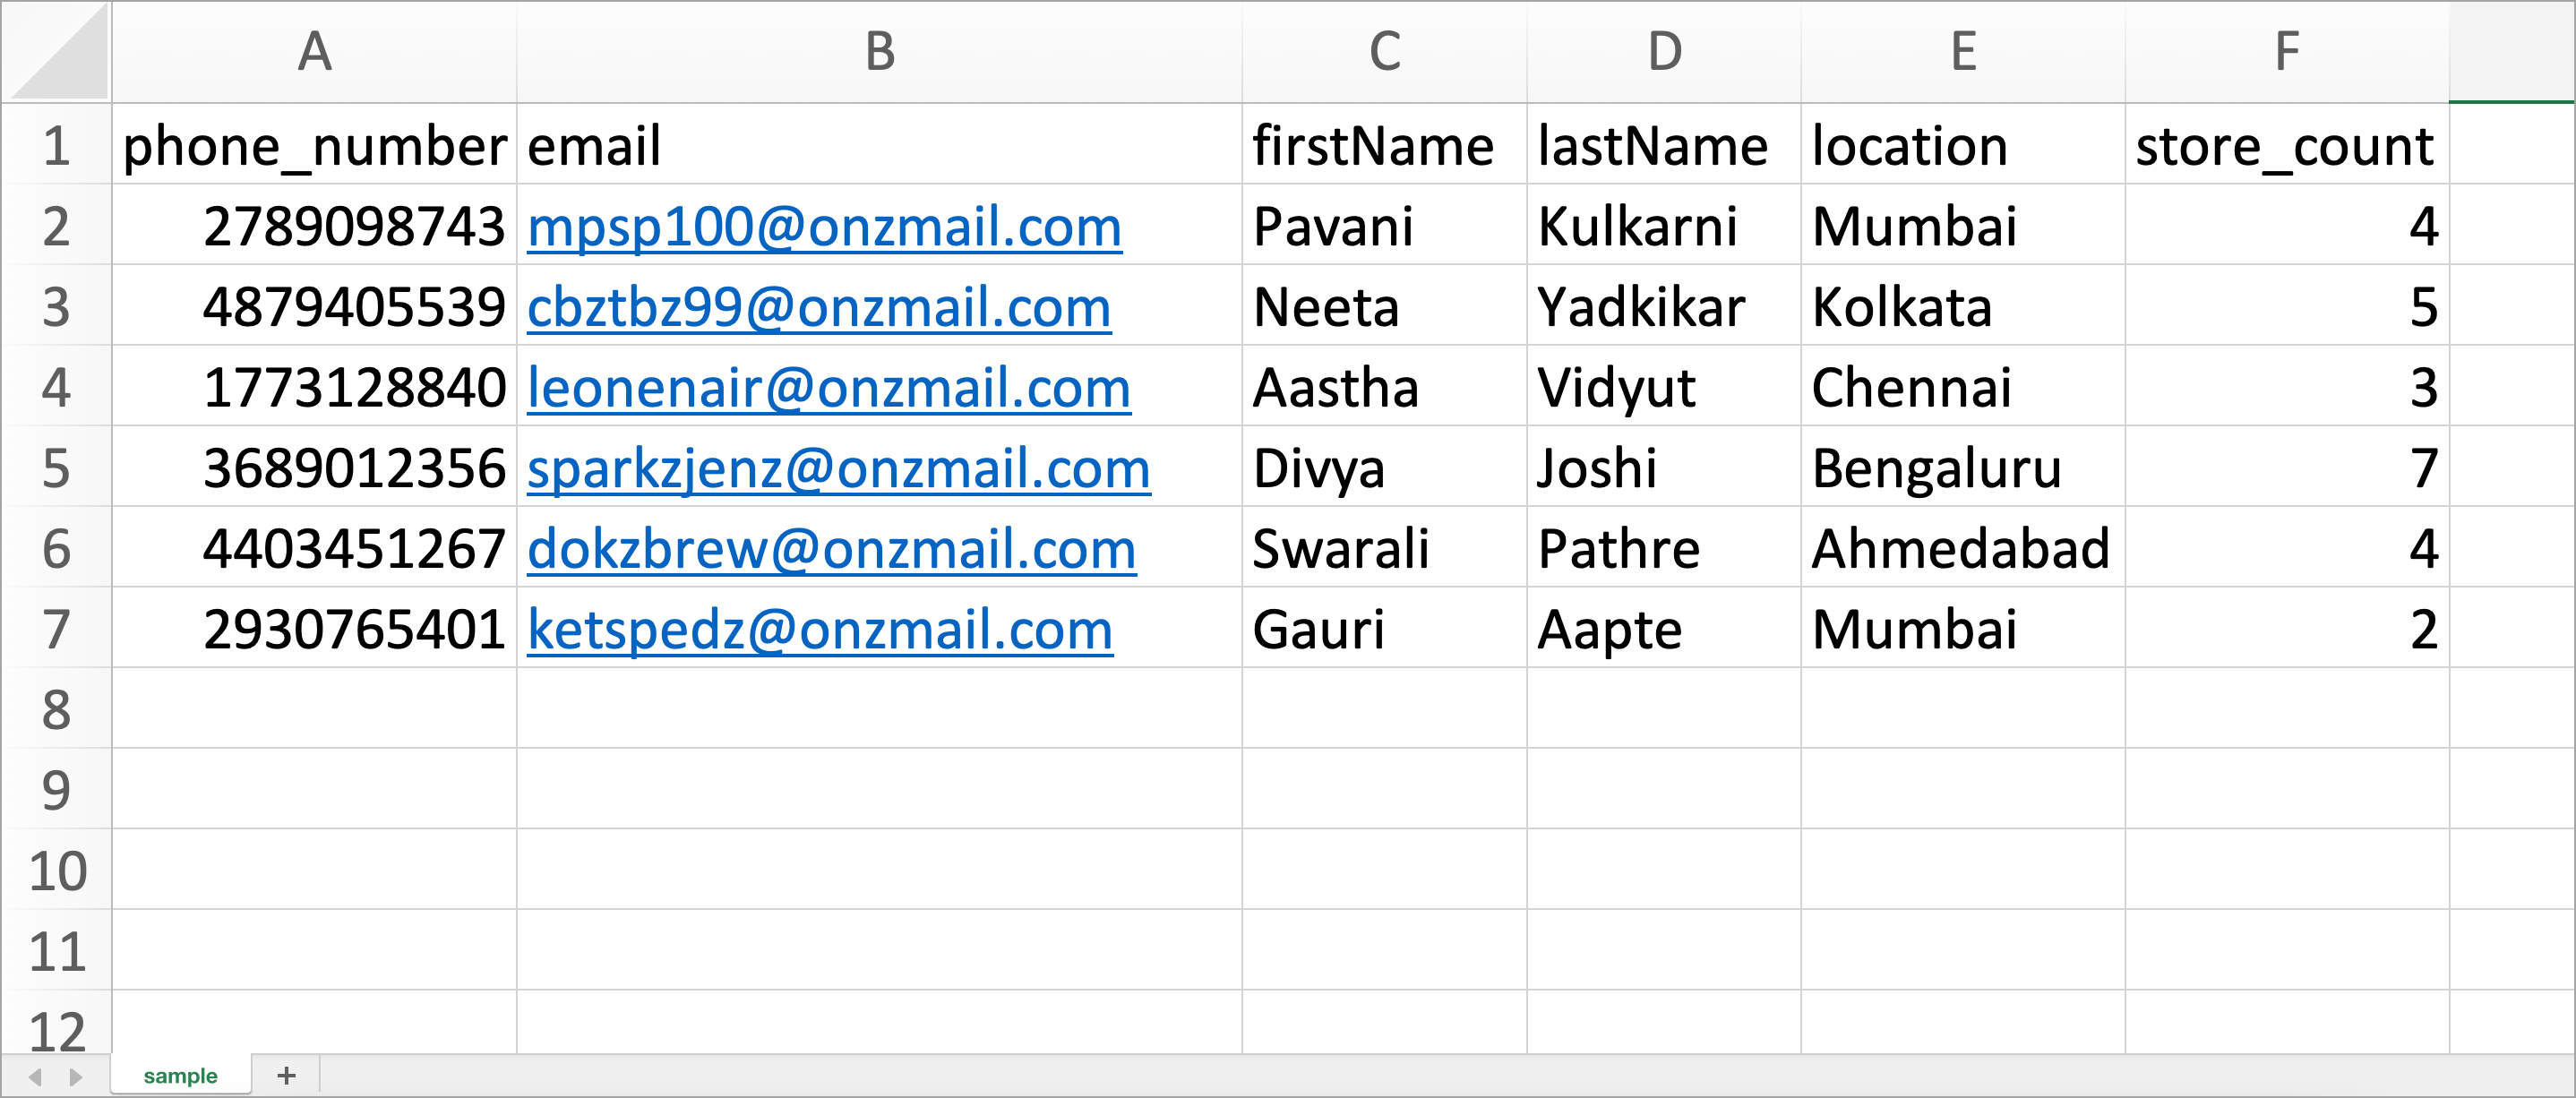
Figure 4: Adding Audience Details If you wish to use variables in your email templates, add them as header. For e.g., we have added location and store_count as mentioned in the screenshot above. There is no limit to the number of variables and headers you can create for emailers.
Save the file in your system.
Click Choose file to upload the saved file.
Alternatively, you can upload the CSV file using URL. This URL is the link of your file which you've uploaded on file hosting source.
Preview and verify the details of your audience.
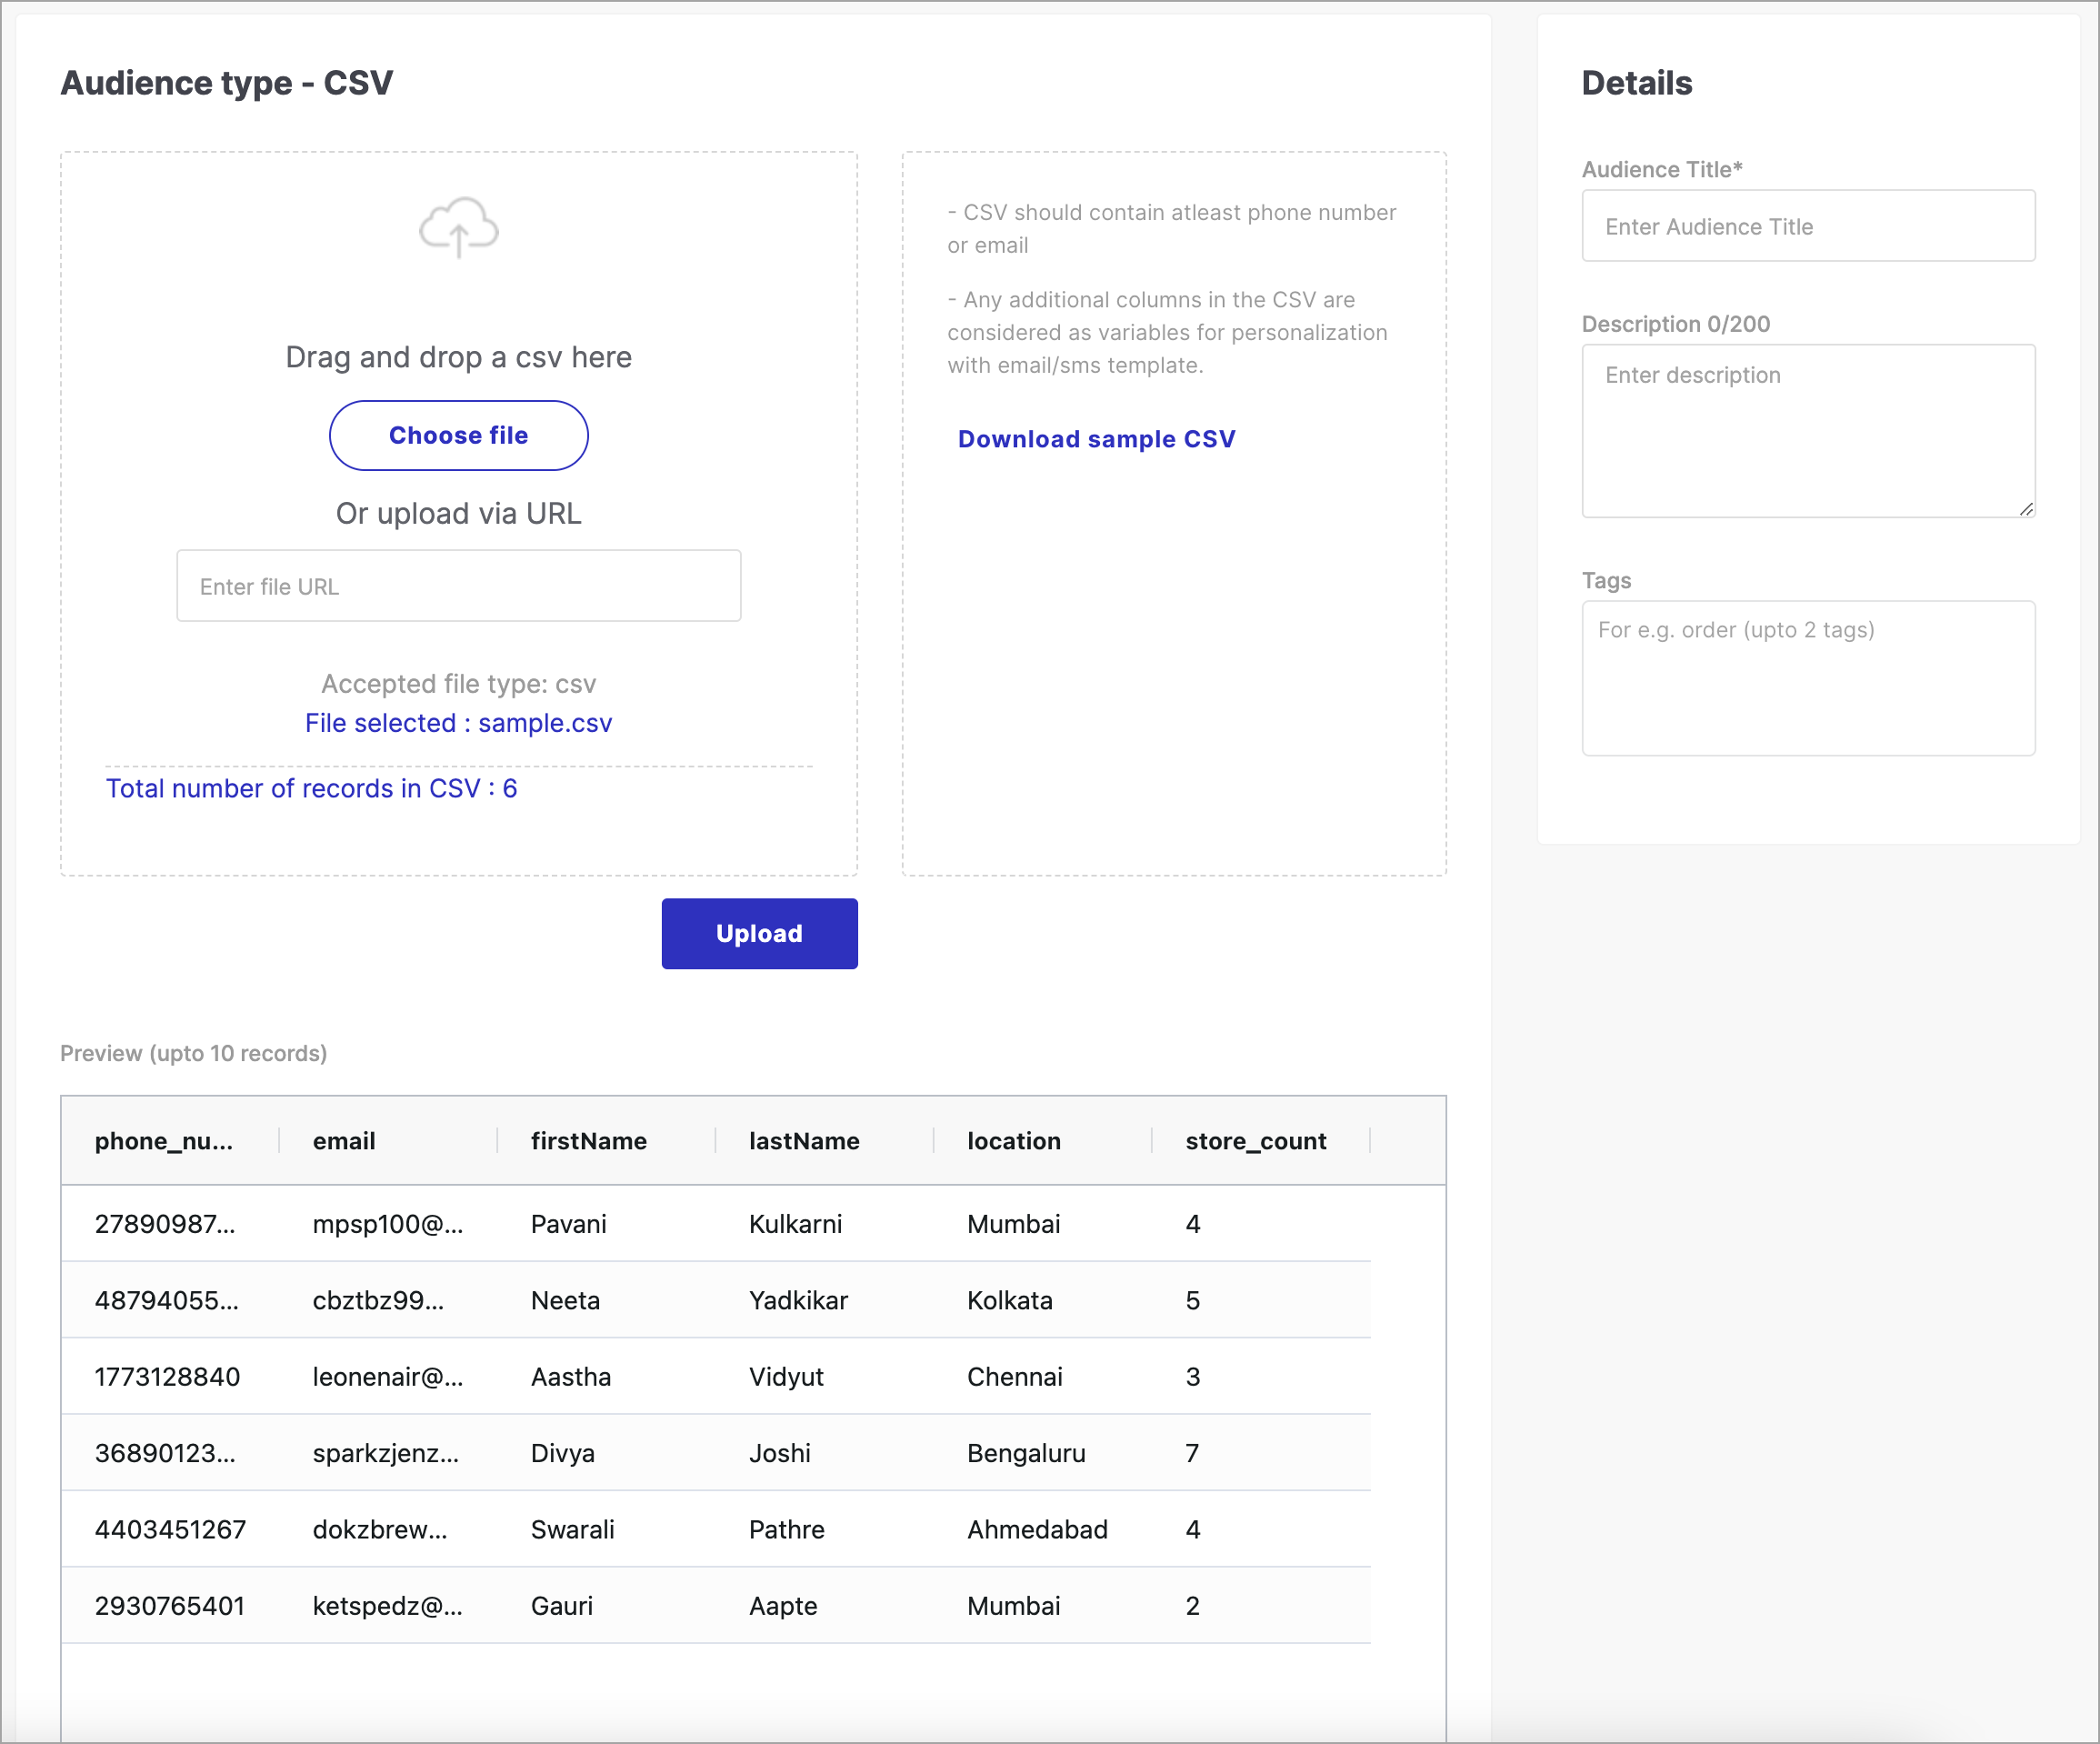
Figure 6: Previewing Audience Details Click Upload if all the details are verified. Please wait until you get this message: File uploaded successfully!
Enter an appropriate Audience Title, Description, and Tags in Details section.
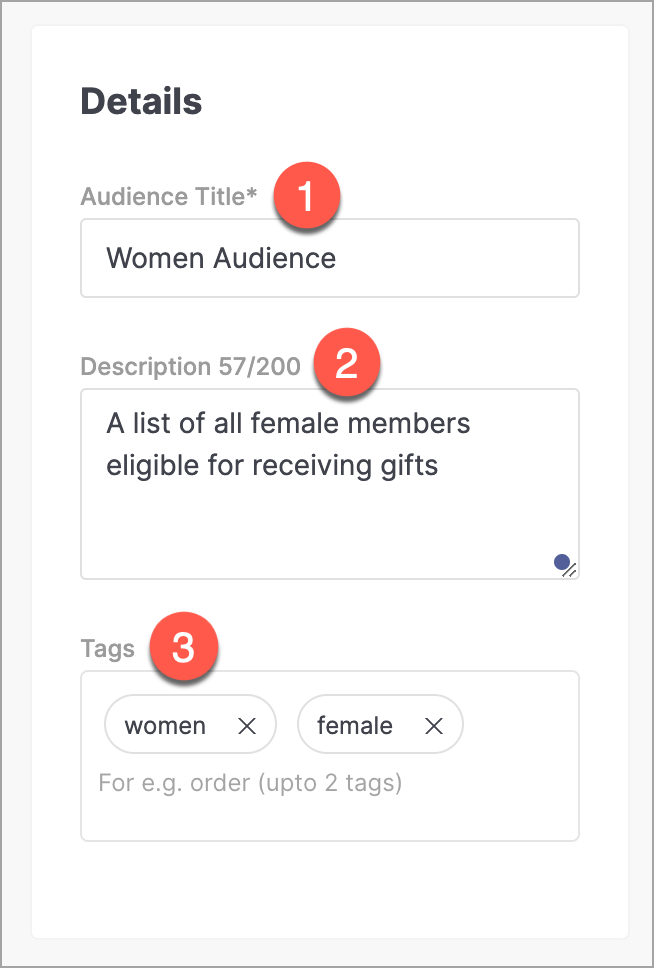
Figure 8: Adding Details Click Create.
In this way, your audience list has been created successfully.