Commerce Panel → Sales Channel (select application) → Communication → Providers
This section is for configuring the communication provider for email and messaging services. Here, you can swiftly integrate your service infrastructure through SMTP or API.


In this document, you will learn more about:
Click on Create, as shown in fig. 1 and select a provider to configure.

There are namely 3 email providers.
- Select Pepipost and proceed.

- Here, you need to fill the provider details.
- Provider Name - Enter any name for your provider. Example: Abracadabra
- Description - Enter a brief description for this provider.
- Provider API Key - Check step 3 below.
- Name - The name that should appear on the mail you send (check fig. 11).
- Email - The email that should appear on the mail you send (check fig. 11).
- Add more - You can add more names and emails and set them as a default.

- Go to https://app.pepipost.com and sign-in with your credentials.

- Click on the Settings icon on the left, and go to Integrations.

- Go to the API tab and copy the API key.

- As described in step 2, fill all the fields and also paste the API key that is copied as shown in step 5.

- You can add more sender name and sender email ID if required. Optionally, you can set them as default.

- Click the Test Provider option, on the top-right.

- This is the test mail that the recipient will receive. Kindly check the Name (Pepi) and Email (ashoknayak@pepisandbox.com) that were entered in step 6.

- In case of any error, the test email would not be sent and you will receive the following message on your screen. In such a case, kindly sure to re-verify all the details.

- Select Falconide and proceed.

- Here, you need to fill the provider details.
- Provider Name - Enter any name for your provider. Example: Bella
- Description - Enter a brief description for this provider.
- Provider API Key - Check step 3 below.
- Name - The name that should appear on the mail you send (check fig. 23).
- Email - The email that should appear on the mail you send (check fig. 23).
- Add more - You can add more names and emails and set them as a default.

- Go to https://www.falconide.com/ and click on Login (top-right).

- Sign-in with your credentials.

- Click on the Settings icon on the left.

- Click on the API section under Settings. Click on View Settings under SMTP & HTTP API Details.

- Under API Credentials, click Show to view the API key. Copy this API key.

- As described in step 2, fill all the fields and also paste the API key that is copied as shown in step 7.

- You can add more sender name and sender email ID if required. Optionally, you can set them as default.
- Click the Test Provider option, on the top-right.
- This is the test mail that the recipient will receive. Kindly check the Name (Ashok Nayak) and Email (ashoknayak@gofynd.com) that were entered in step 8.

- In case of any error, the test email would not be sent and you will receive the following message on your screen. In such a case, kindly sure to re-verify all the details.
Here, you can configure other email providers using SMTP and not API. Here, you can also configure Pepipost and Falconide.
- Select SMTP and proceed.

- Here, you need to fill the provider details.
- Provider Name - Enter any name for your provider.
- Description - Enter a brief description for this provider.
- Host, Port, Username and Password - You can acquire these details from your SMTP provider.
- Name - The name that should appear on the mail you send.
- Email - The email that should appear on the mail you send.
- Add more - You can add more names and emails and set them as a default.

- Examples of Host, Port, Username and Password provided by some providers.


- As described in step 2 and 3, fill all the fields.

- Select Netcore and proceed.

- For setting up Netcore, you would need to get the below details from Netcore -
- Feed ID
- Username
- Password
- Sender ID

- Select SMPP and proceed.
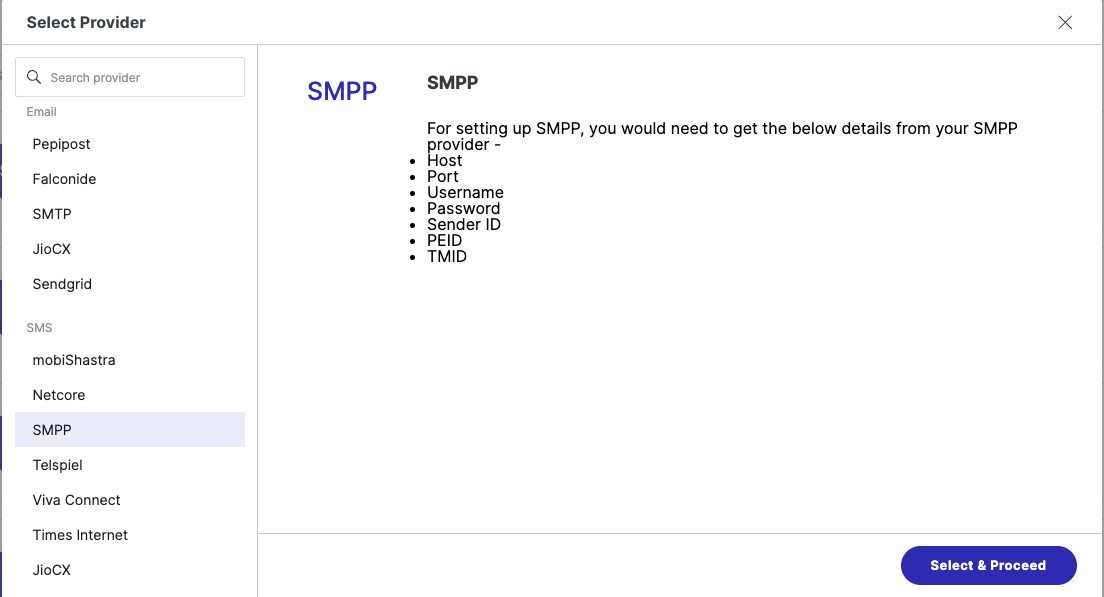
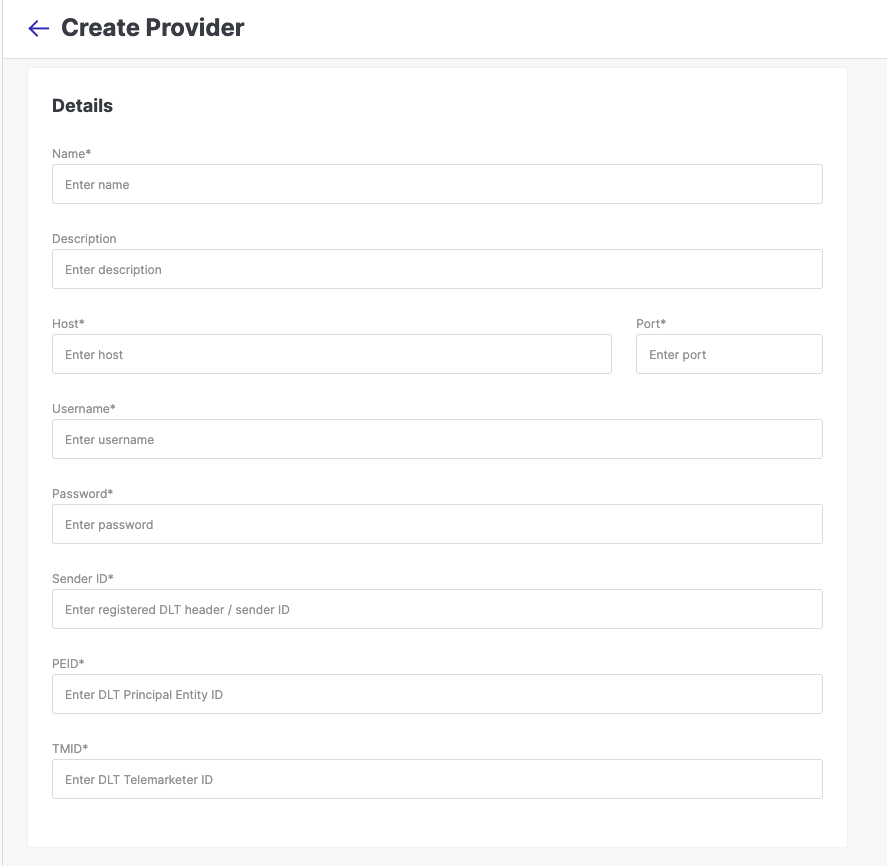
- Here, you need to fill the provider details.
- Provider Name - Enter any name for your provider. Example: Abracadabra
- Description - Enter a brief description for this provider.
- Host, Port, Username, Password, SENDER ID, PEID and TMID - You can acquire these details from your SMPP provider.
- Select Telspiel and proceed.

- Here, you need to fill the provider details.
- Name - Enter any name for your provider. Example: Abracadabra
- Description - Enter a brief description for this provider.
- Sender ID, Username, Authkey, Principal Entity id - You can acquire these details from Telspiel.

- Select Viva Connect and proceed.

- Here, you need to fill the provider details.
- Name - Enter any name for your provider. Example: Abracadabra
- Description - Enter a brief description for this provider.
- Sender id, Username, Password, CDMA Header - You can acquire these details from Viva Connect.

- Select Times Internet and proceed.

- Here, you need to fill the provider details.
- Name - Enter any name for your provider. Example: Abracadabra
- Description - Enter a brief description for this provider.
- From, Username, Password - You can acquire these details from Times Internet.

- Select JioCX.
- Click Select & Proceed.

- For setting up JioCX, you would need to get the below details from JioCX -
- Sender ID
- Auth Key
- Campaign ID
- Domain
- Domain ID
Select Karix.
Click Select & Proceed.
Here, you need to fill the provider details.
- Name - Enter any name for your provider. Example: Abracadabra
- Description - Enter a brief description for this provider.
- Version Number, Sender ID and API Key - These details can be acquired by from Karix.
- Select Deewan.
- Click Select & Proceed.
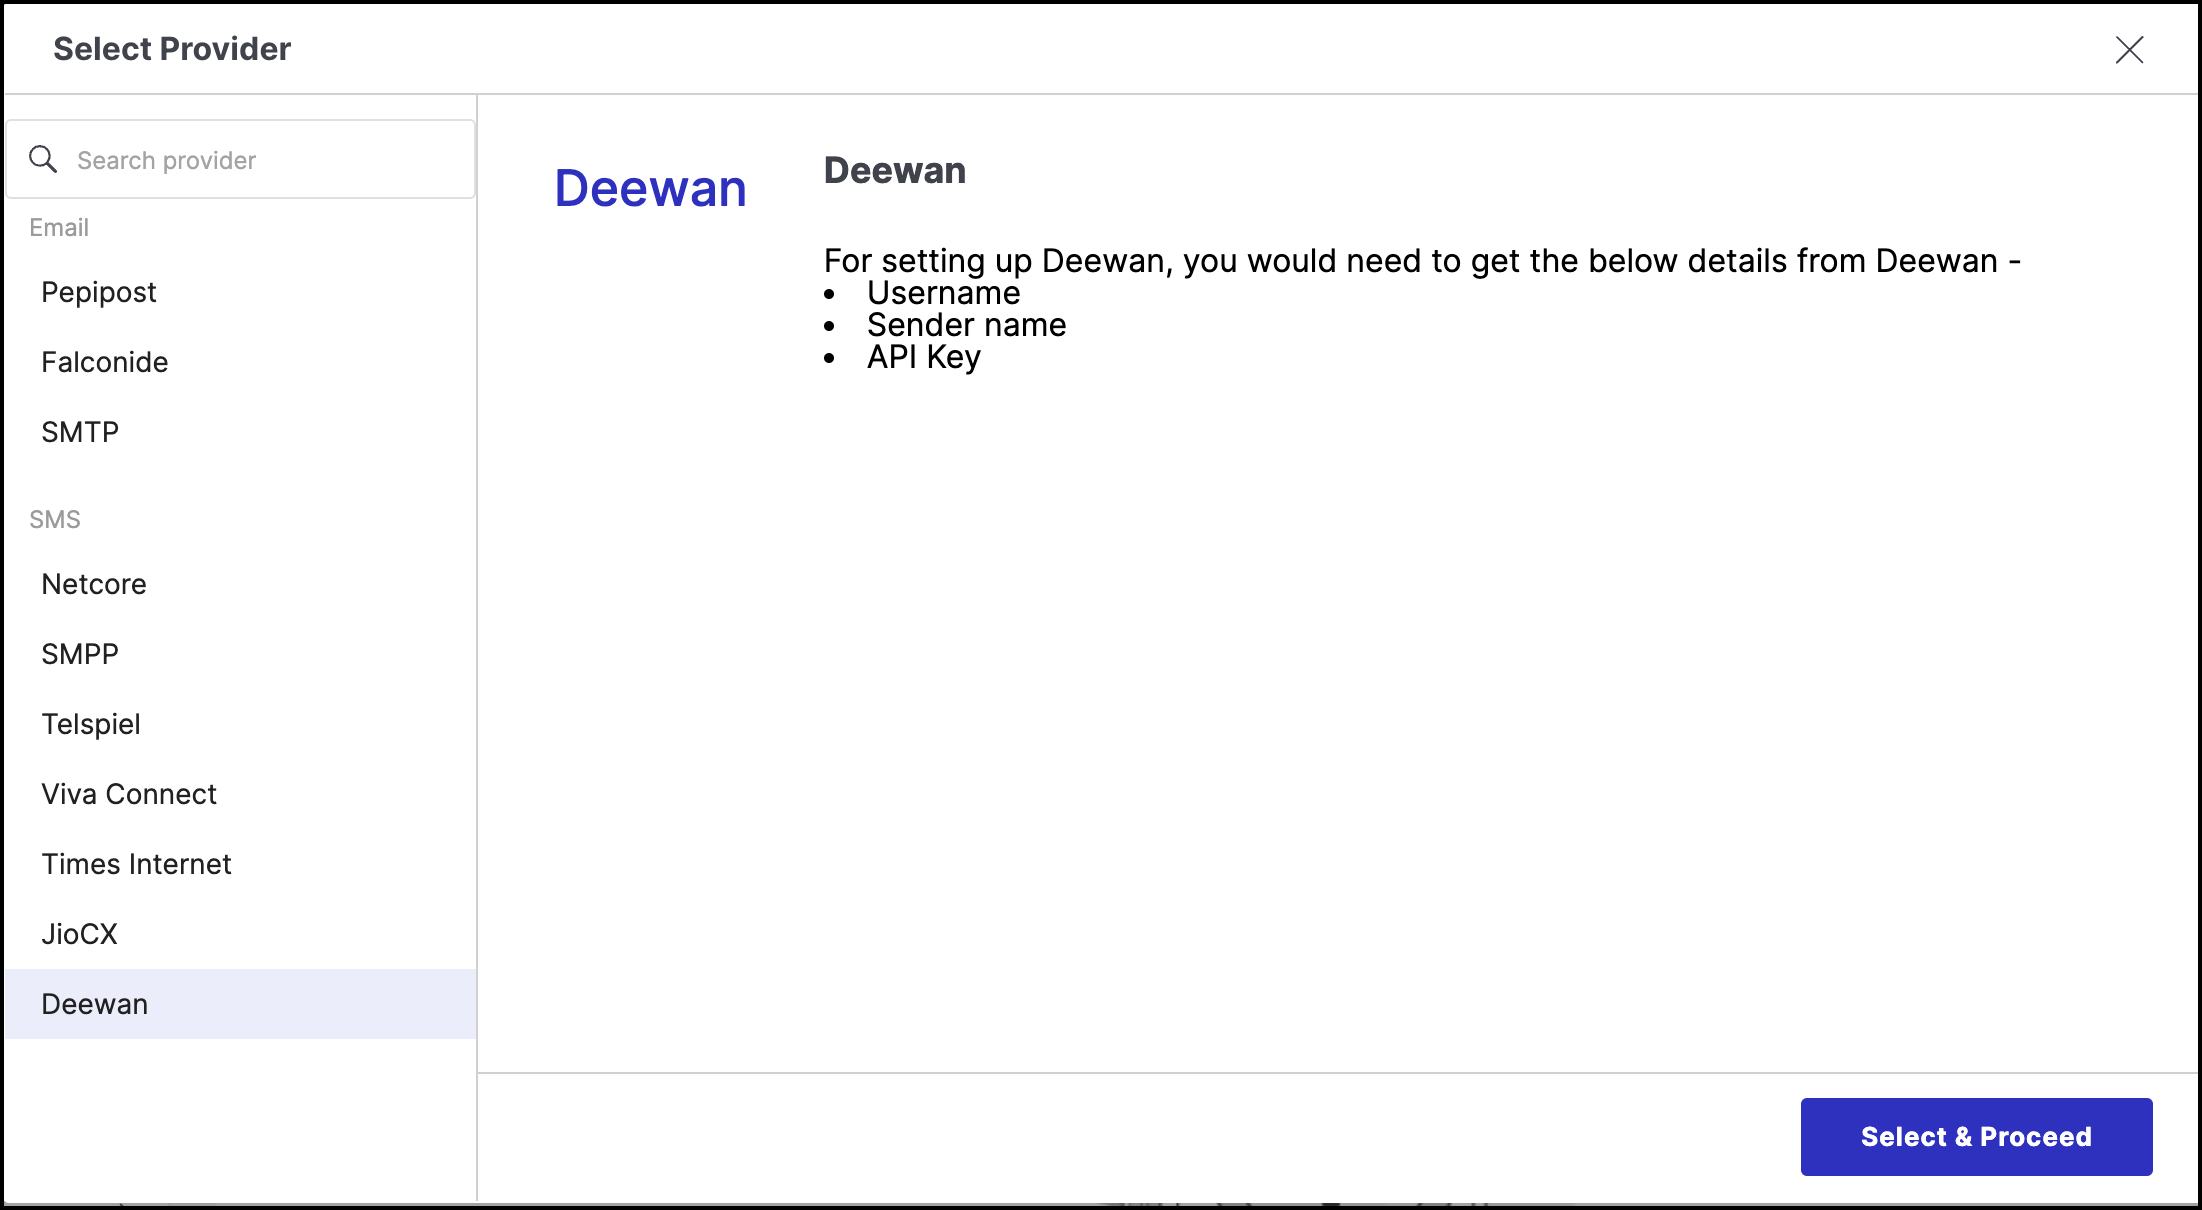
- Here, you need to fill the provider details.
- Name: Enter any name for your provider.
- Description: Enter a brief description for this provider.
- Username, Sender Name, API key and API Token: You can acquire these details from your Deewan provider.
Select Twilio.
Click Select & Proceed.
Here, you need to fill the provider details.
- Name - Enter any name for your provider. Example: Abracadabra
- Description - Enter a brief description for this provider.
- From, Account SID, Auth Token - You can acquire these details from Twilio.

Here, you can set the default provider for your OTP, Transactional and Promotional Emails or SMS. Use the drop-down to select the provider that you have configured. Moreover, among the list, you also have an option to choose Fynd as your provider.
