Commerce panel → Company → Teams → Members
To allow store staff to access and use Store OS (POS or mPOS), you need to assign them appropriate roles and access within your Fynd Commerce account.
Step 1: Add Staff to Your Company
Assuming you’ve already completed the initial onboarding checklist, you would have added your team members to your company account.
For reference, here’s the guide: Register Your Business and Add Members
Step 2: Grant POS Access to Users
Once the user is added as a member:
- Go to the Members section in your Fynd Commerce dashboard.
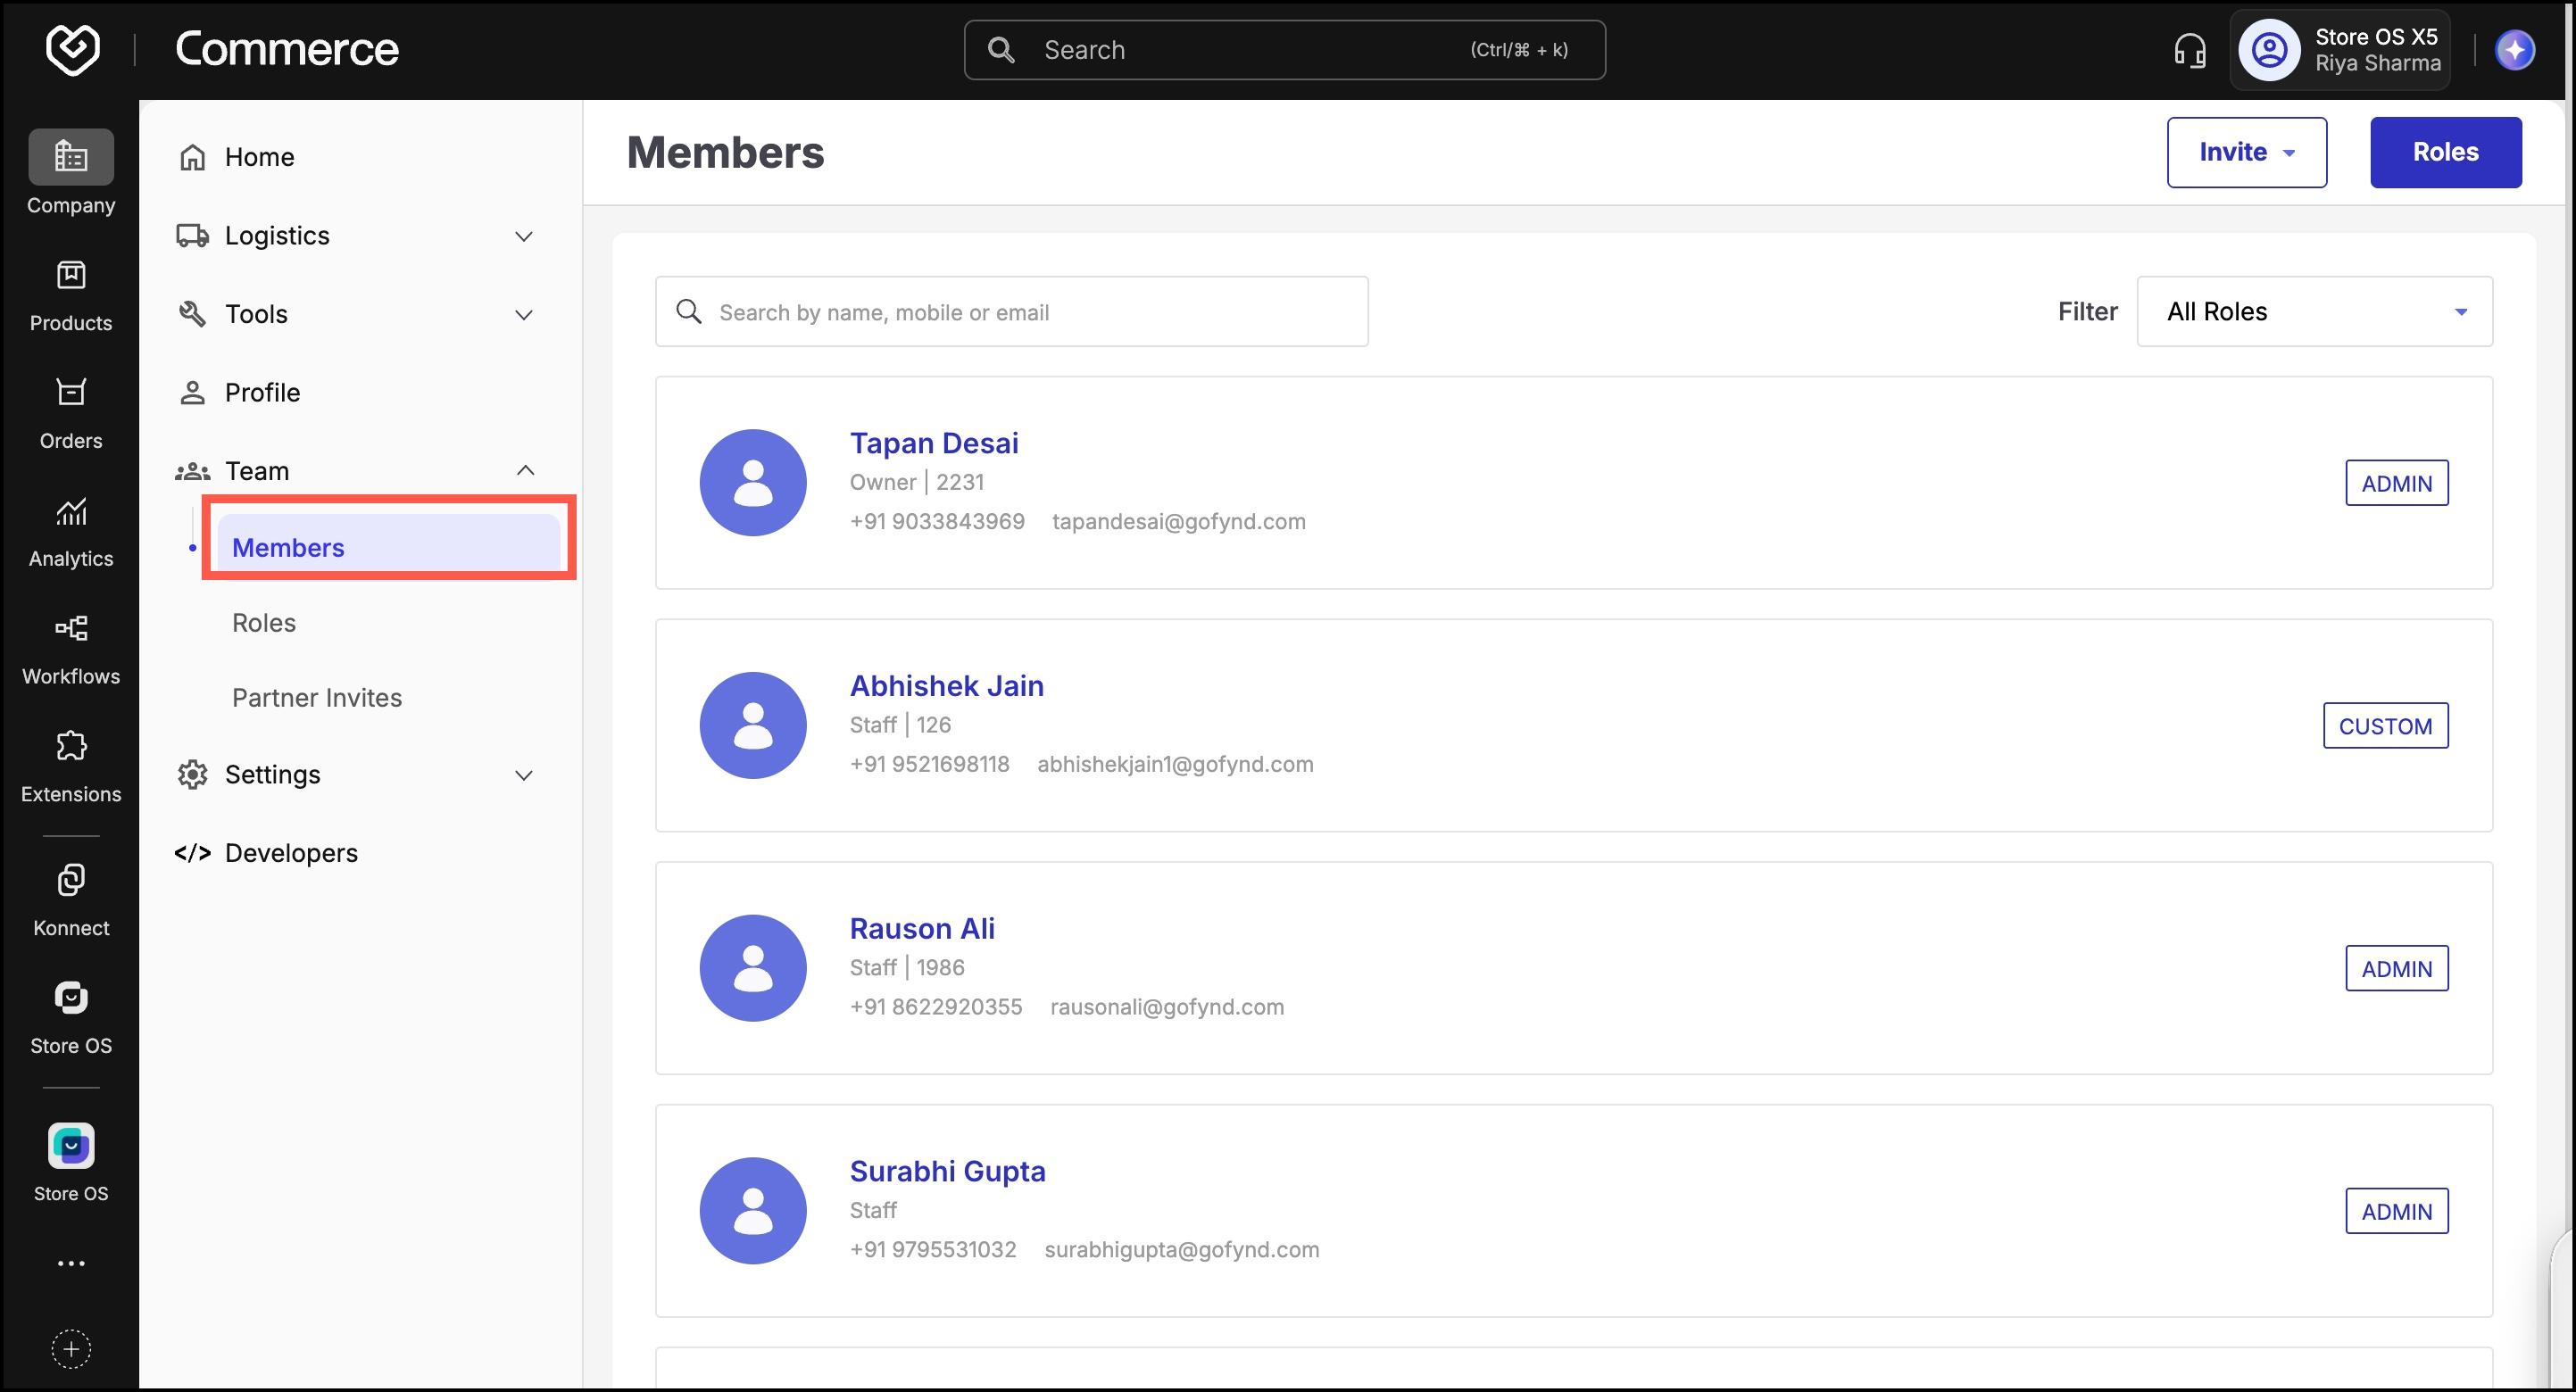
Search for the staff member you want to give POS access to.
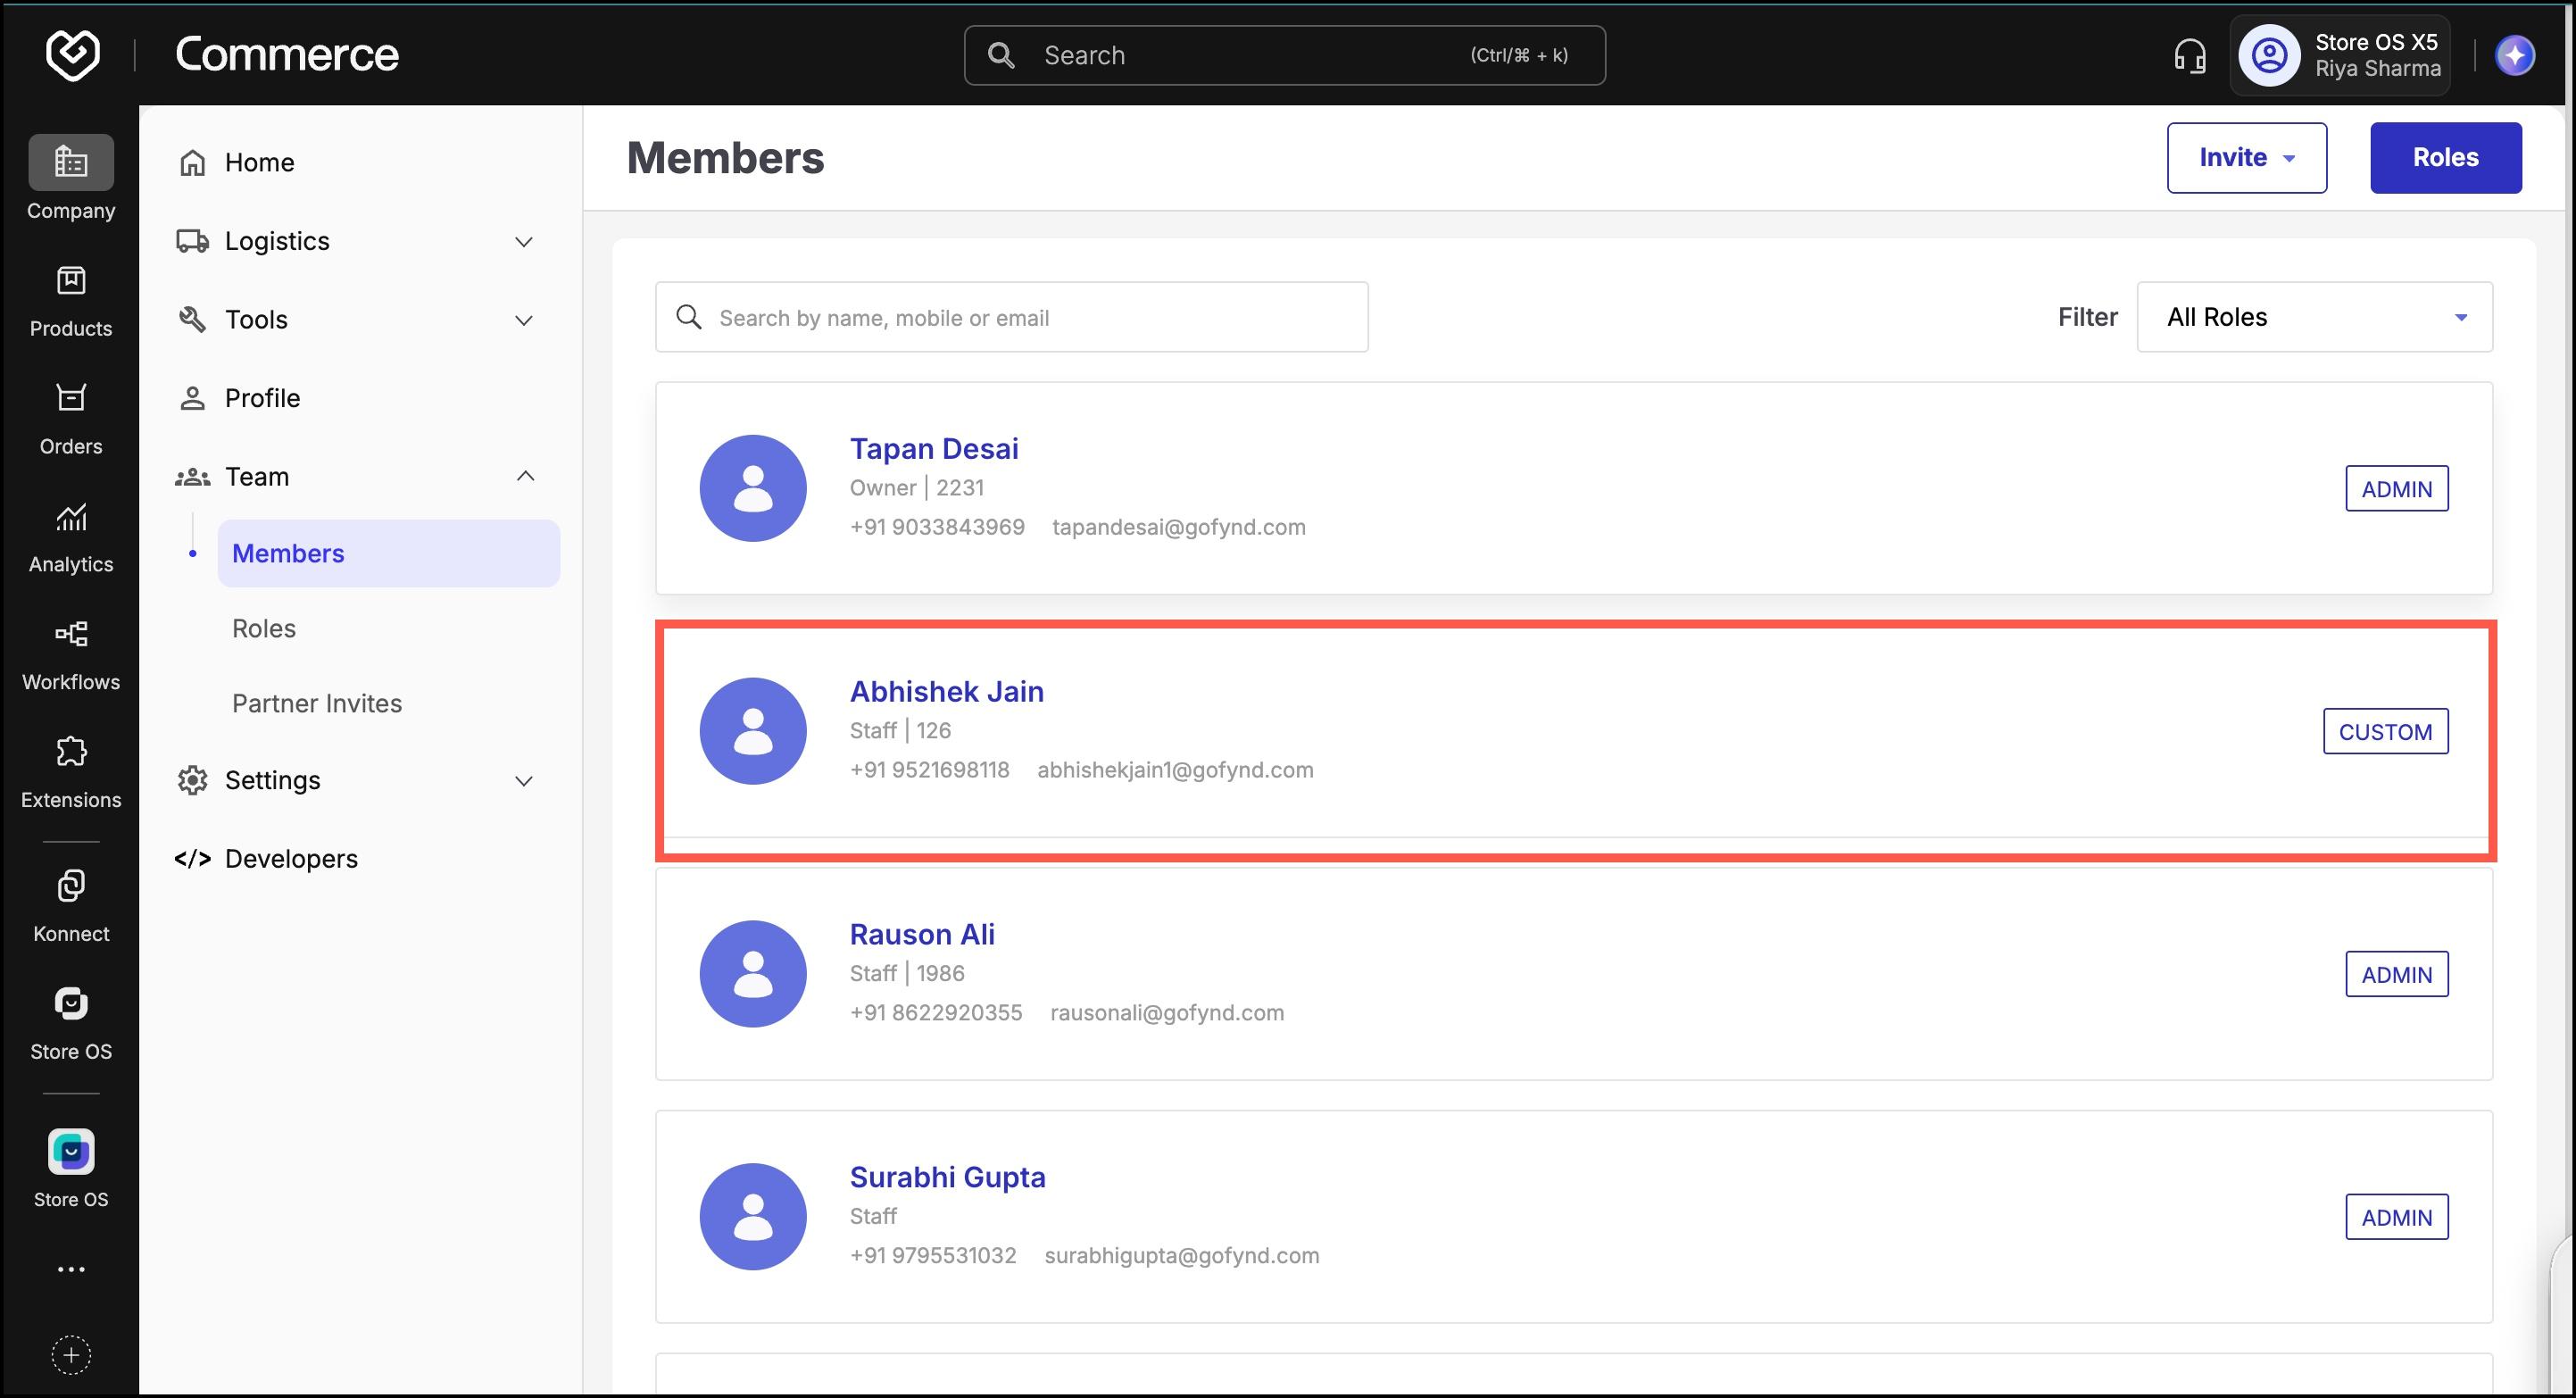
Open their member profile.
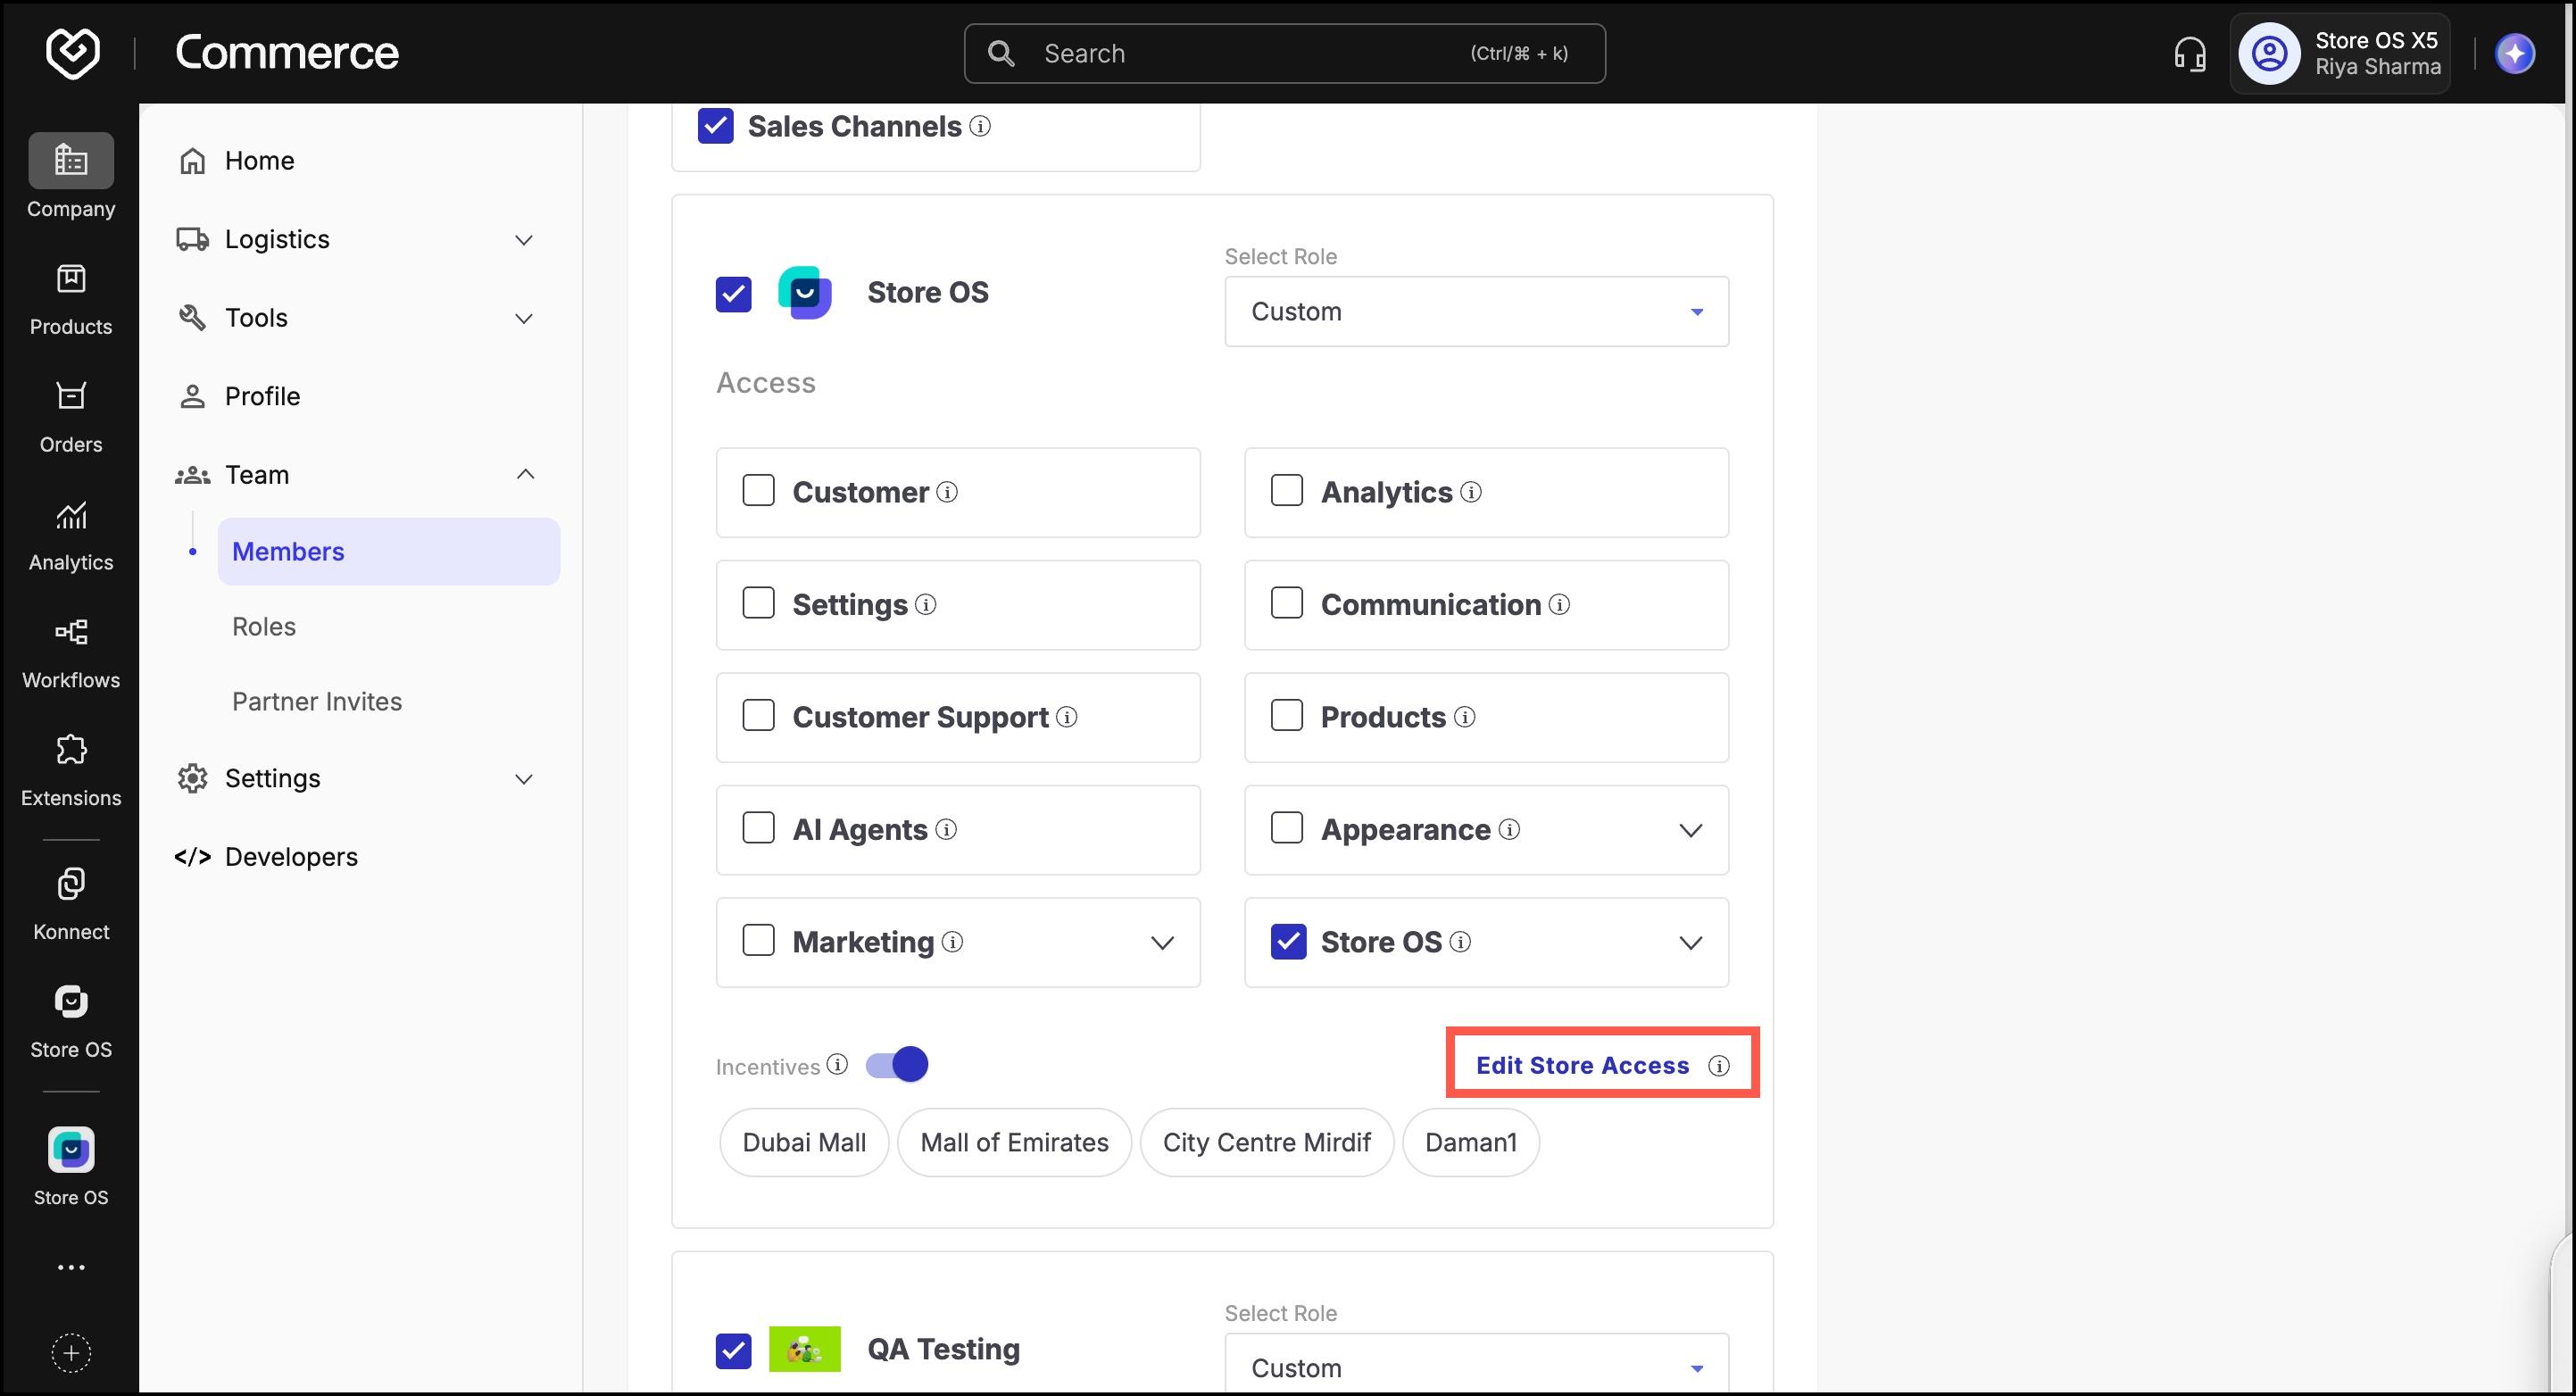
Scroll to the Sales Channel Access section.
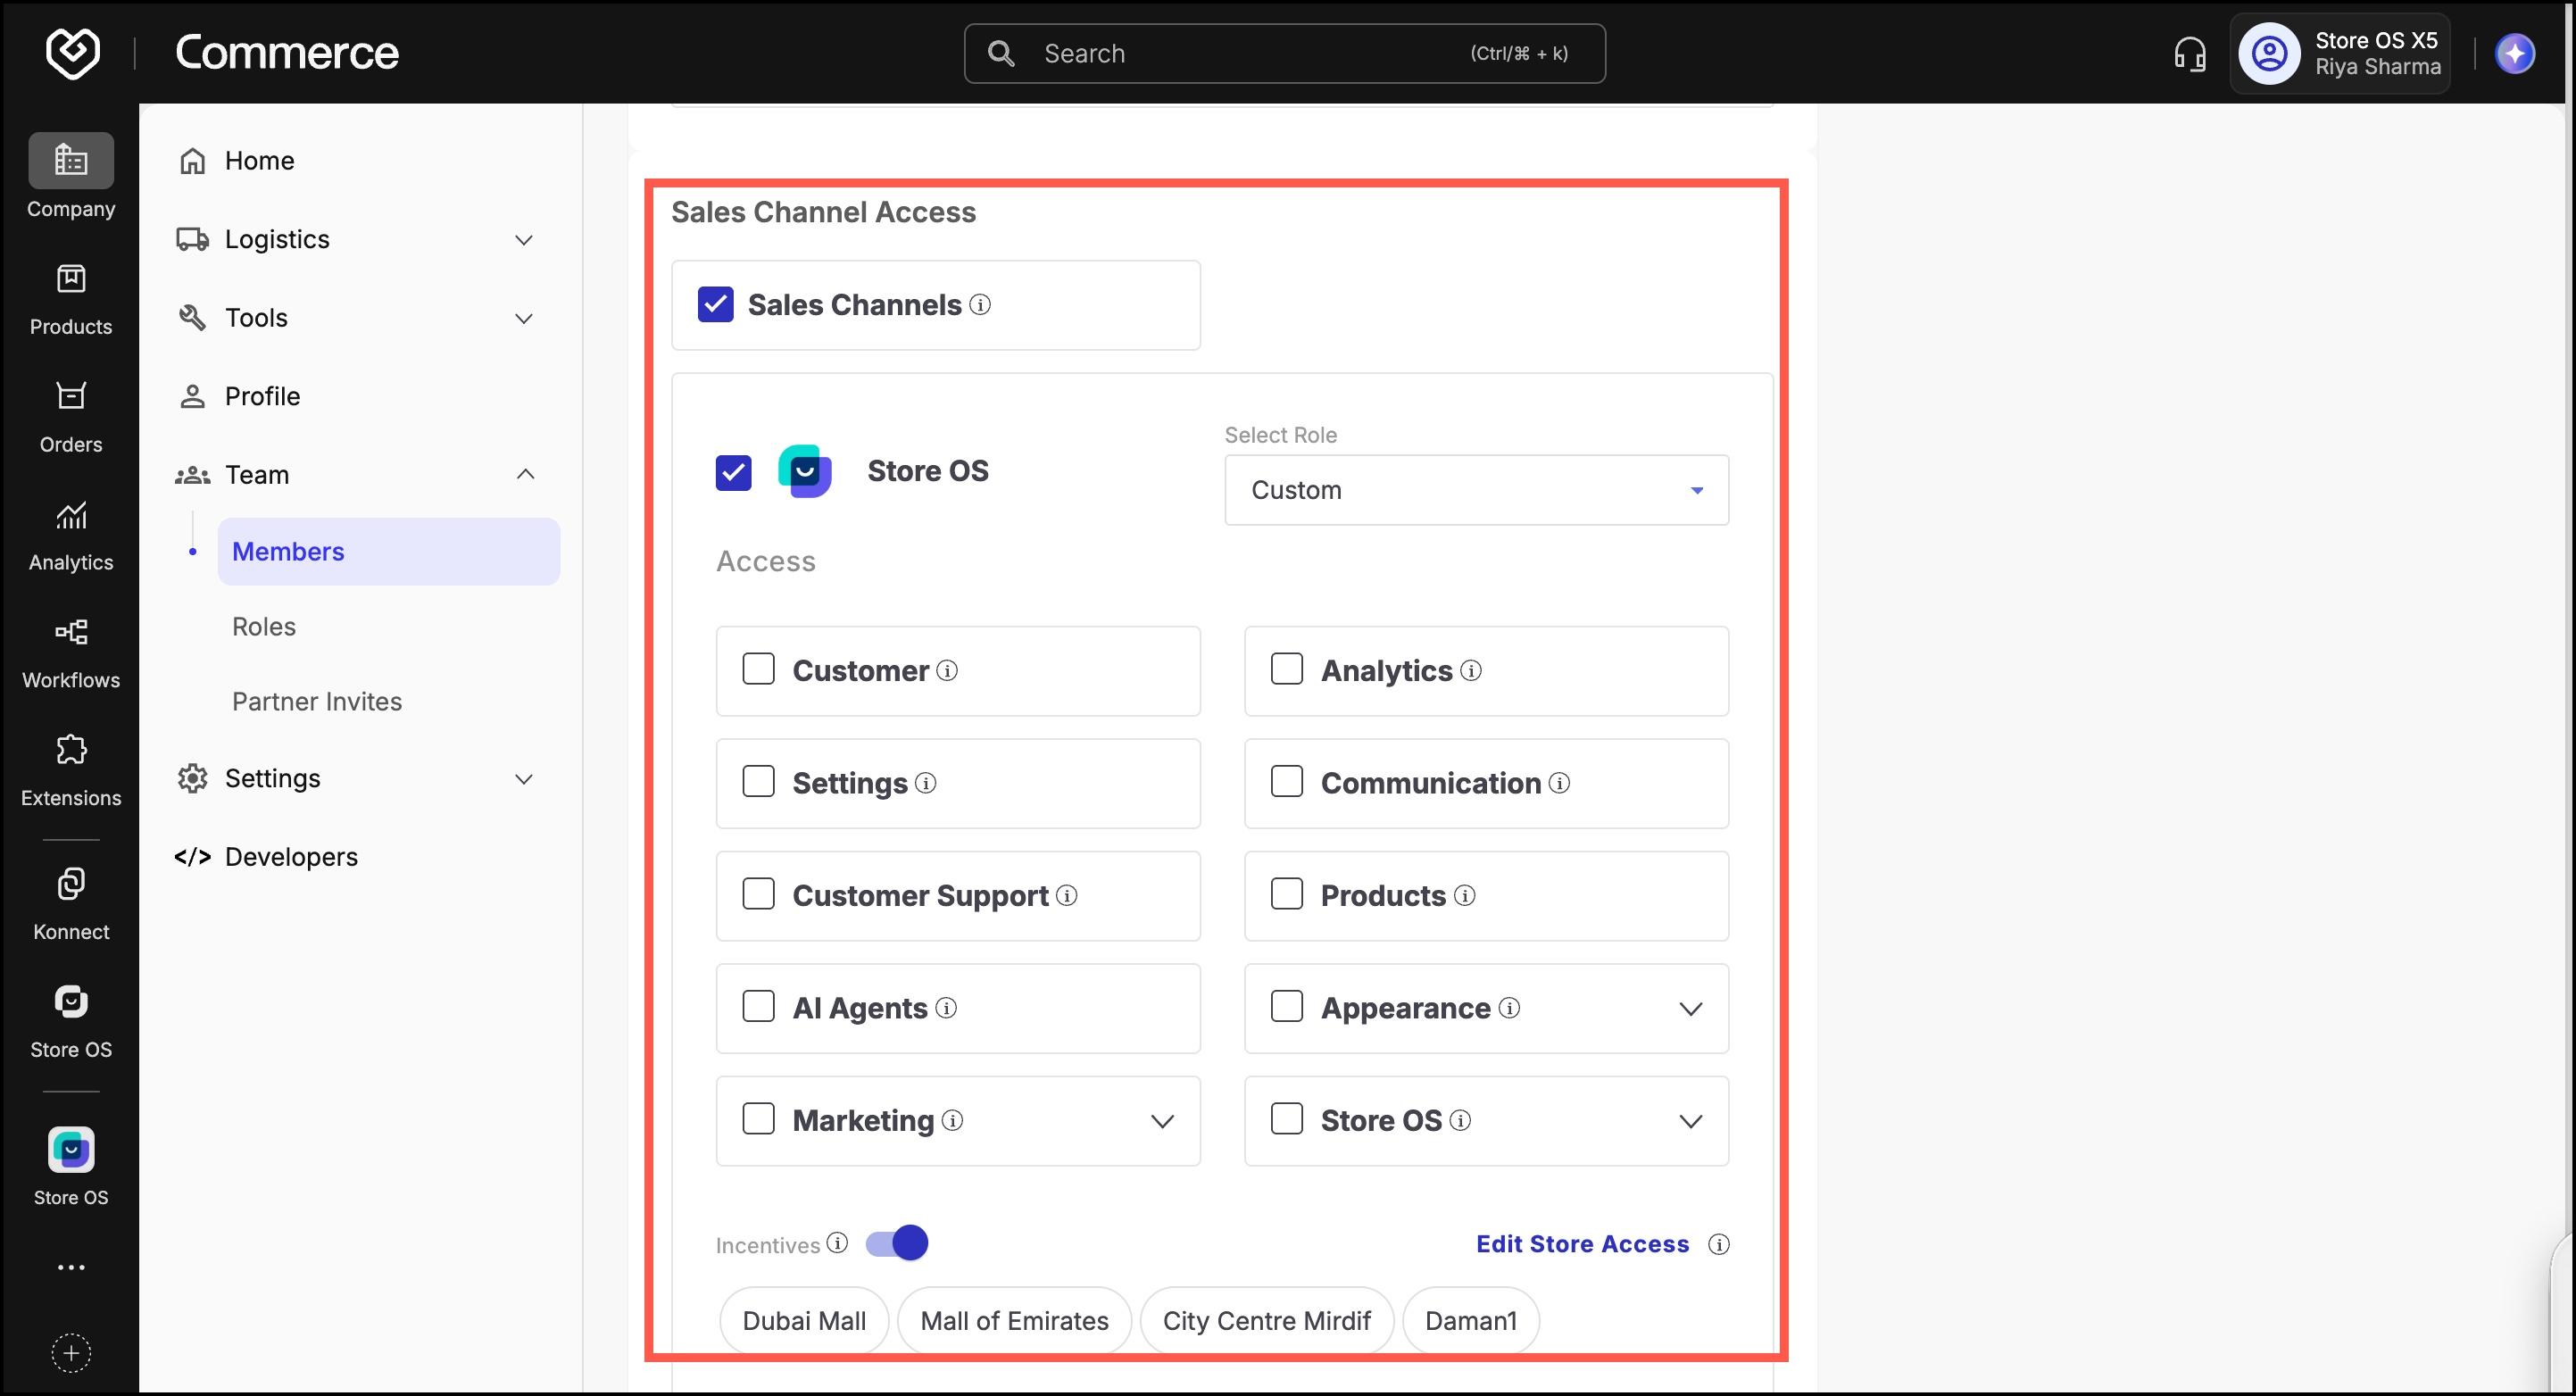
- Locate the specific sales channel where POS access is needed.
- You will see checkboxes for various modules like
Customers,Analytics, etc.- Check the Store OS box.
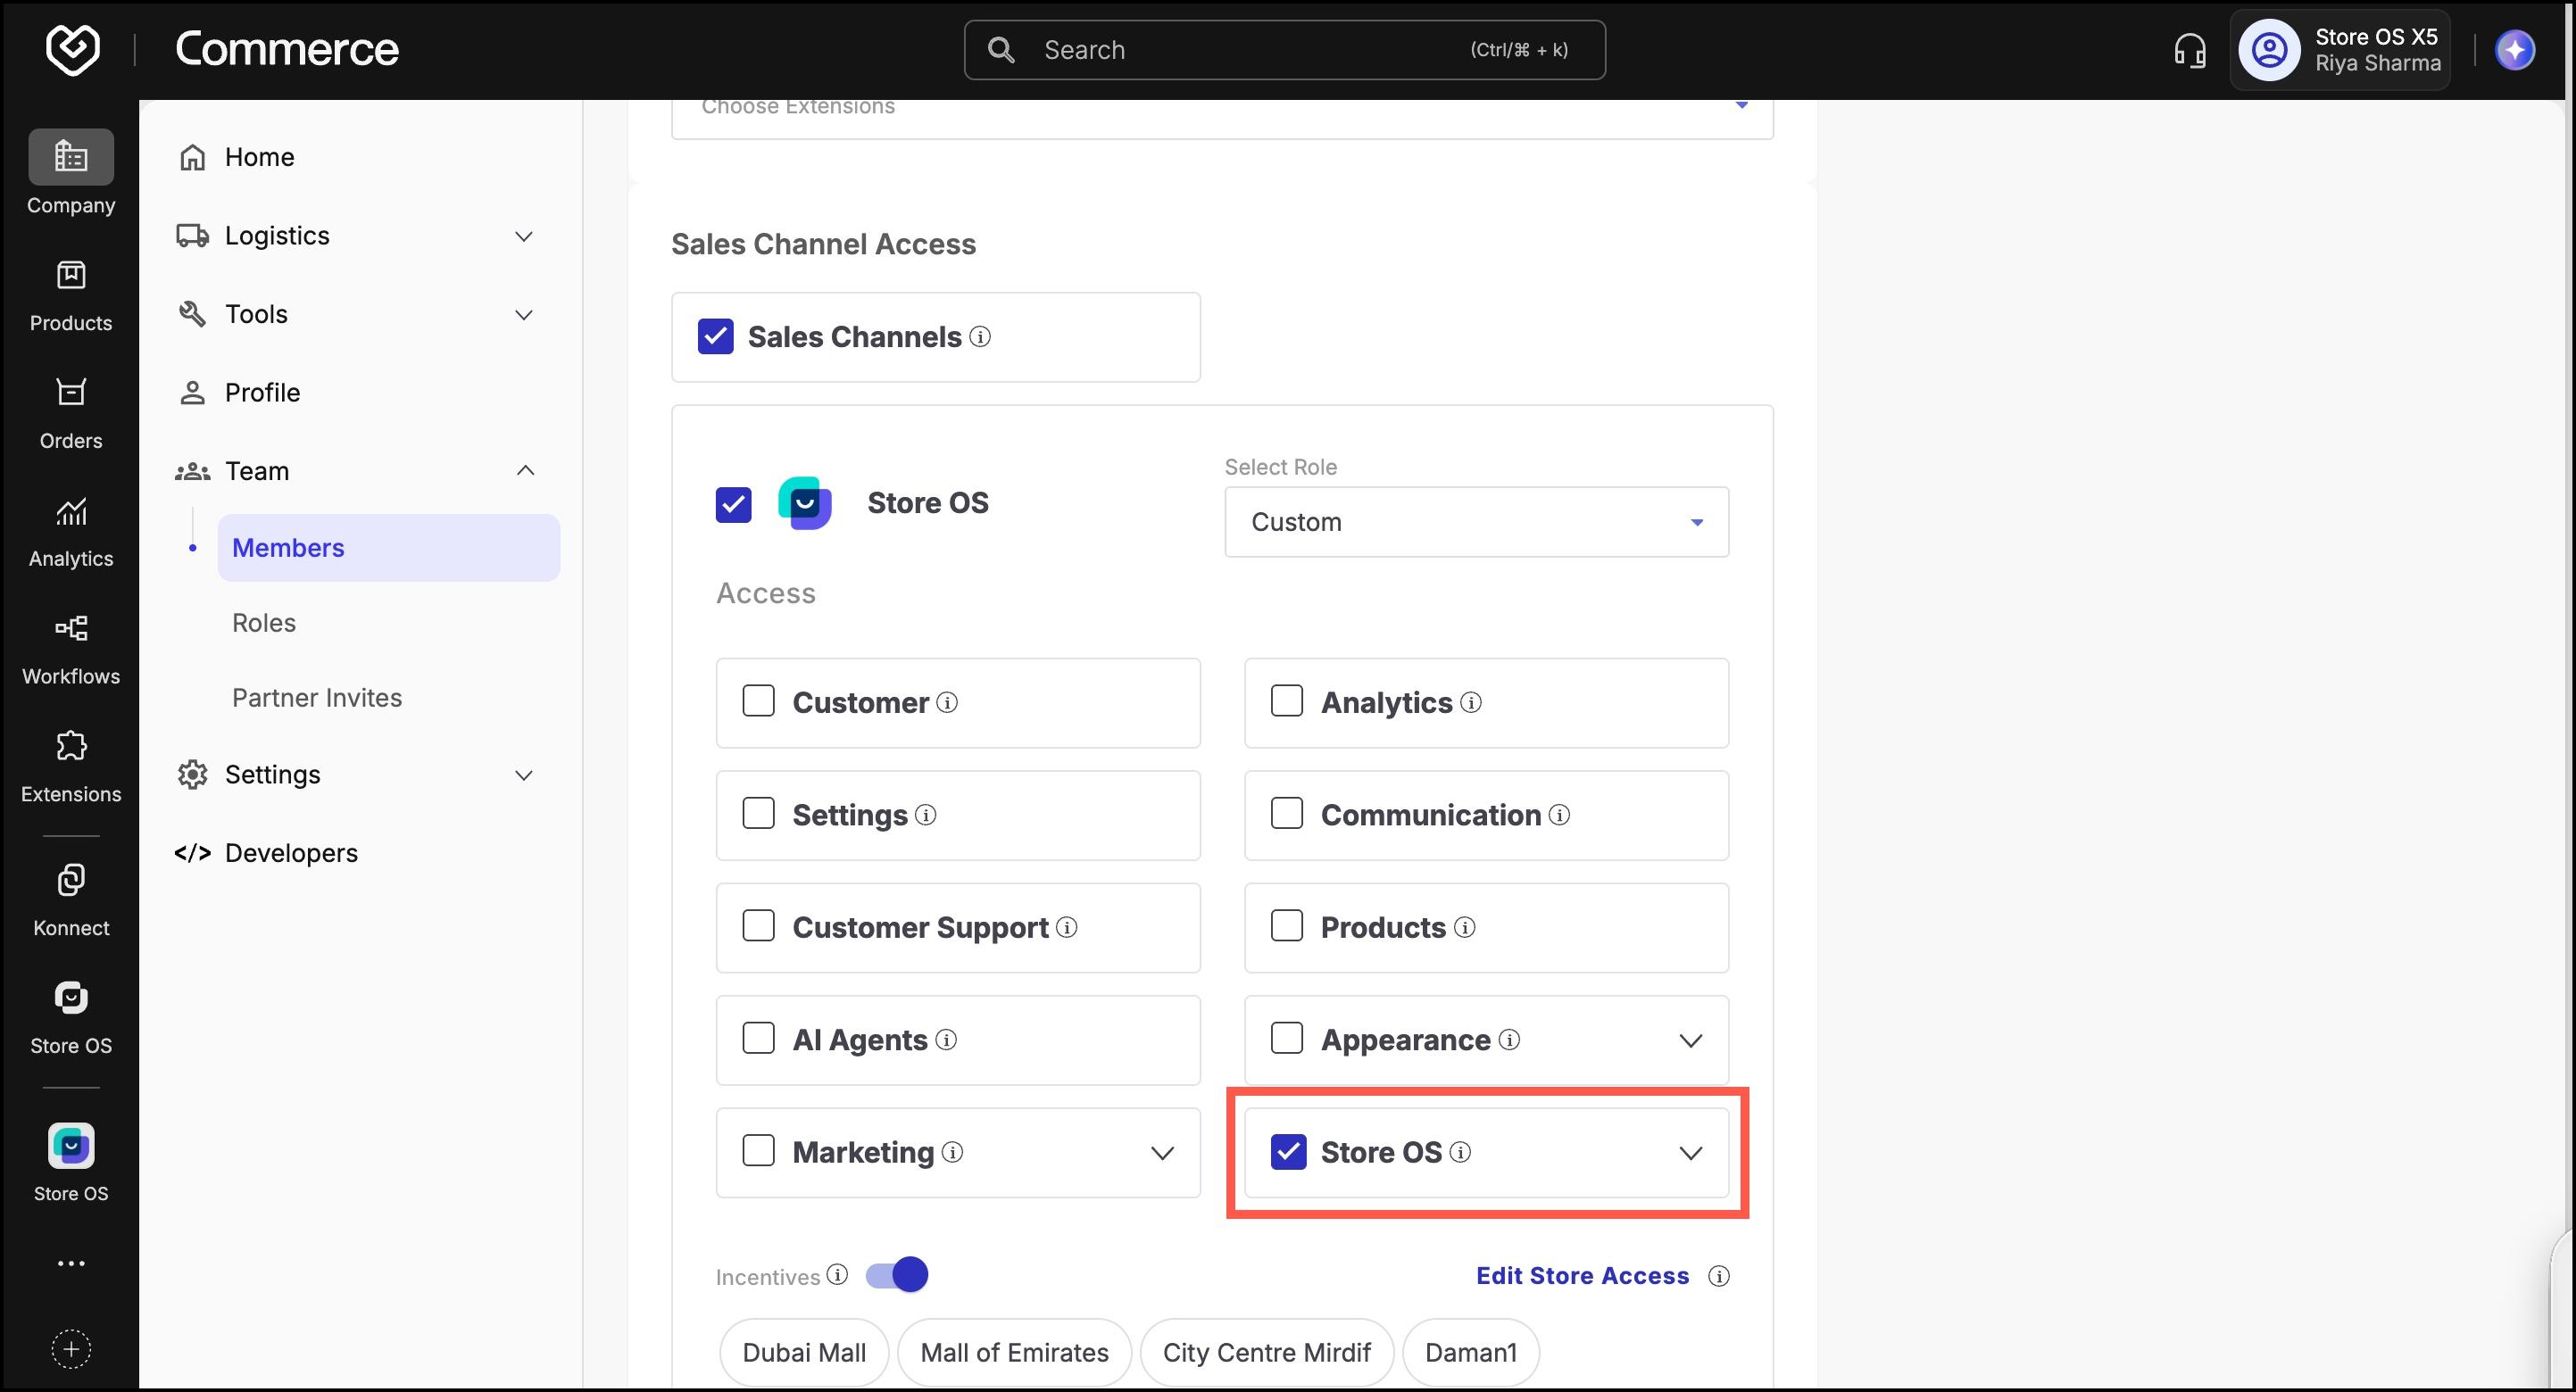
- If you want to give access to specific storefronts (ordering stores):
- Click Edit Store Access.
- Select the desired stores from the dropdown.
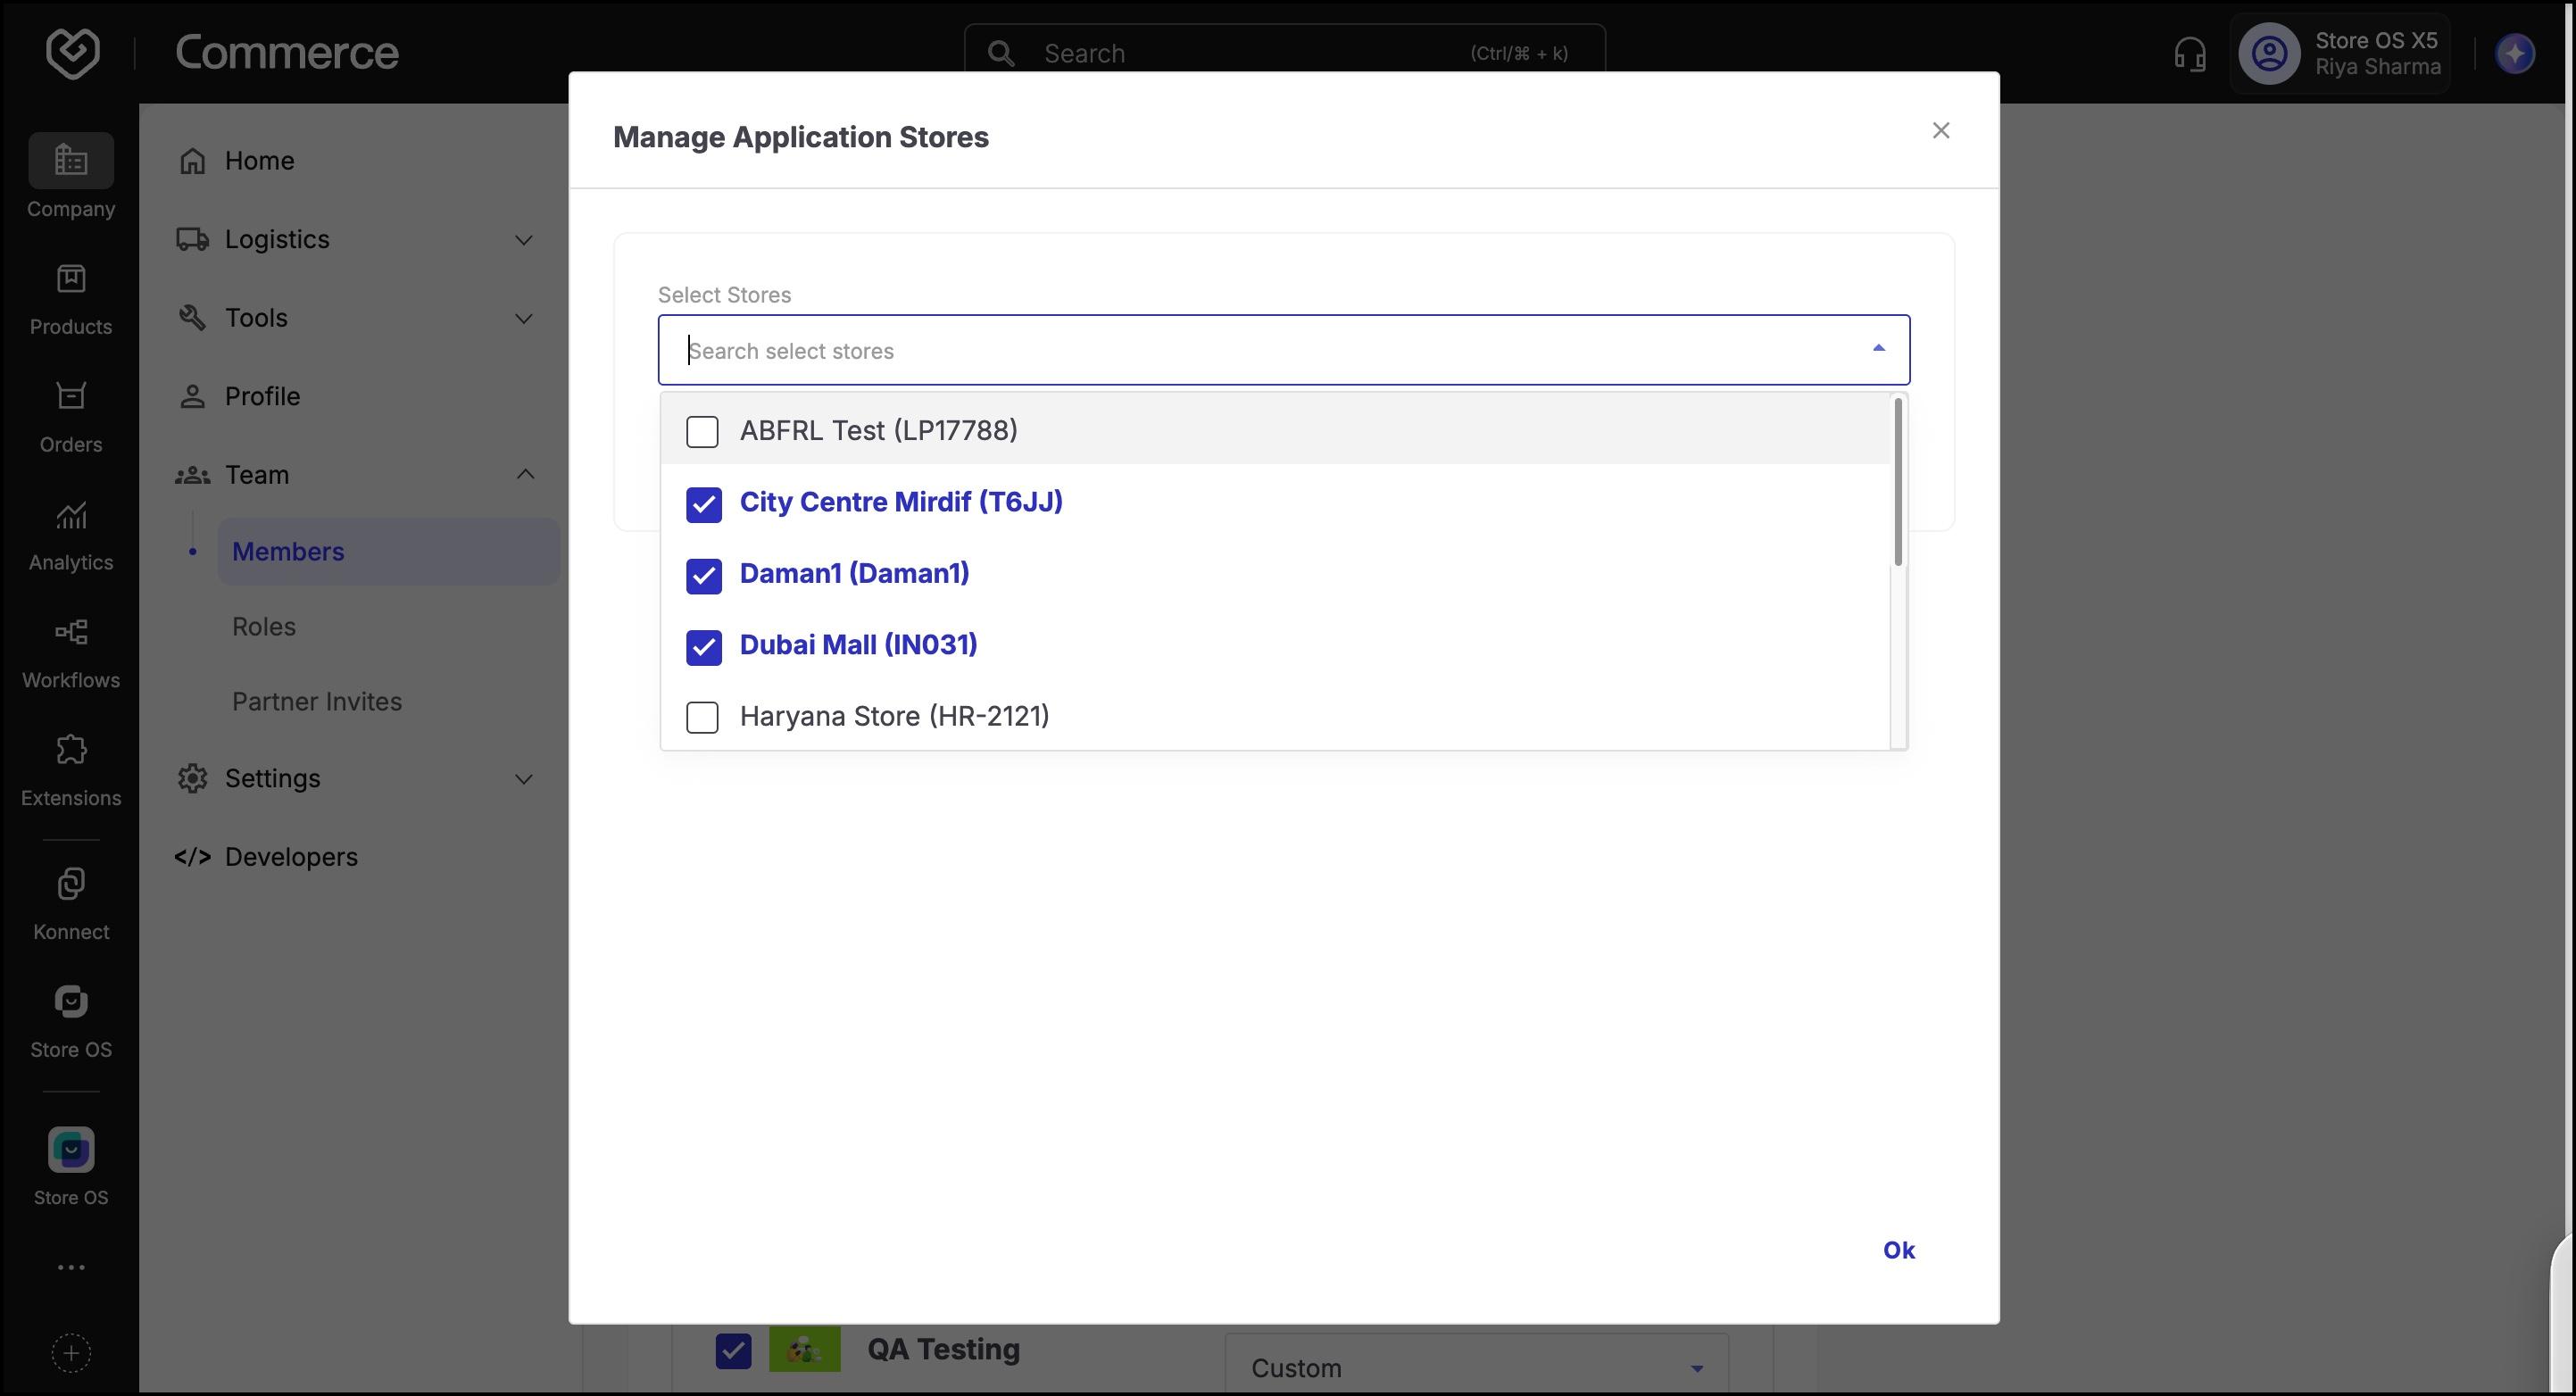
- Click OK, then click Save.
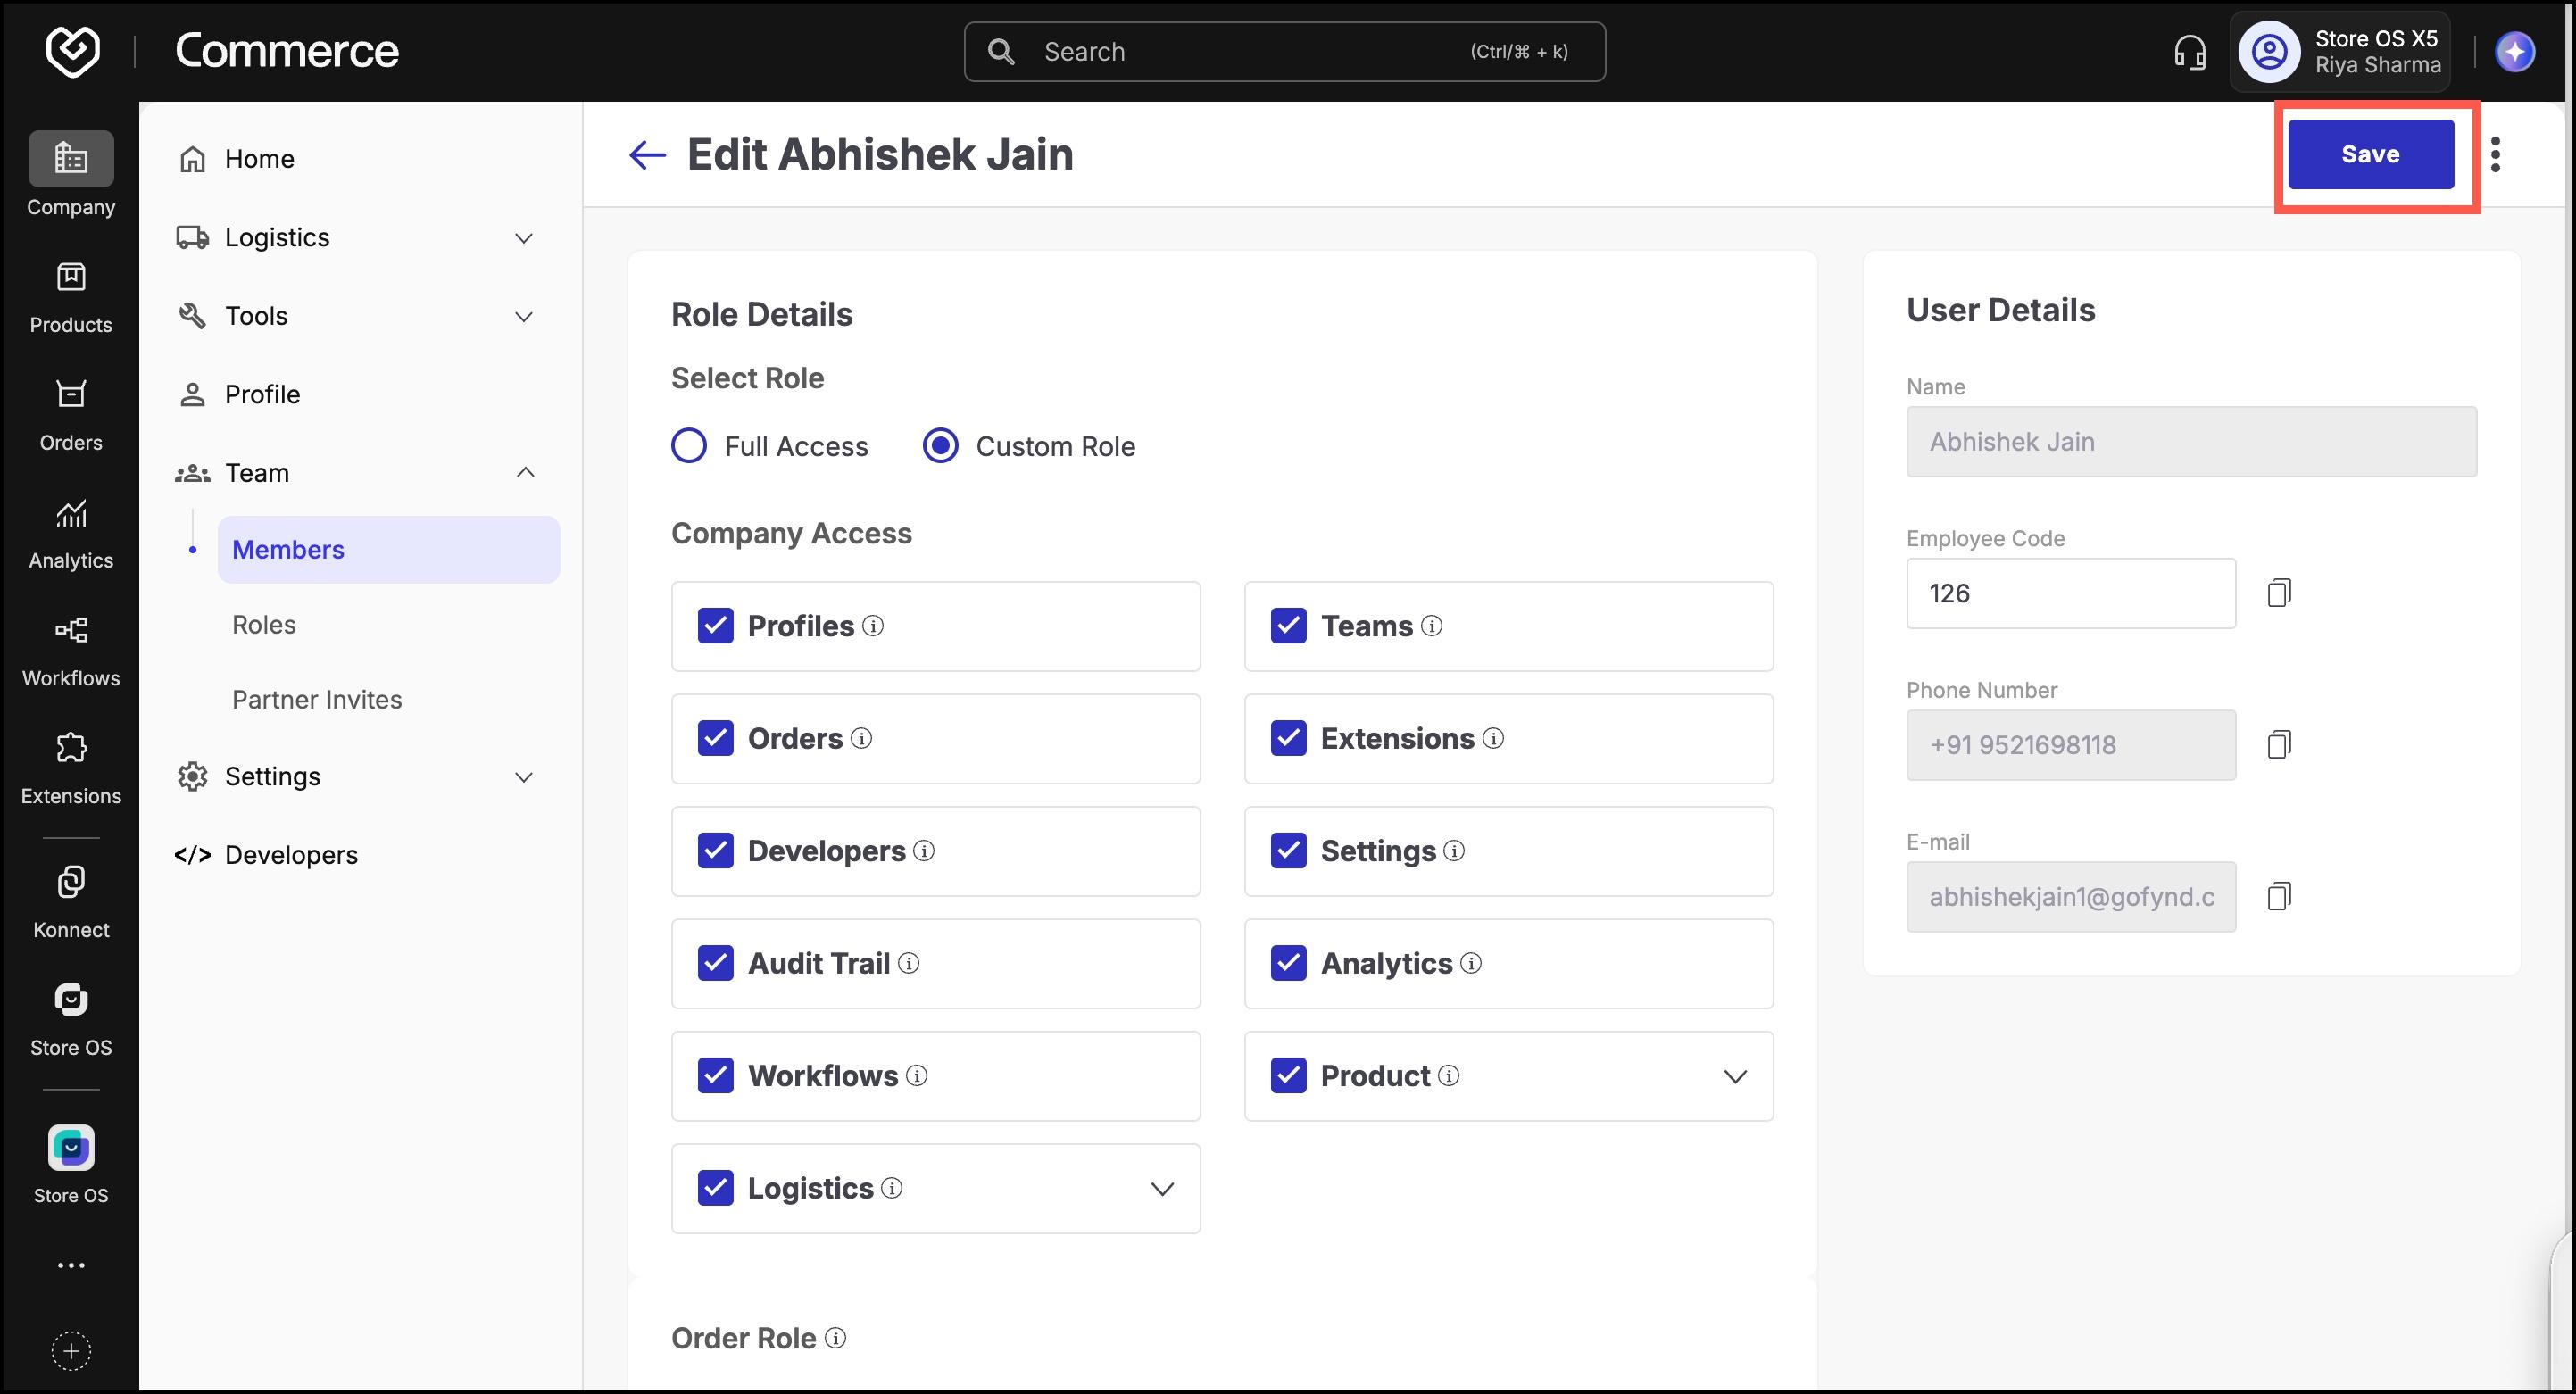
The user is now authorized to access POS for the selected sales channel and stores.
Step 3: Login via Store OS App
Once access is granted:
- Ask the staff member to install the Store OS app from the Google Play Store or Apple App Store.
- They should log in using the same email address used in their member invite.
- They’ll now be able to access the POS or mPOS interface and perform their assigned actions.
Best Practices
- For security, assign only the required roles (avoid giving broad access to all users).
- Review and audit staff access periodically, especially after employee exits.
- If a user faces access issues, ensure:
- They’ve accepted the invite.
- They’re assigned to the correct store under the correct sales channel.