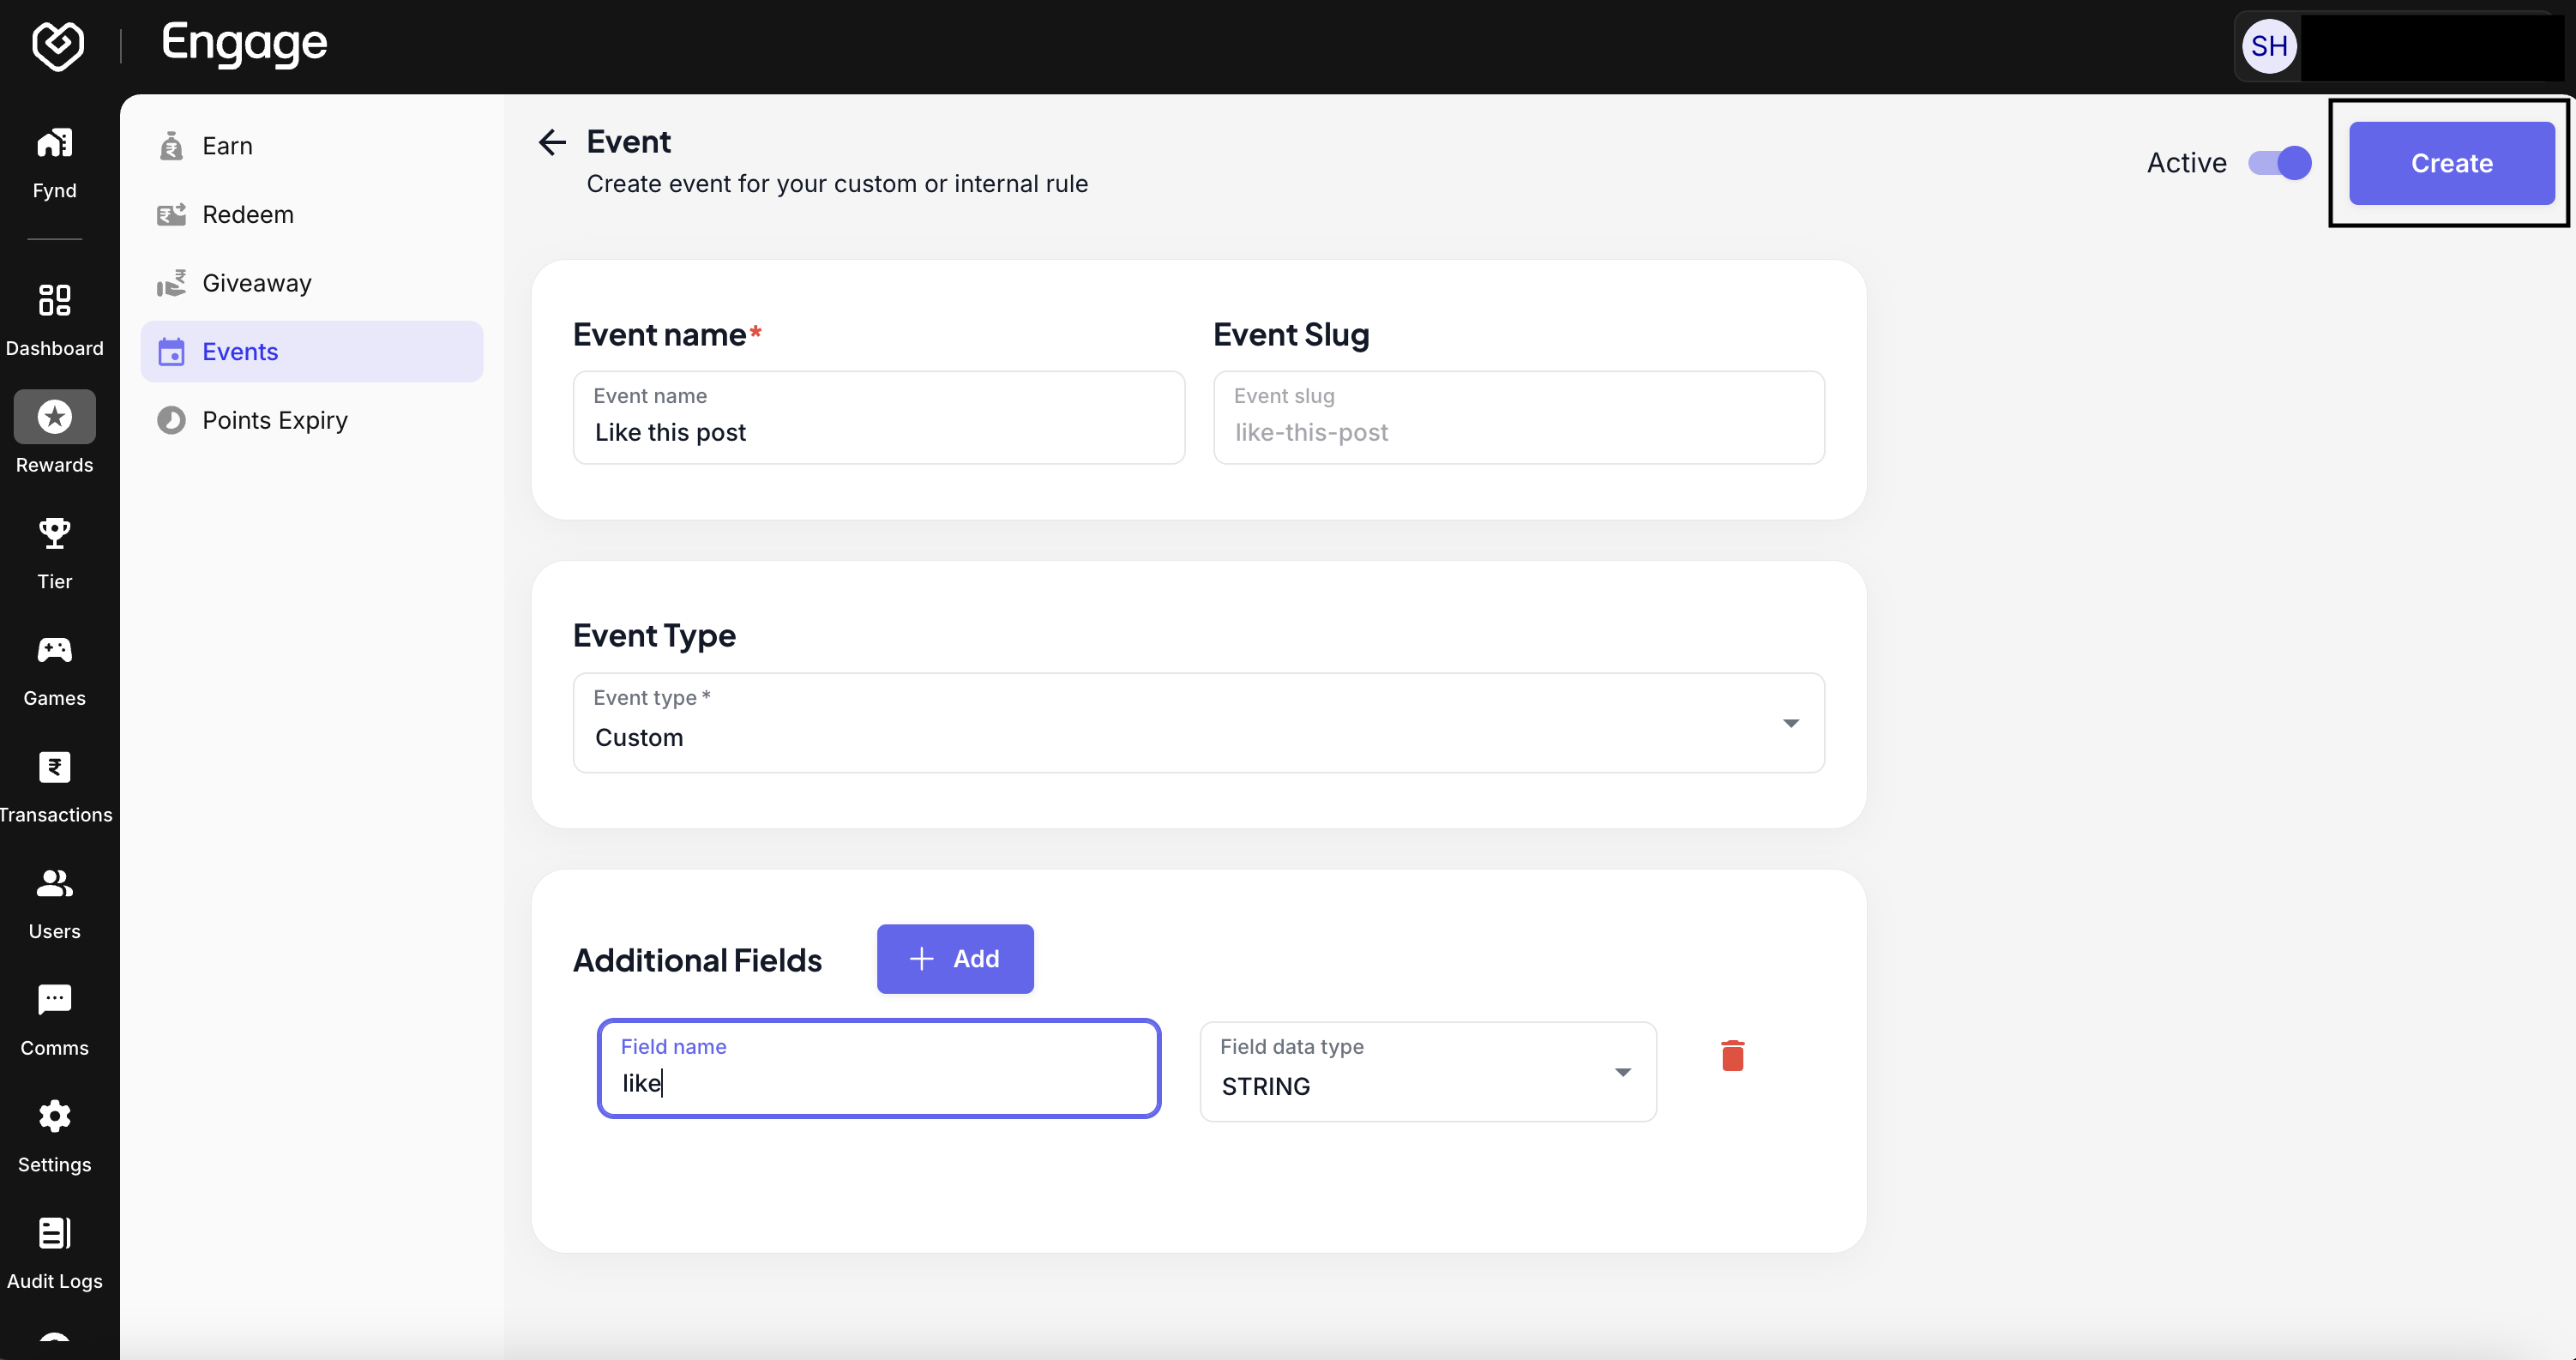
The Create Event feature allows you to define specific customer interactions that trigger loyalty logic. Whether tracking a purchase, a sign-up, or a custom engagement, events serve as the foundational triggers for rewarding your customers.
- Initiate New Event - Navigate to the Events dashboard and click on Add Event to open the configuration panel.
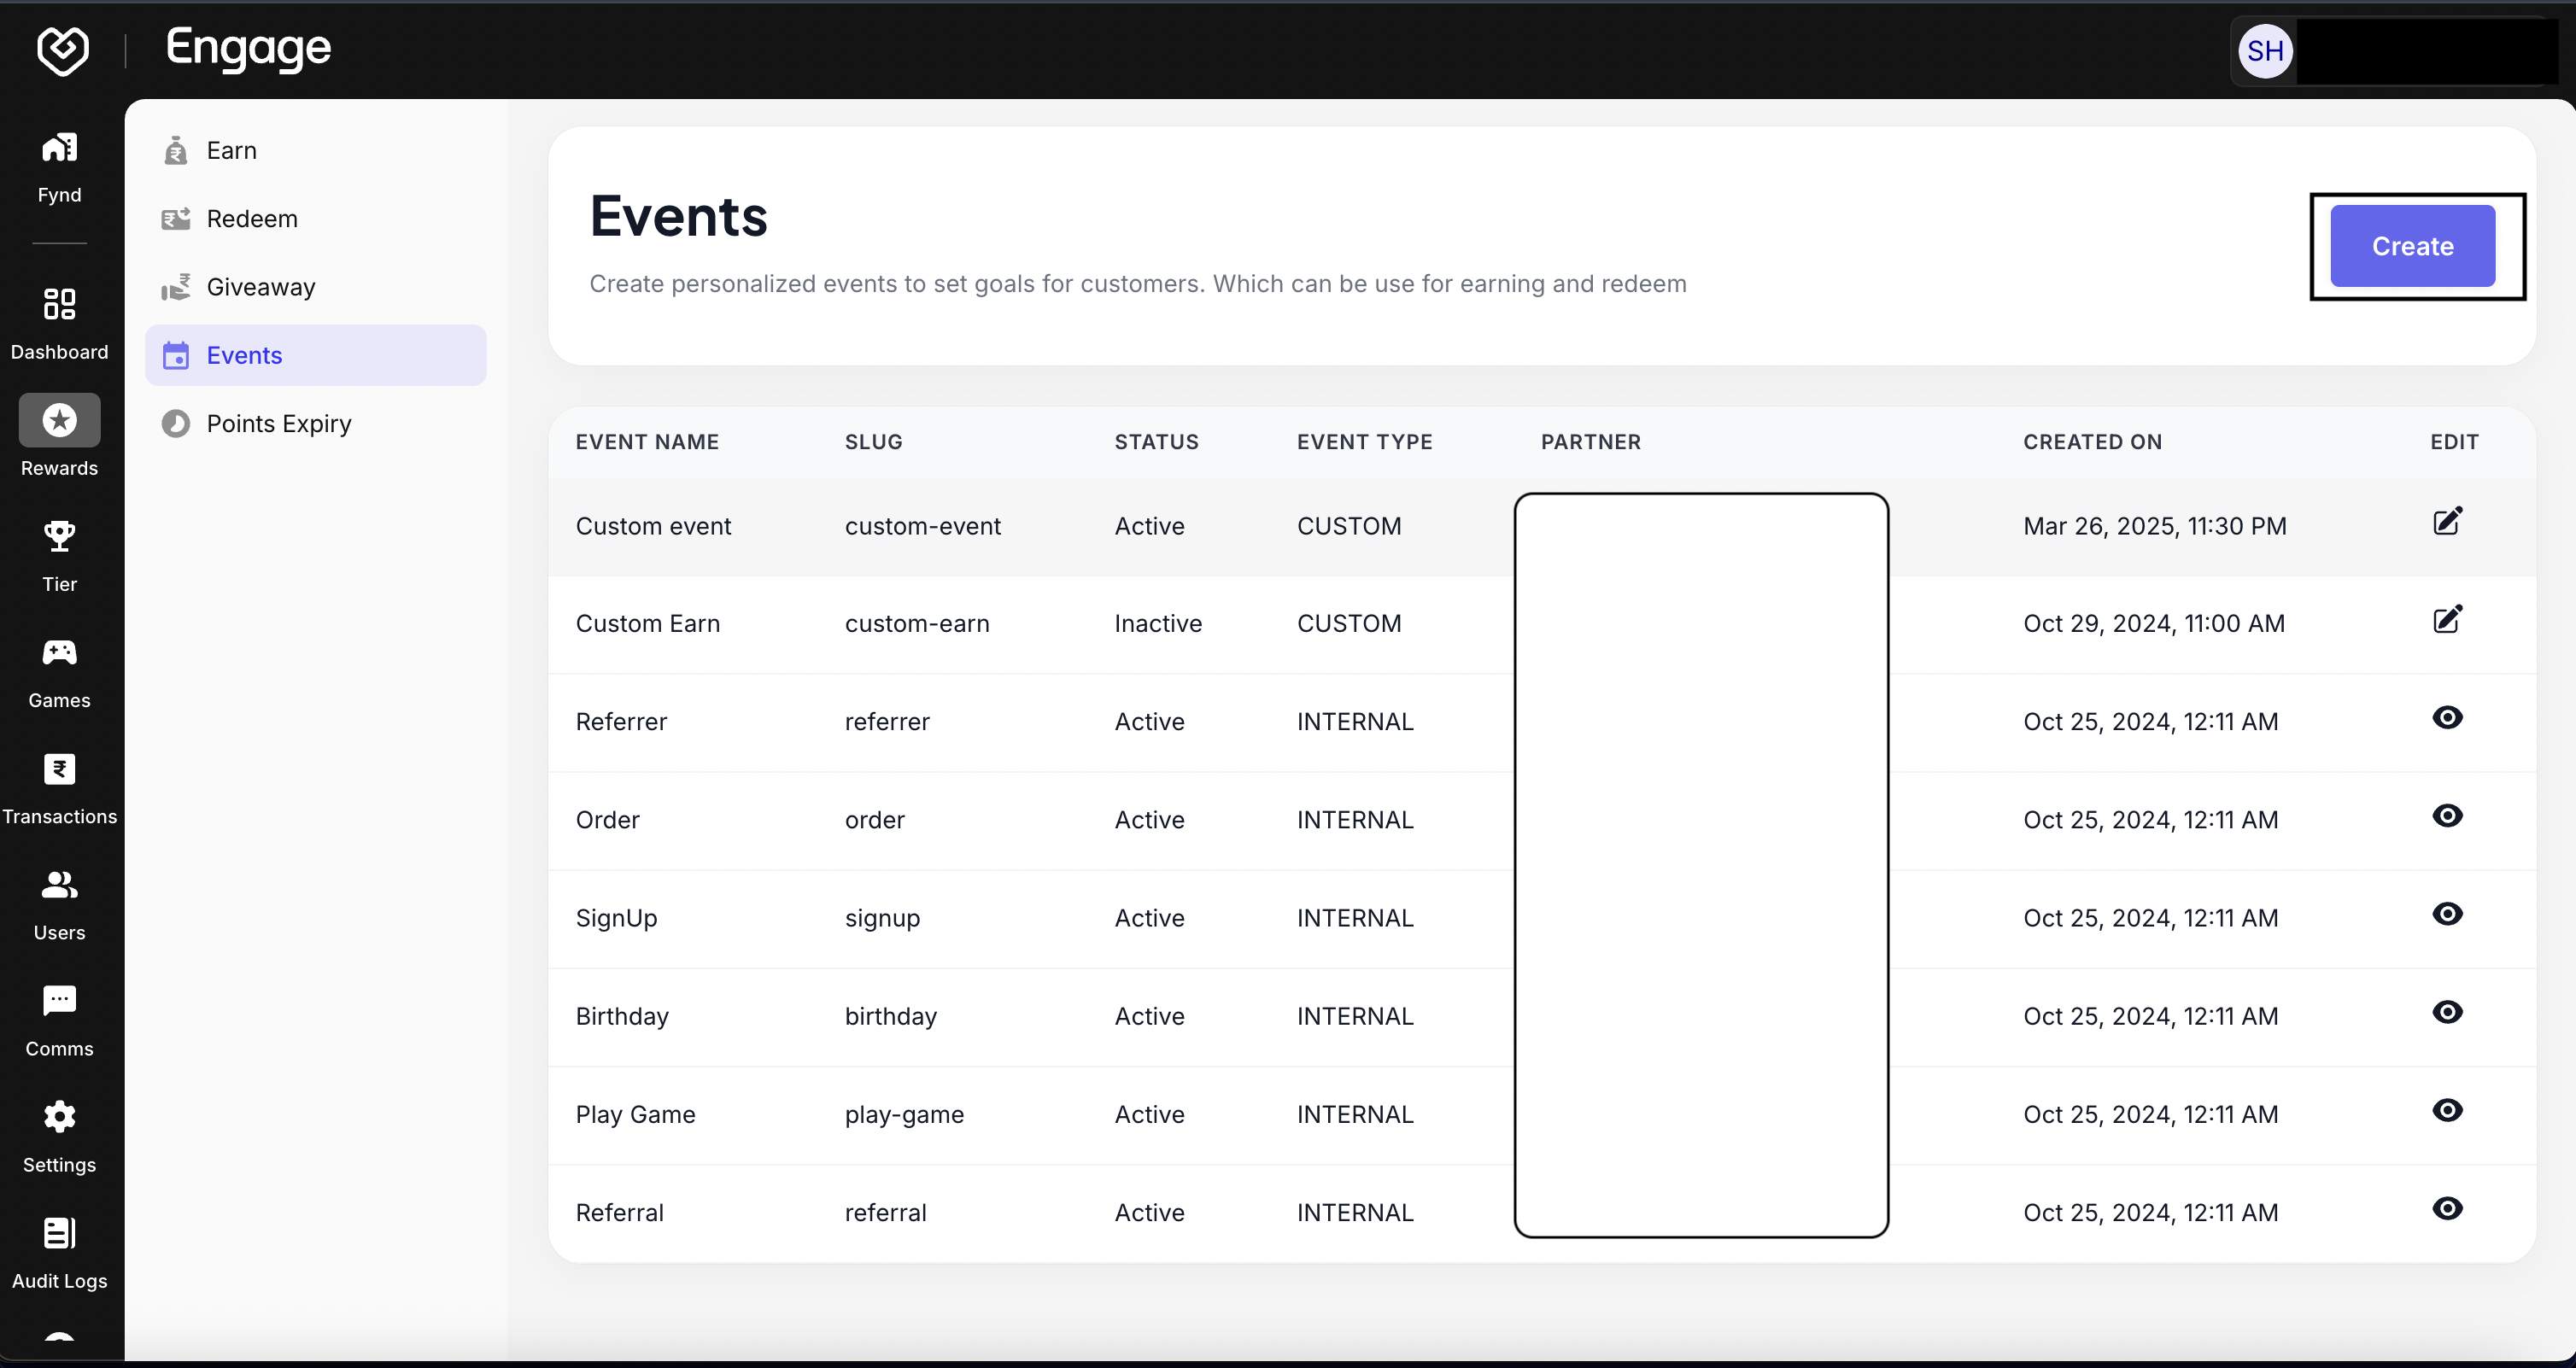
- Define Event Name - Enter a unique Event Name (e.g., "Summer Rewards Purchase" or "App Login"). This internal name helps you identify the specific interaction being tracked.
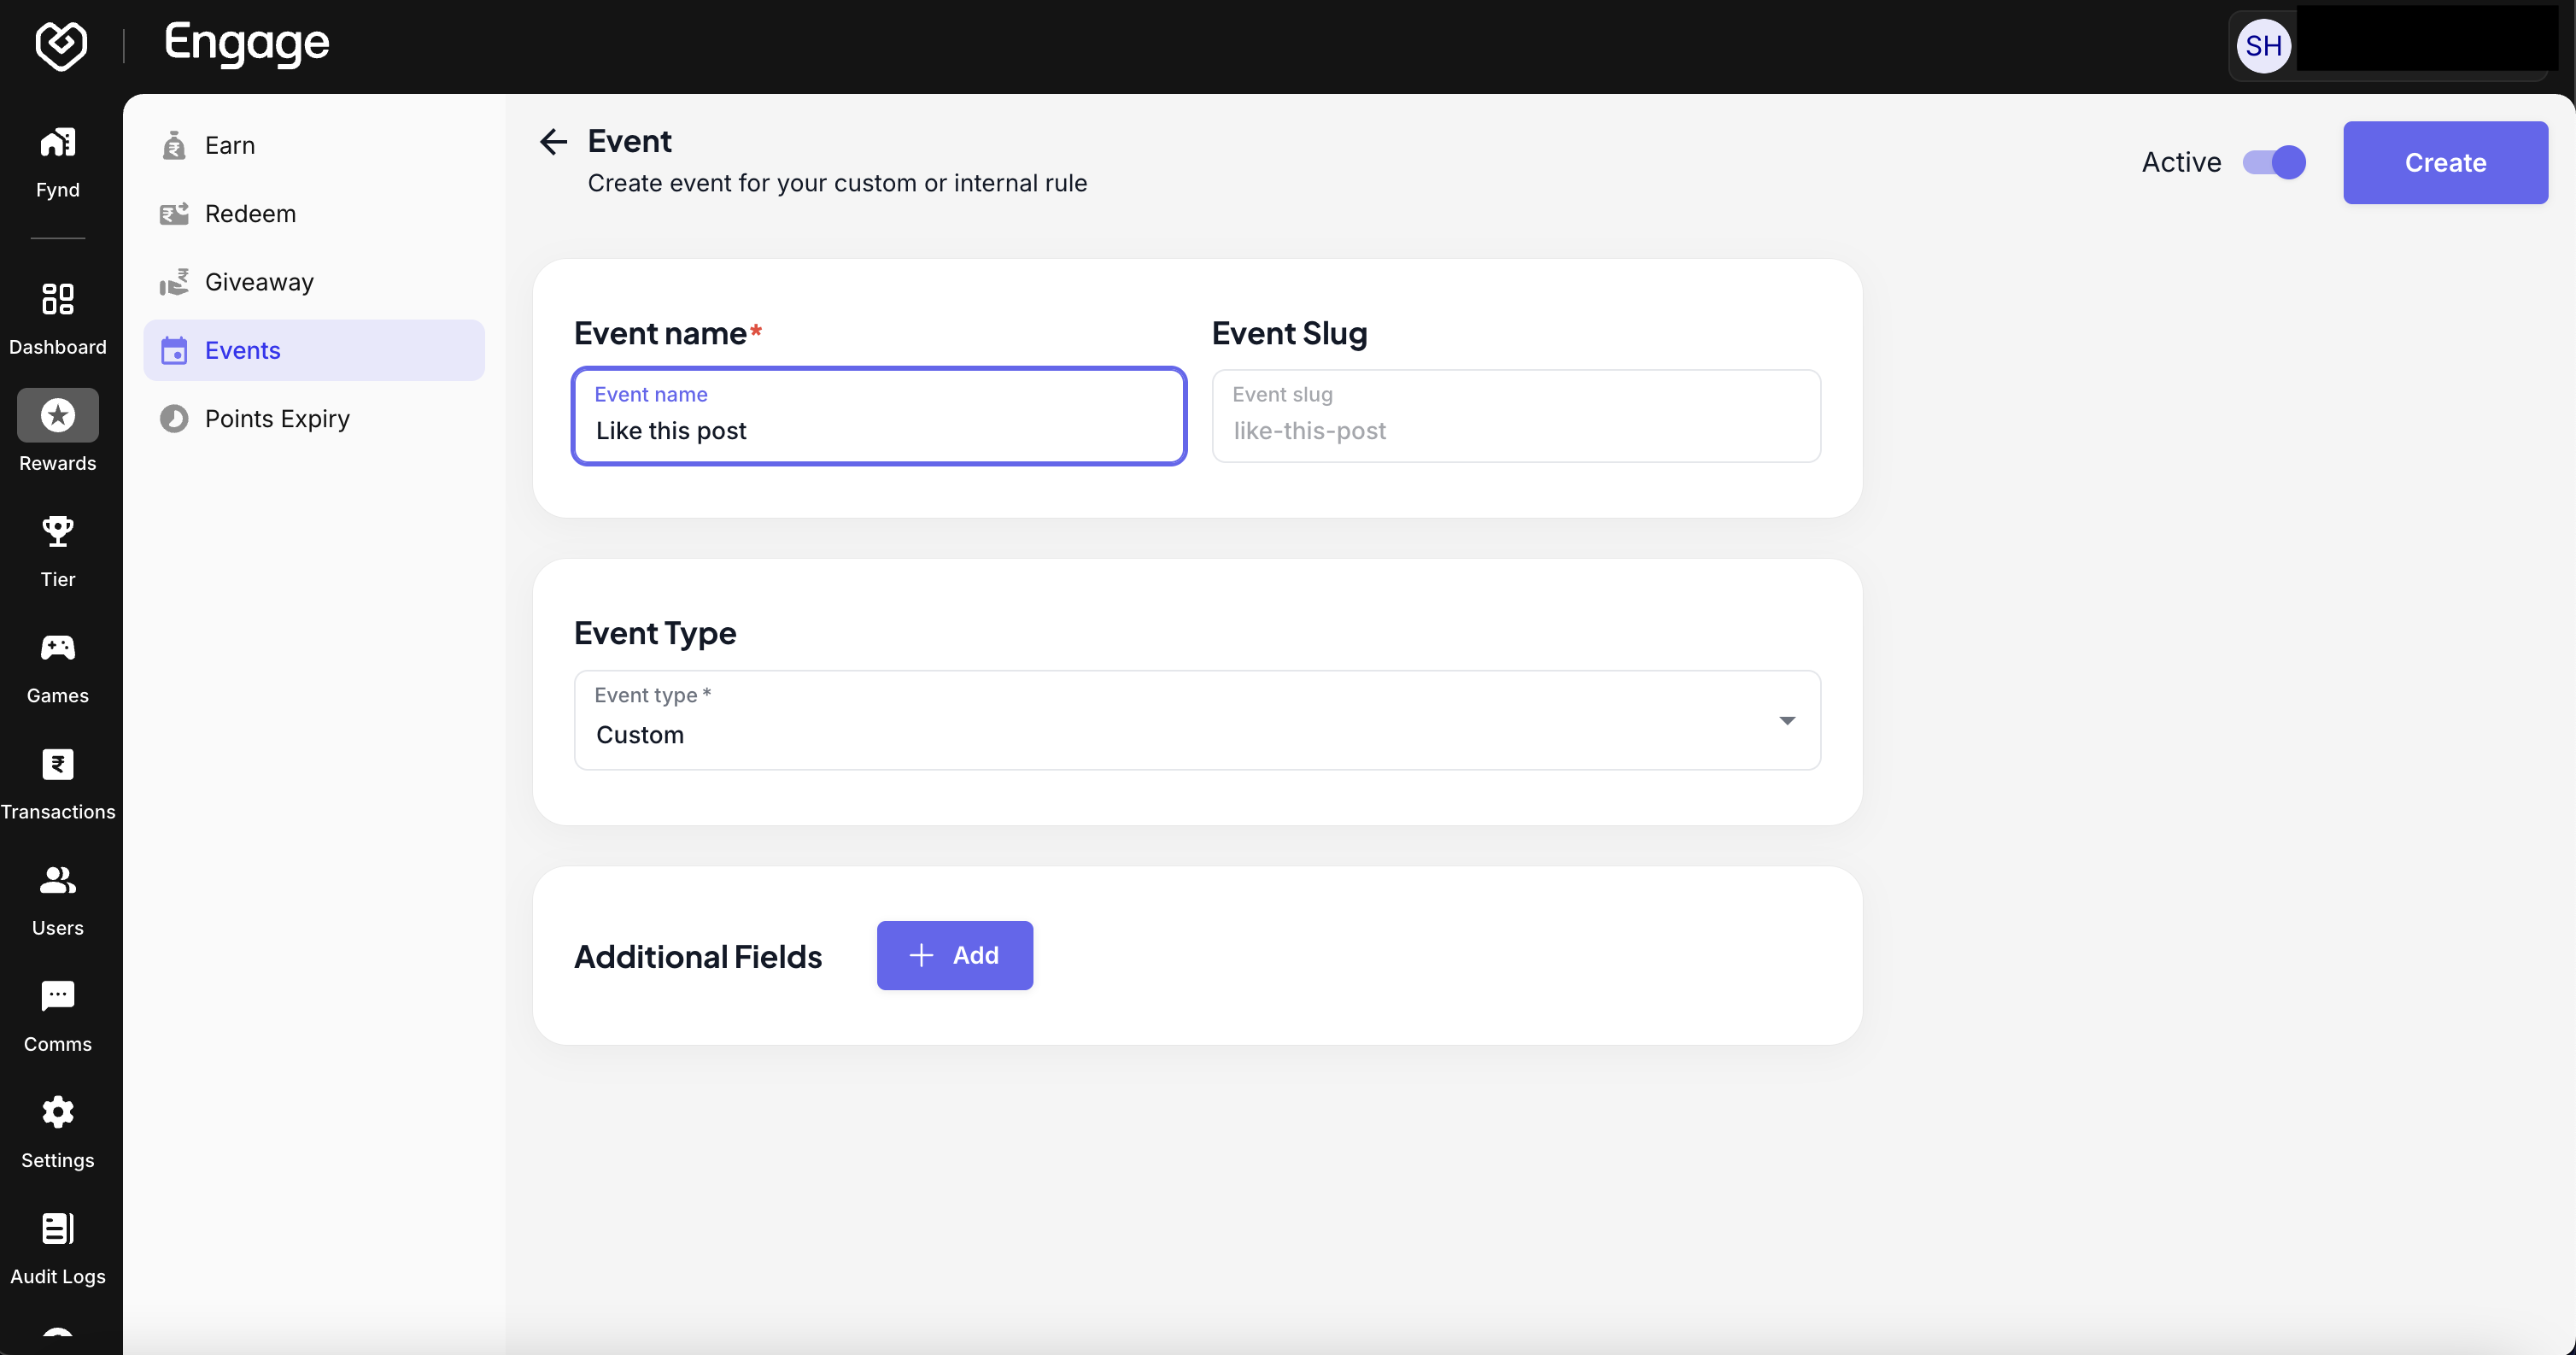
- Verify Event Slug - The system automatically generates a Slug based on your Event Name. This slug acts as the machine-readable identifier for API calls.
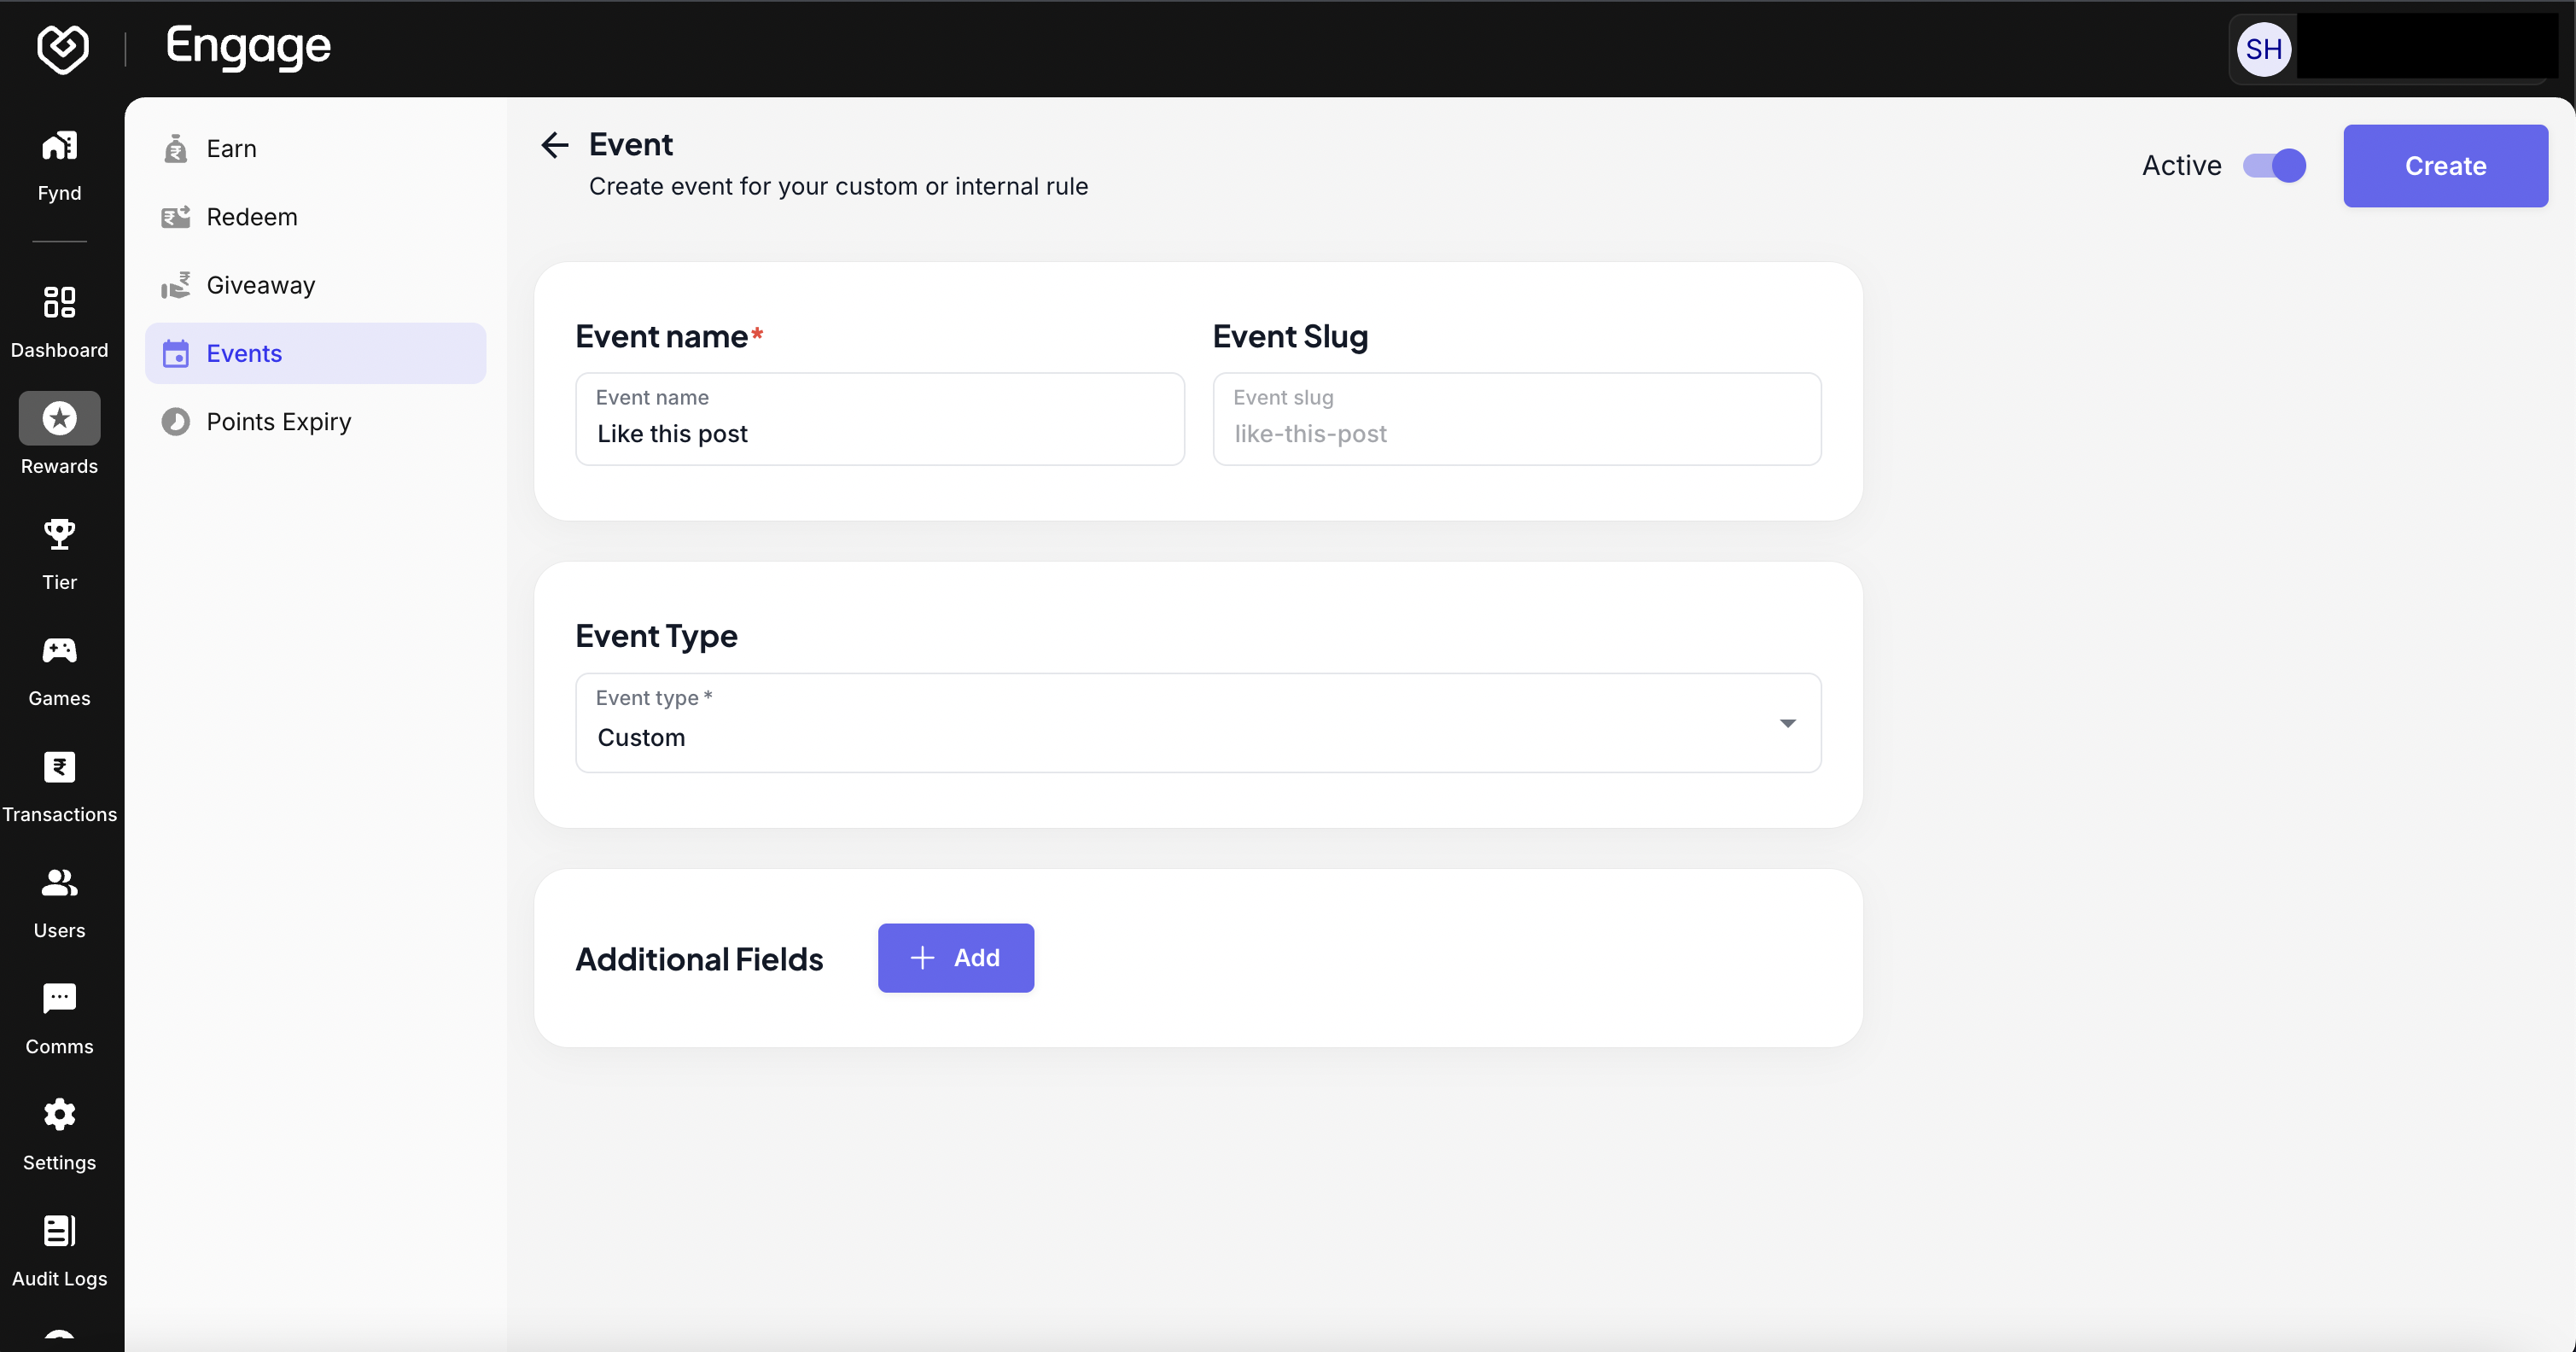
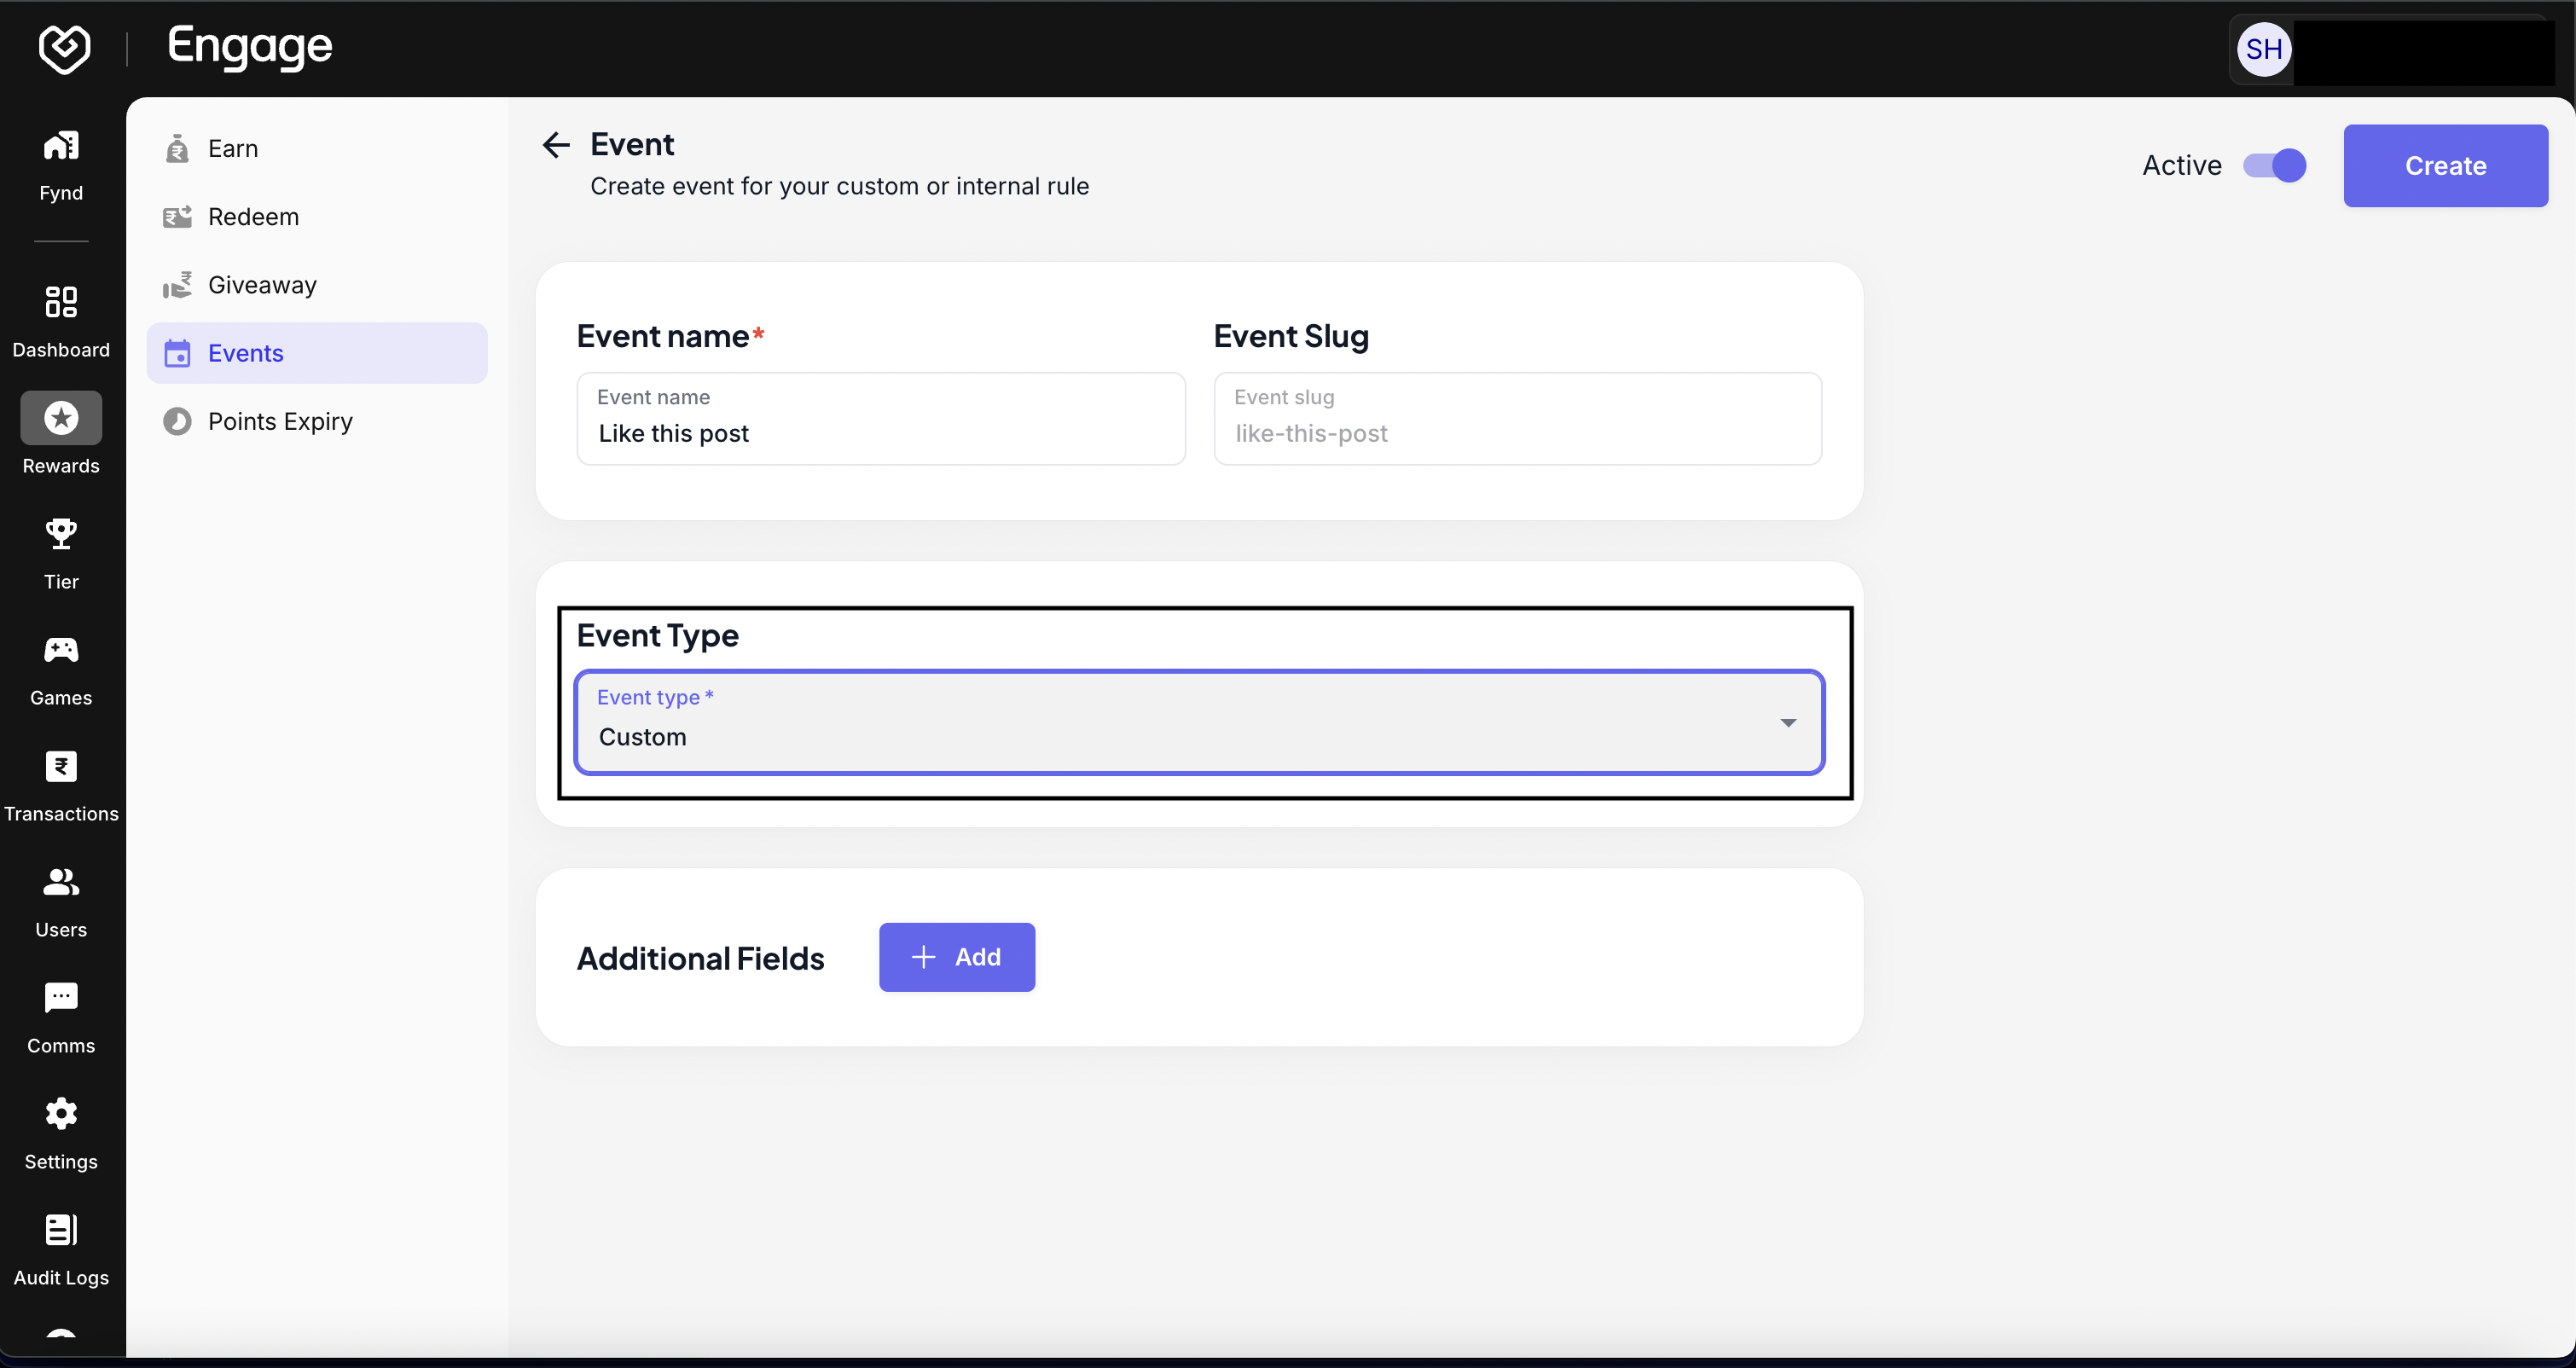
- Select Event Category - Choose the Event Type from the dropdown menu (e.g., "Earn Points" or "Redeem Points"). This categorizes how the system processes the activity.
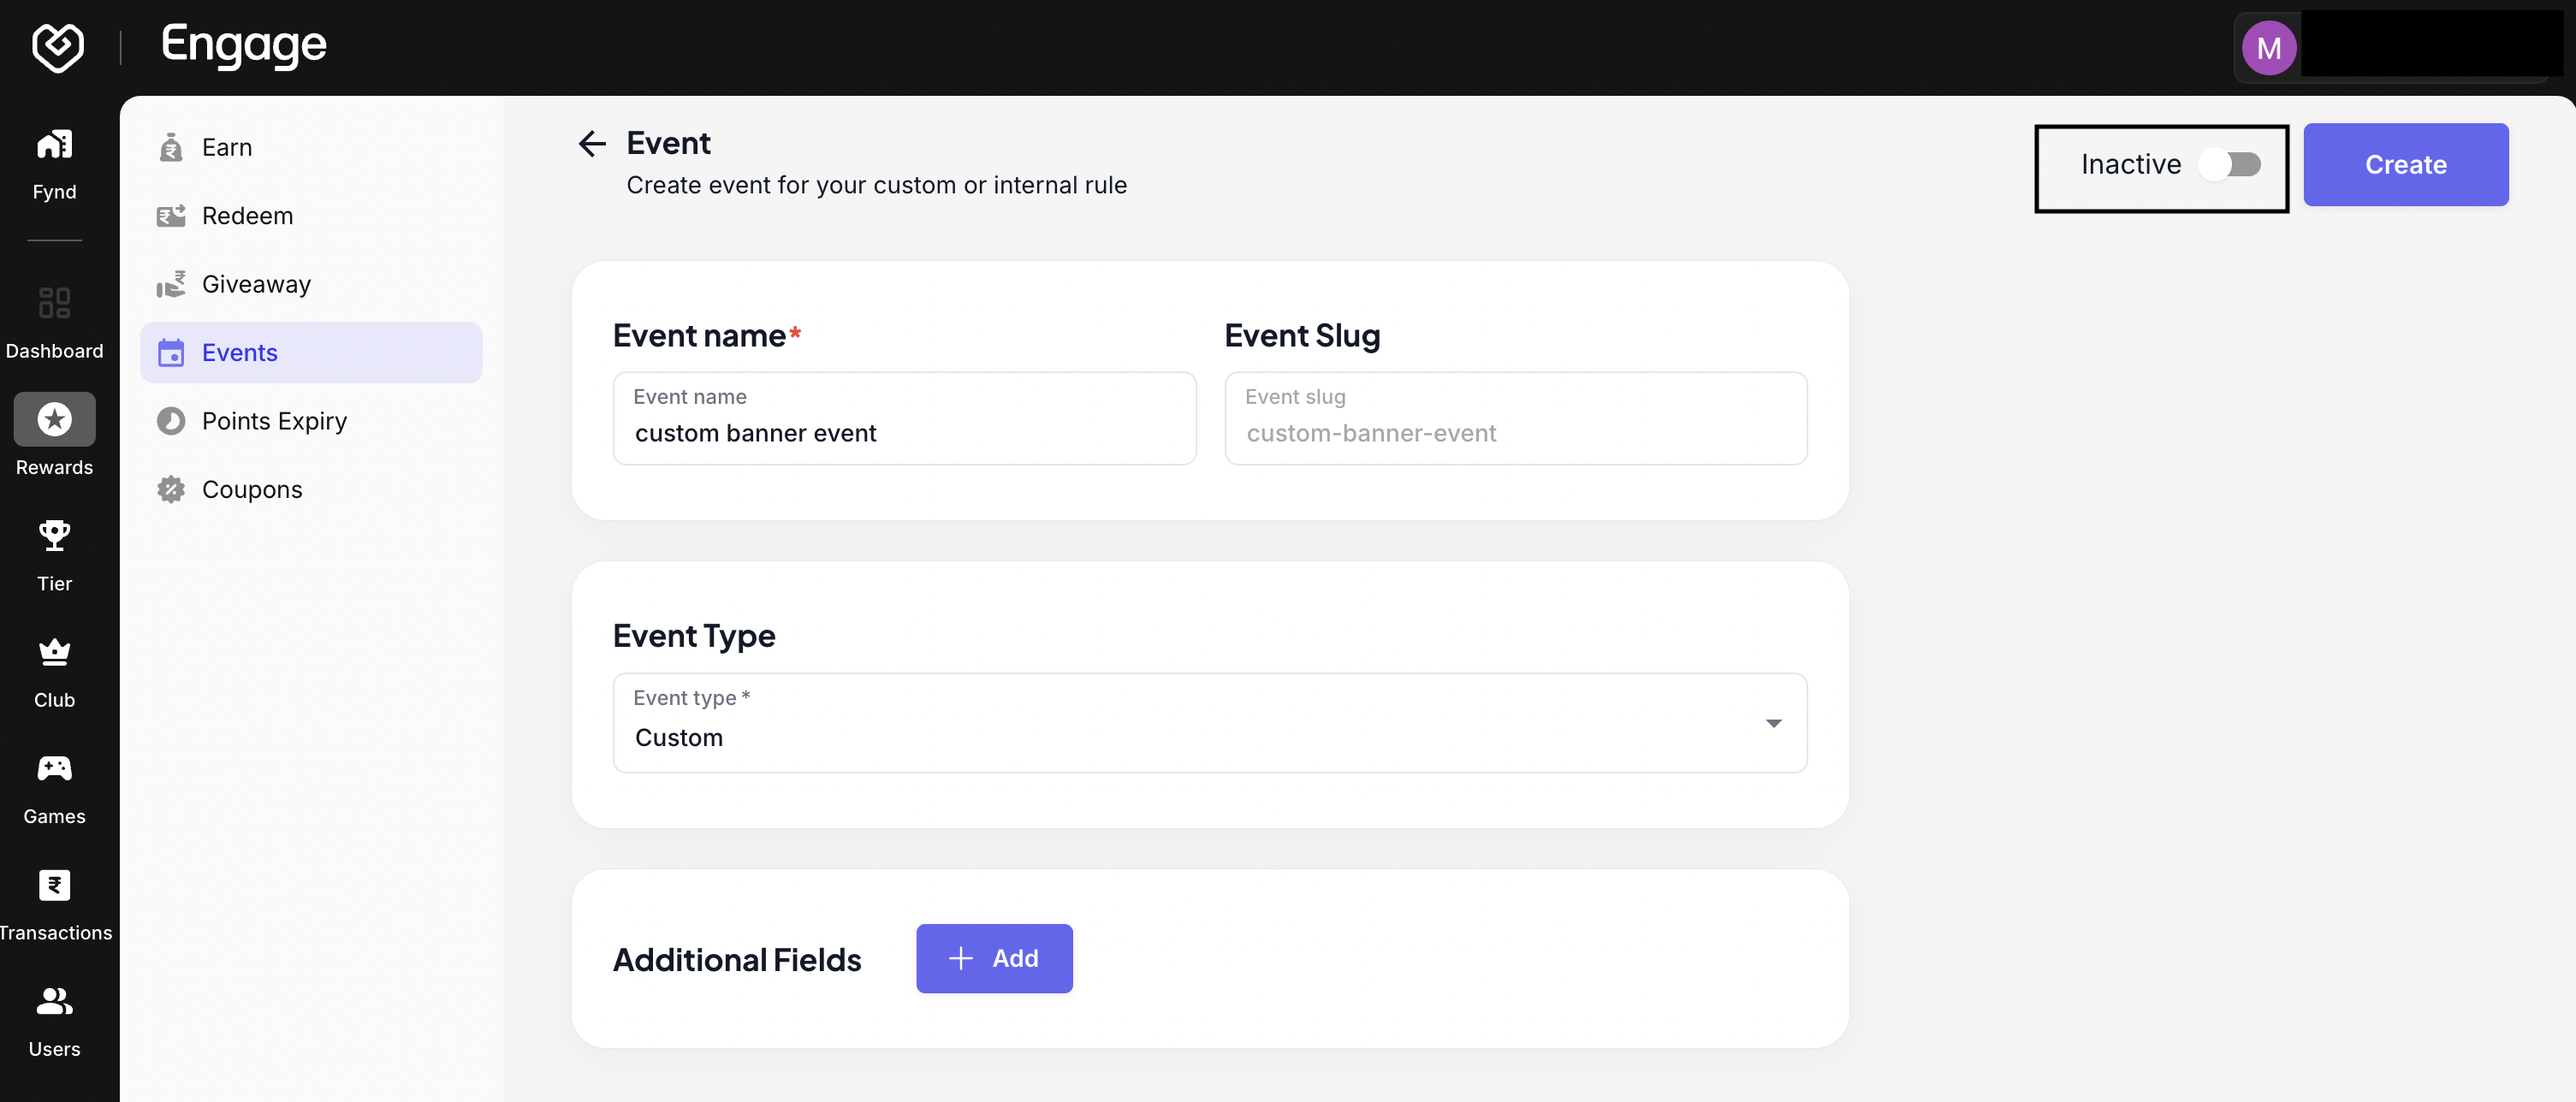
- Set Active Status - Use the toggle switch to set the status to Active (live immediately) or Inactive (draft mode). Inactive events will not process triggers.
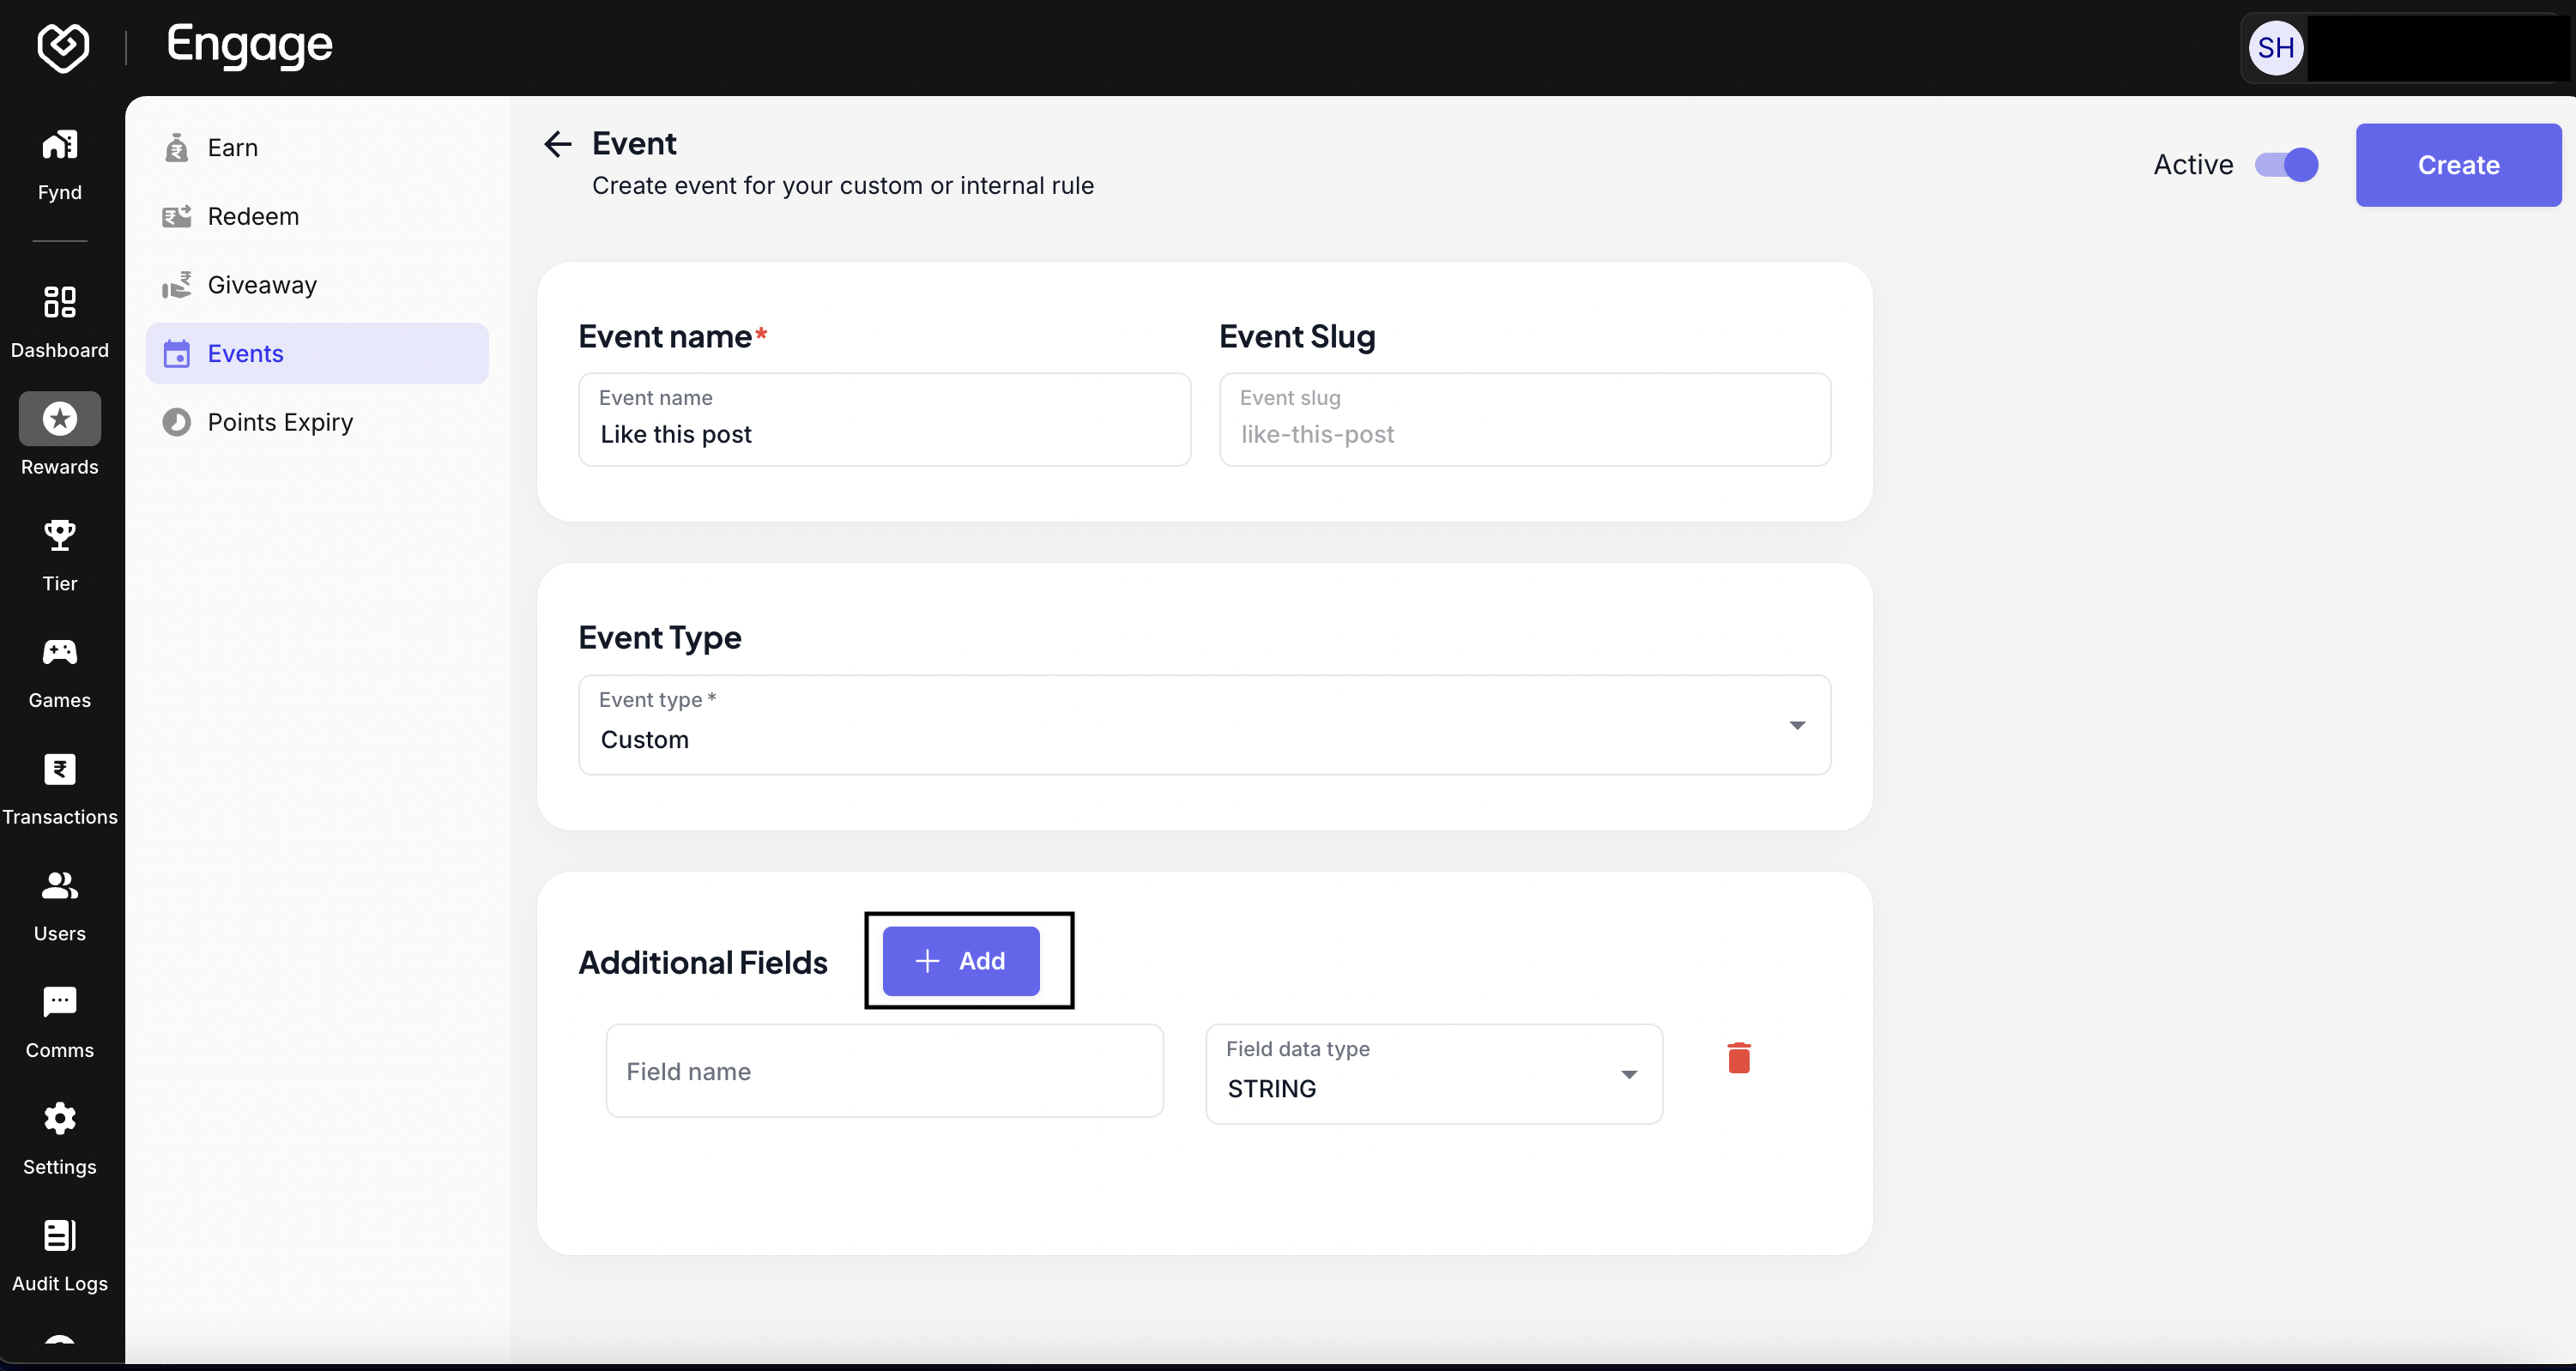
- Configure Custom Fields - Click + Add to define optional Custom Fields. These allow you to capture specific metadata (like "Order ID" or "Referral Code") whenever this event is triggered.
- Save Configuration - Review your settings and click Save. Your event is now created and ready to be integrated into your loyalty rules.