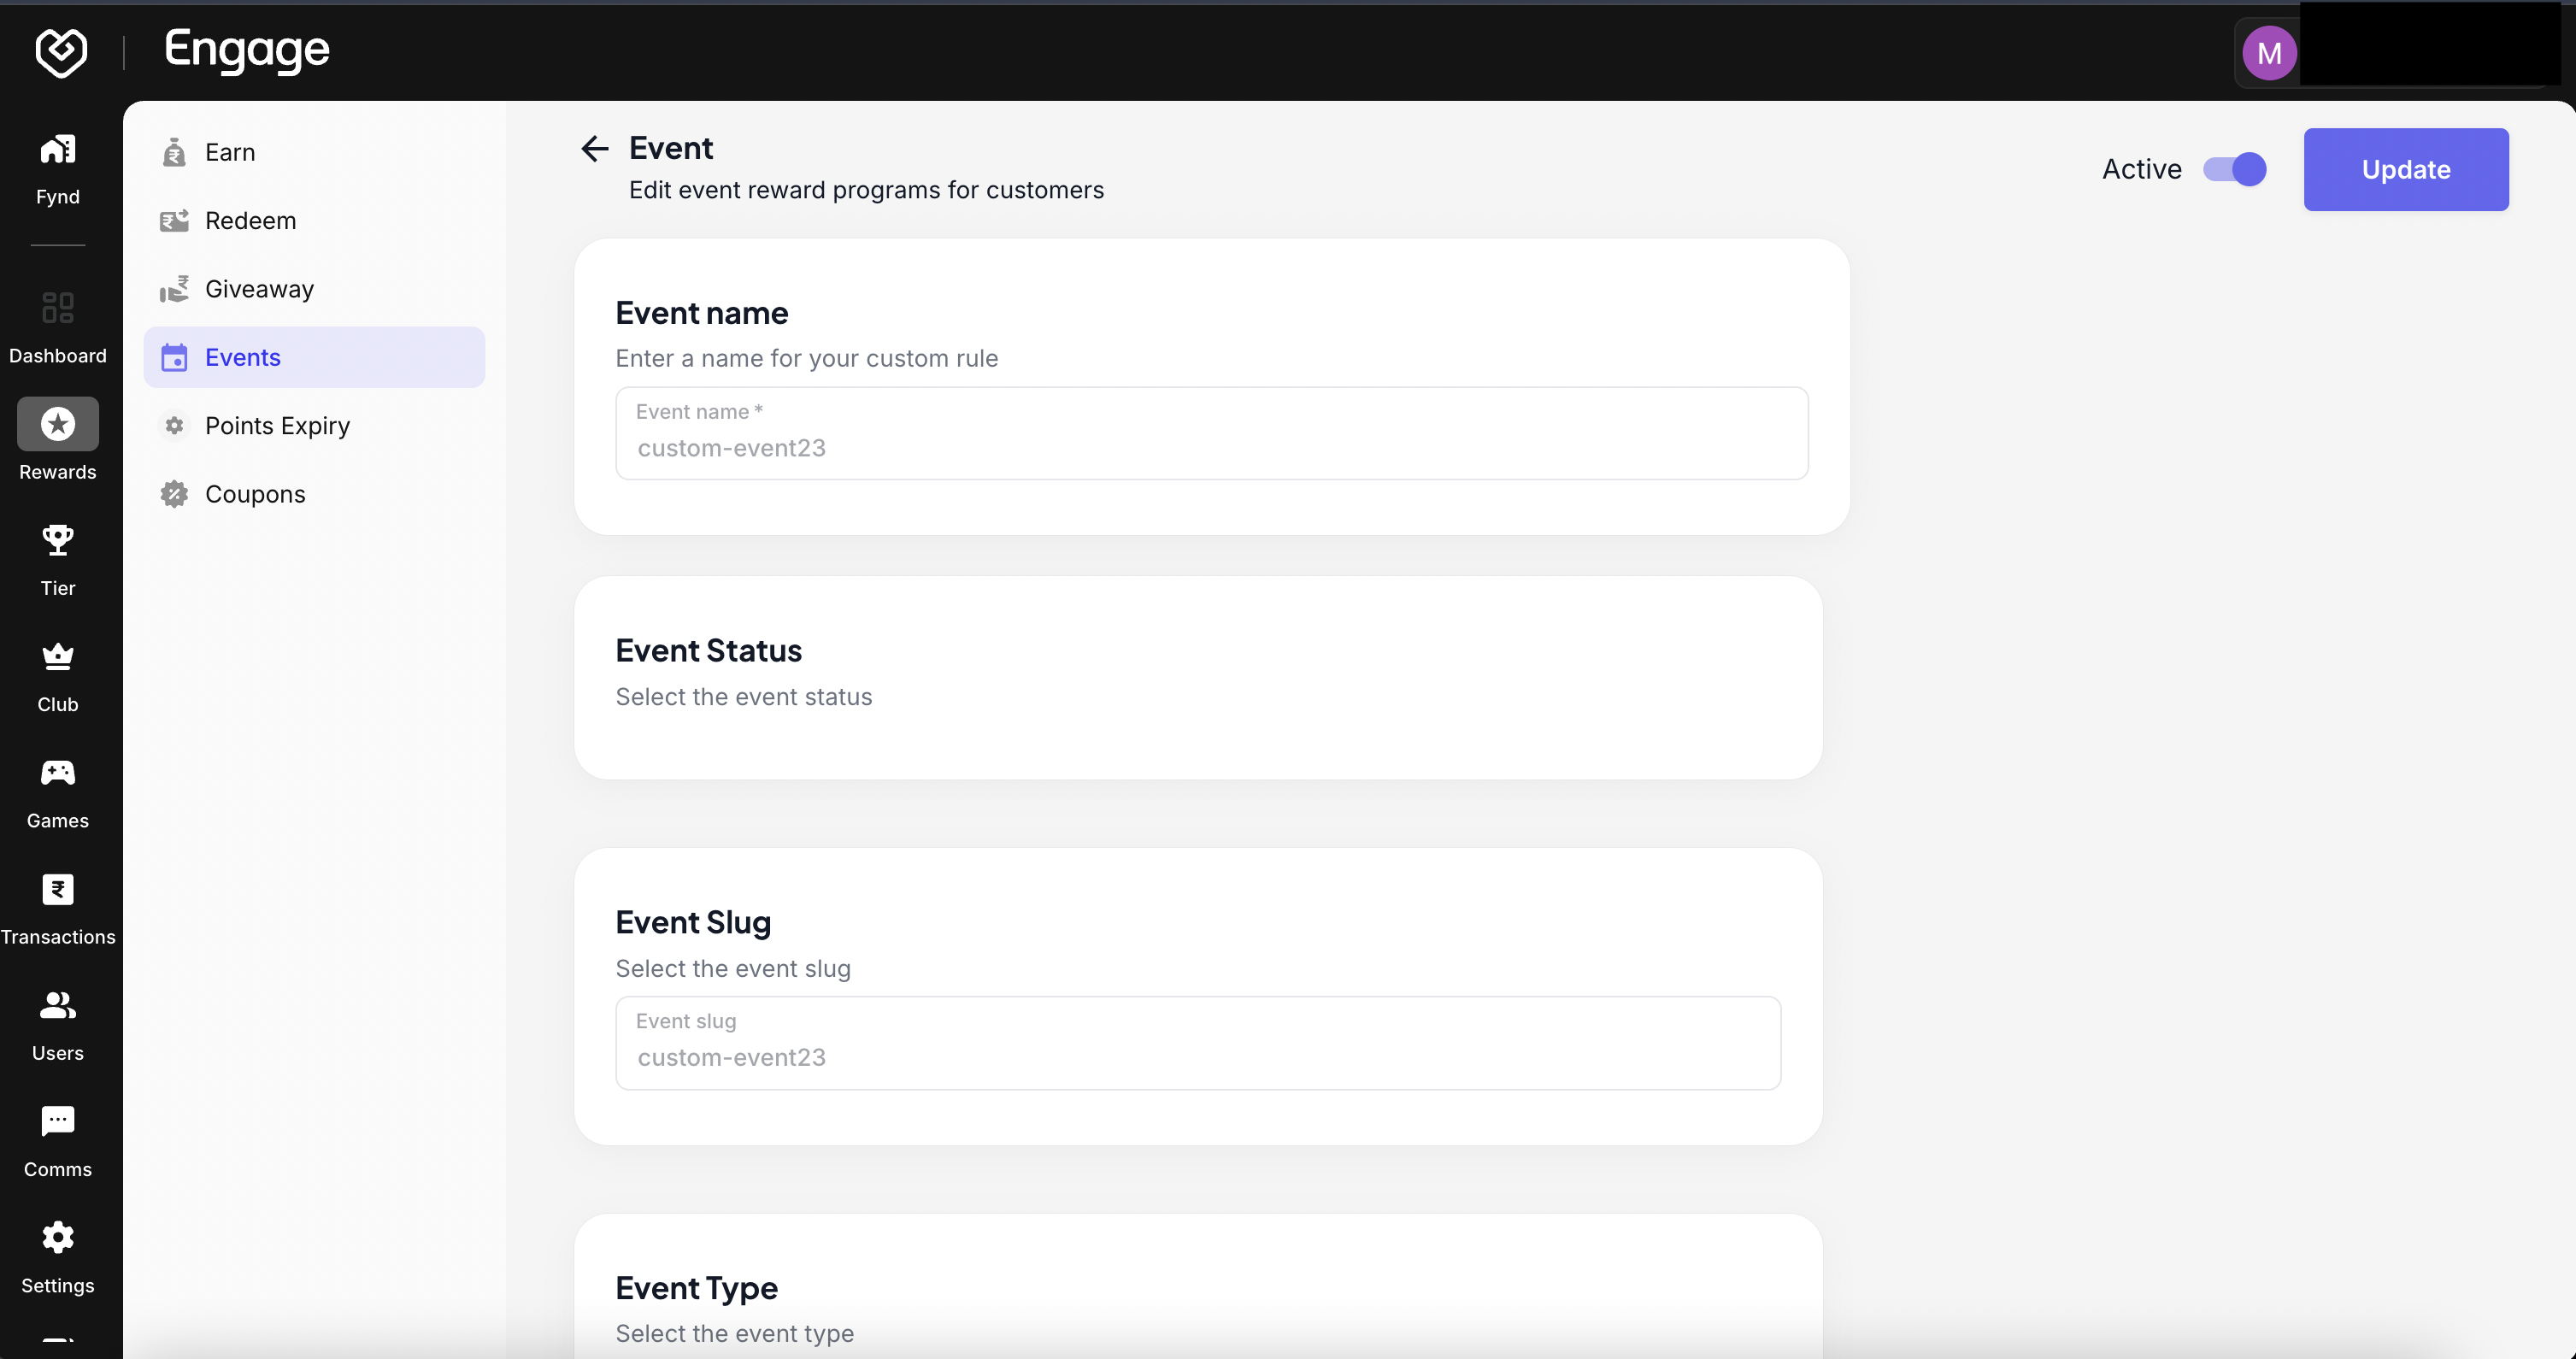
As your loyalty strategy evolves, you may need to update existing event configurations. The Manage Event feature allows you to modify event properties, adjust custom fields, or change the active status of events without disrupting your entire program.
- Access Events Dashboard - Navigate to the Events tab to view a comprehensive list of all configured events in your organization.
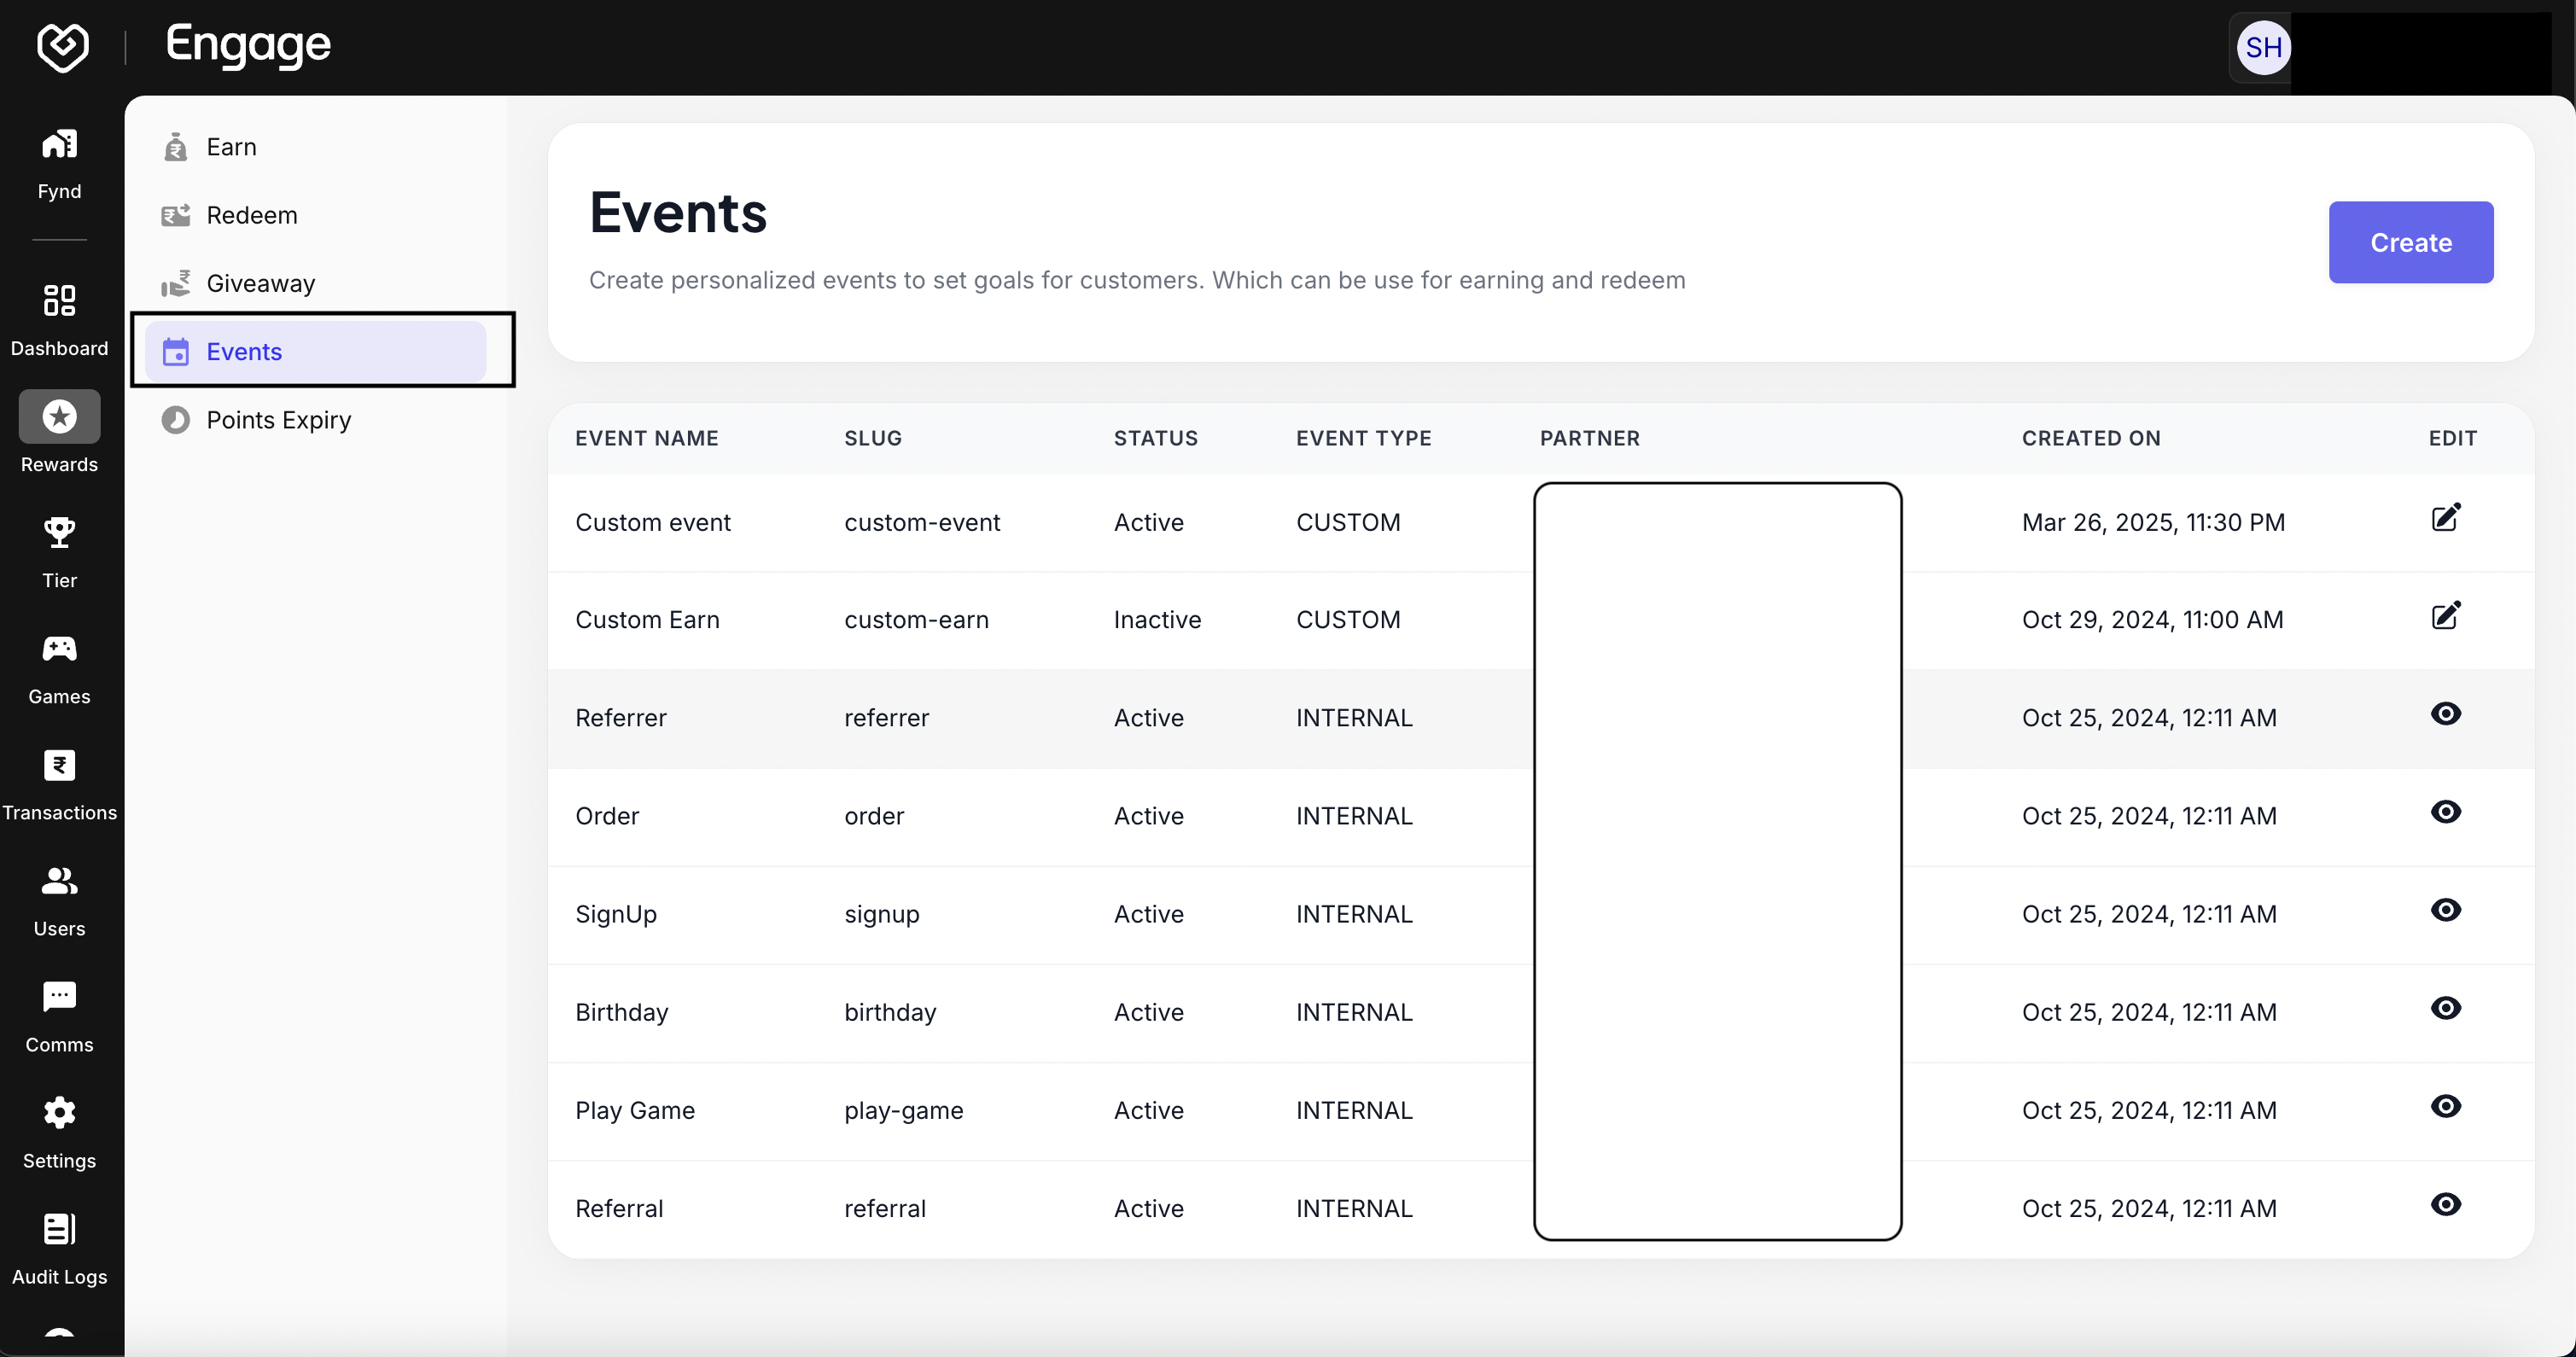
- Select Event to Edit - Locate the specific event you wish to modify and click the Edit icon (pencil) to open its configuration settings.
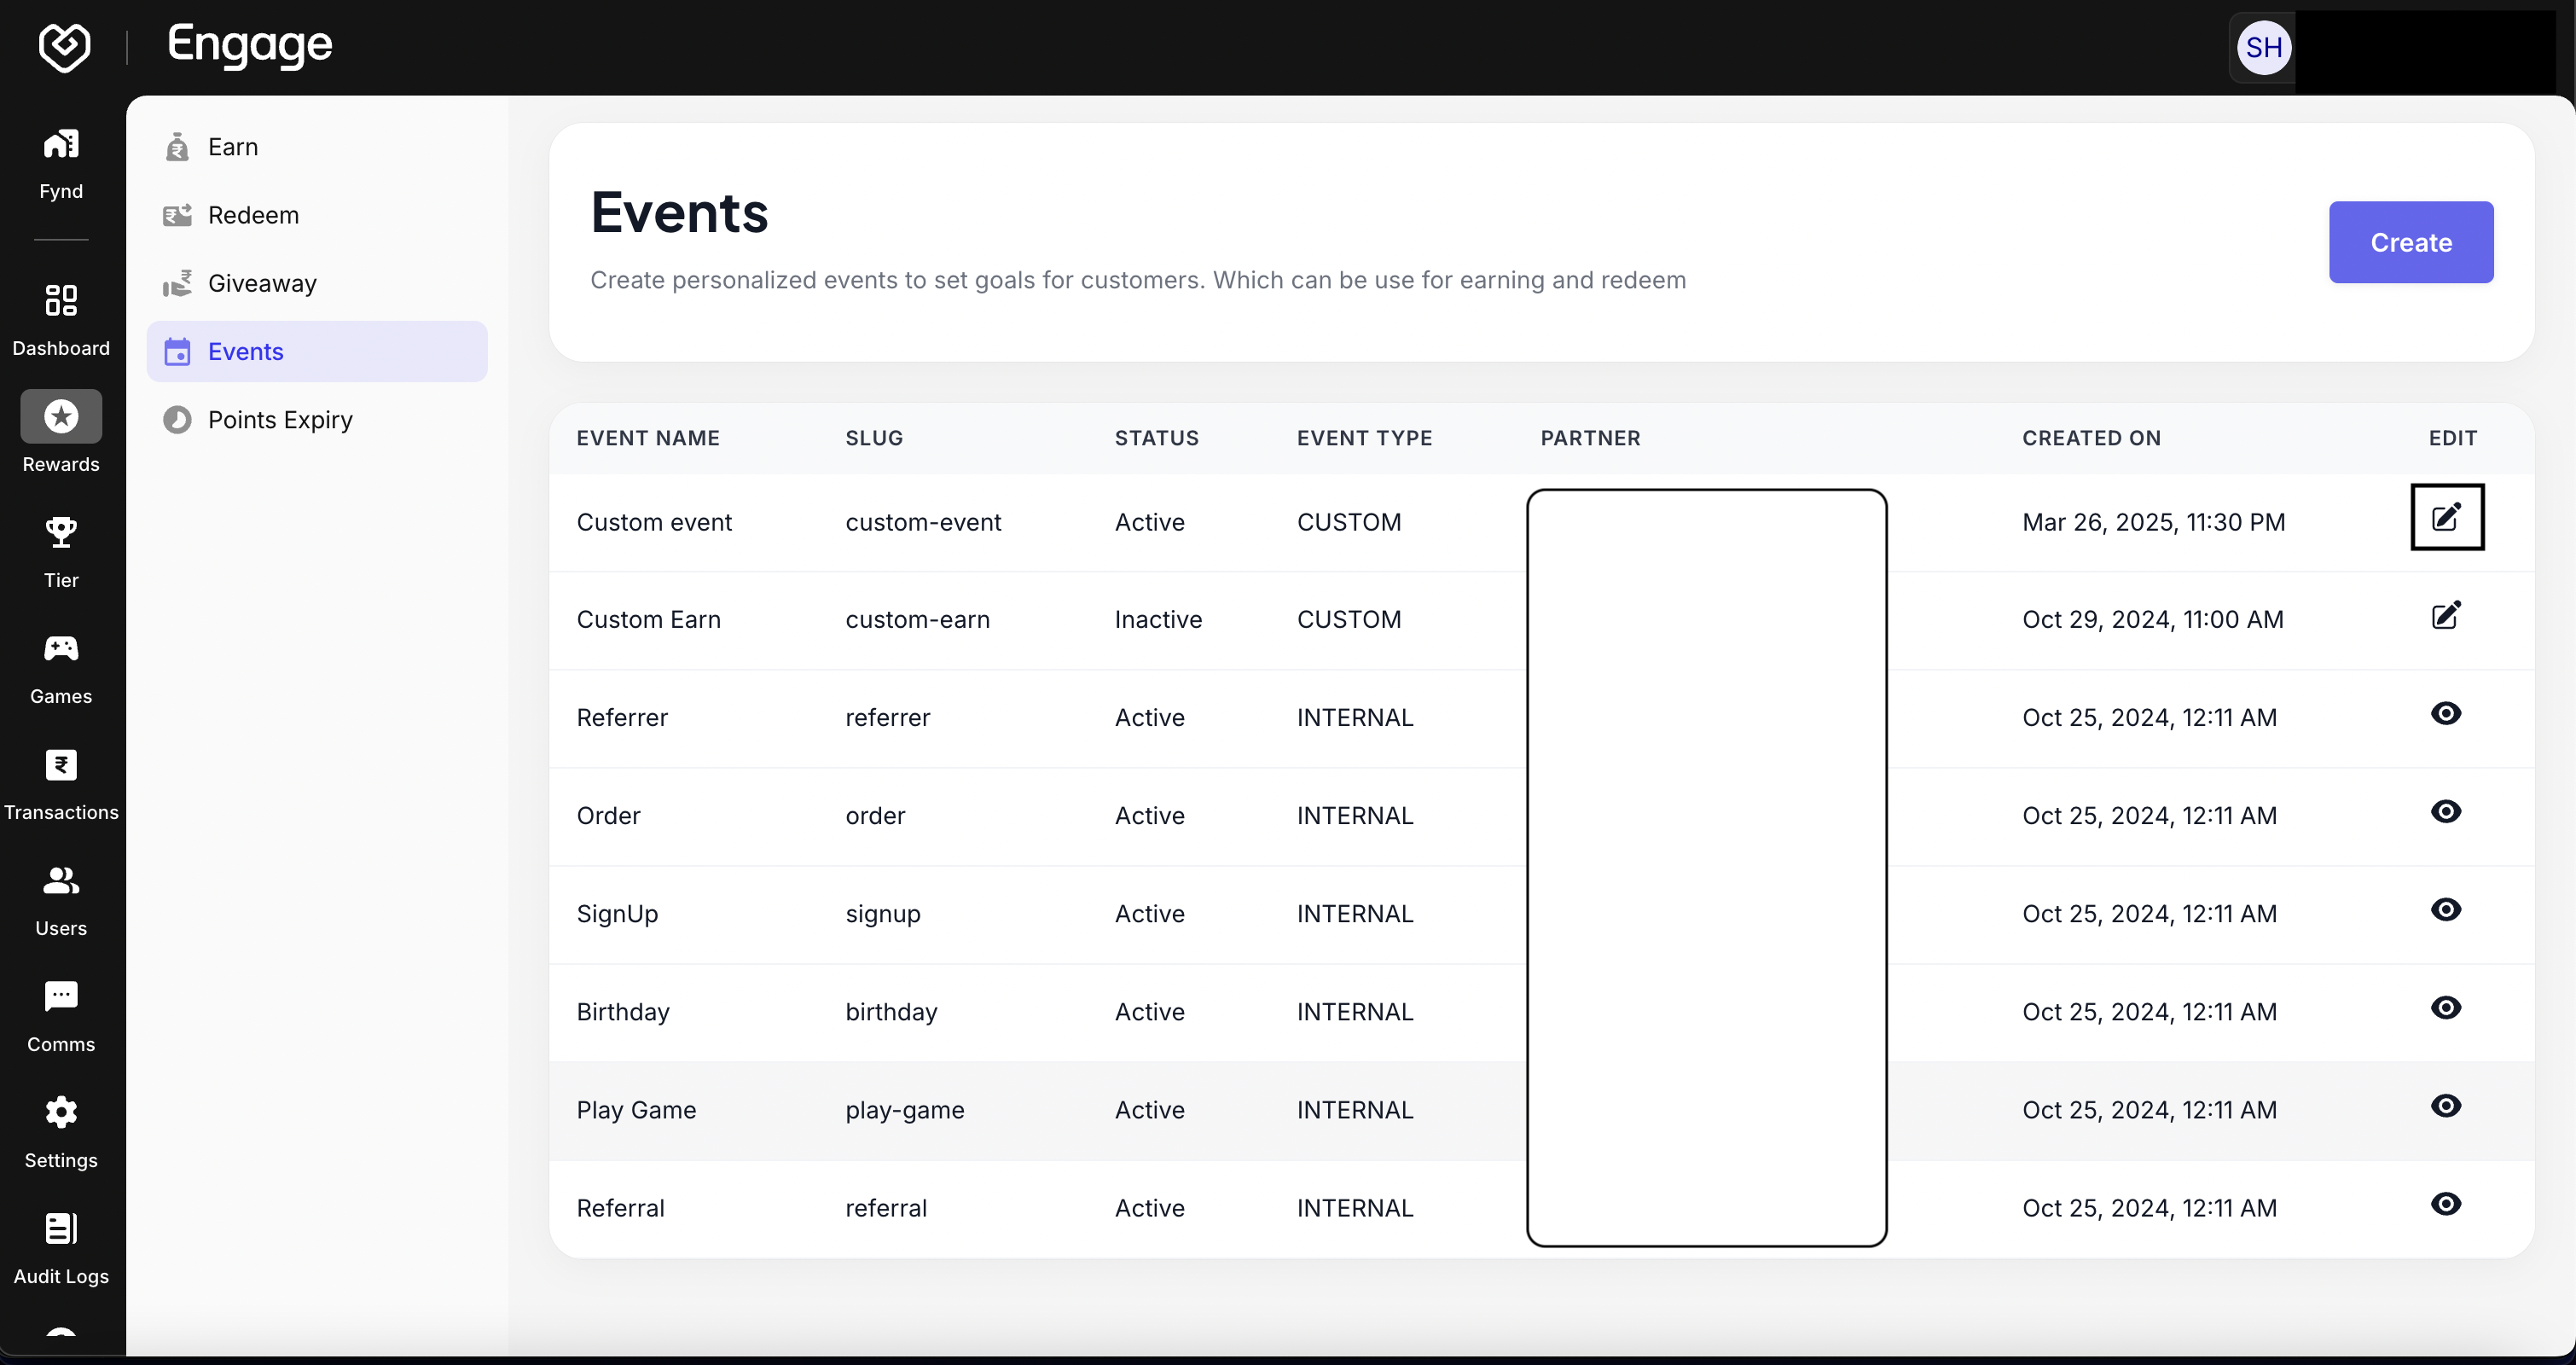
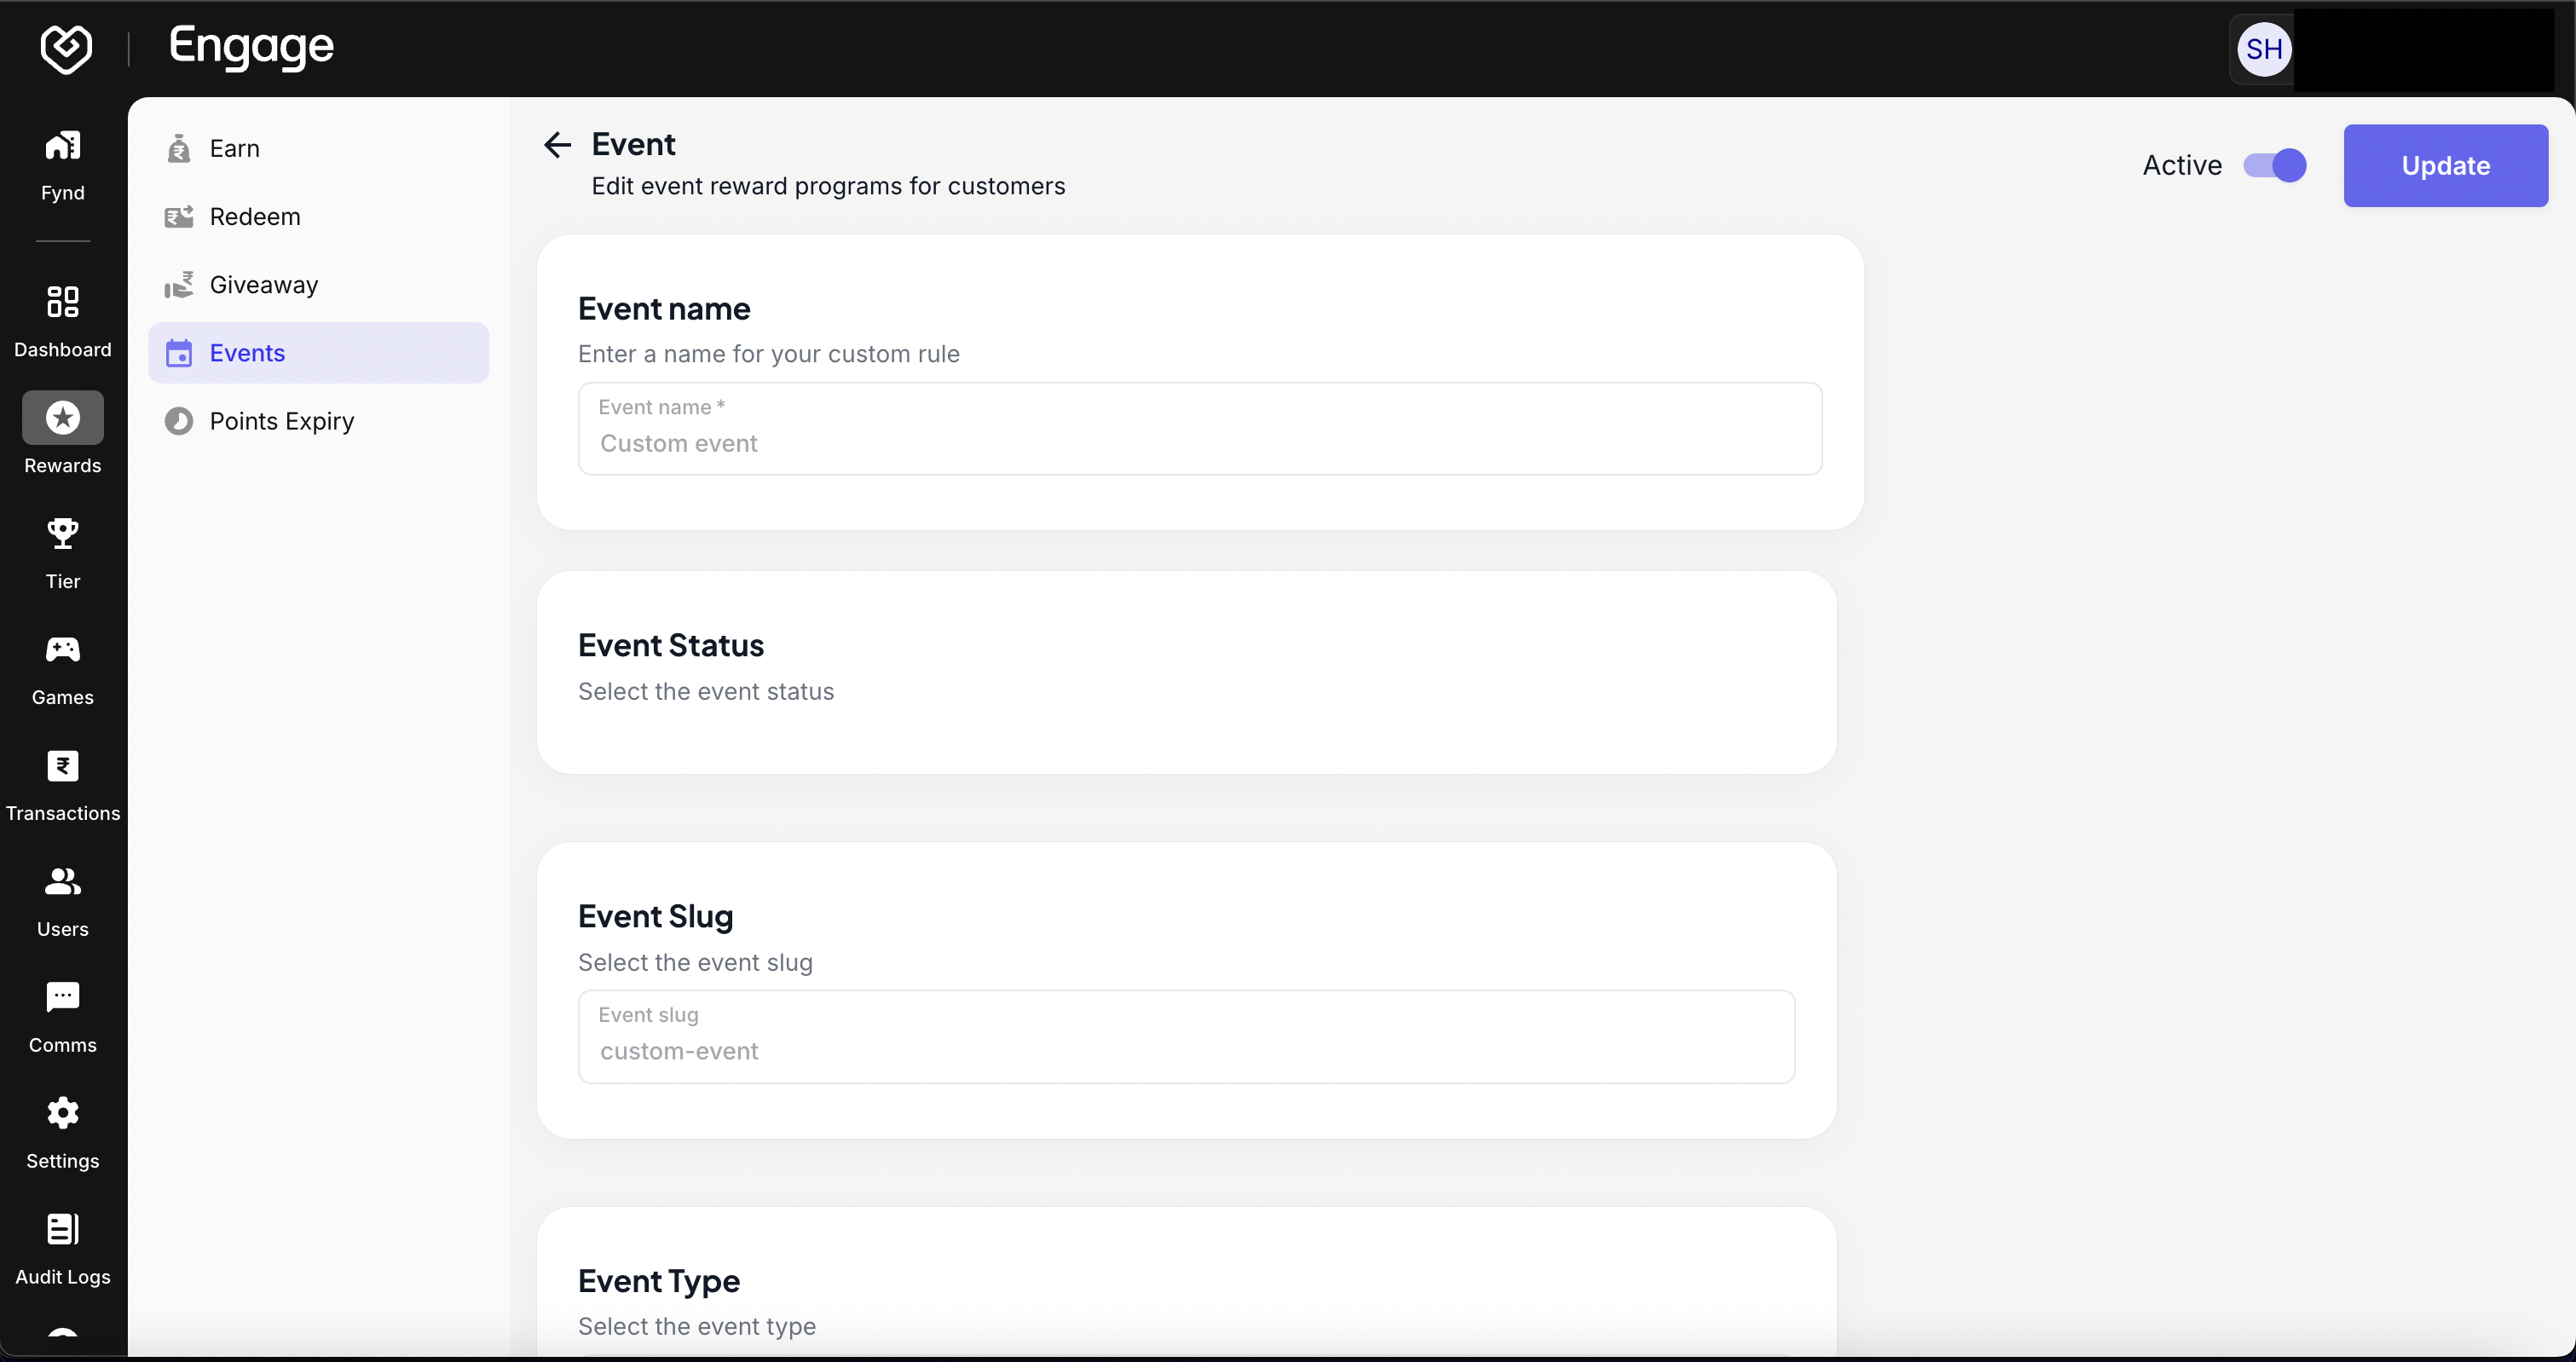
- Modify Core Details - Update the Event Name, Slug, or Description. Ensure that any changes to the slug are reflected in your API integrations if the event is already in use.
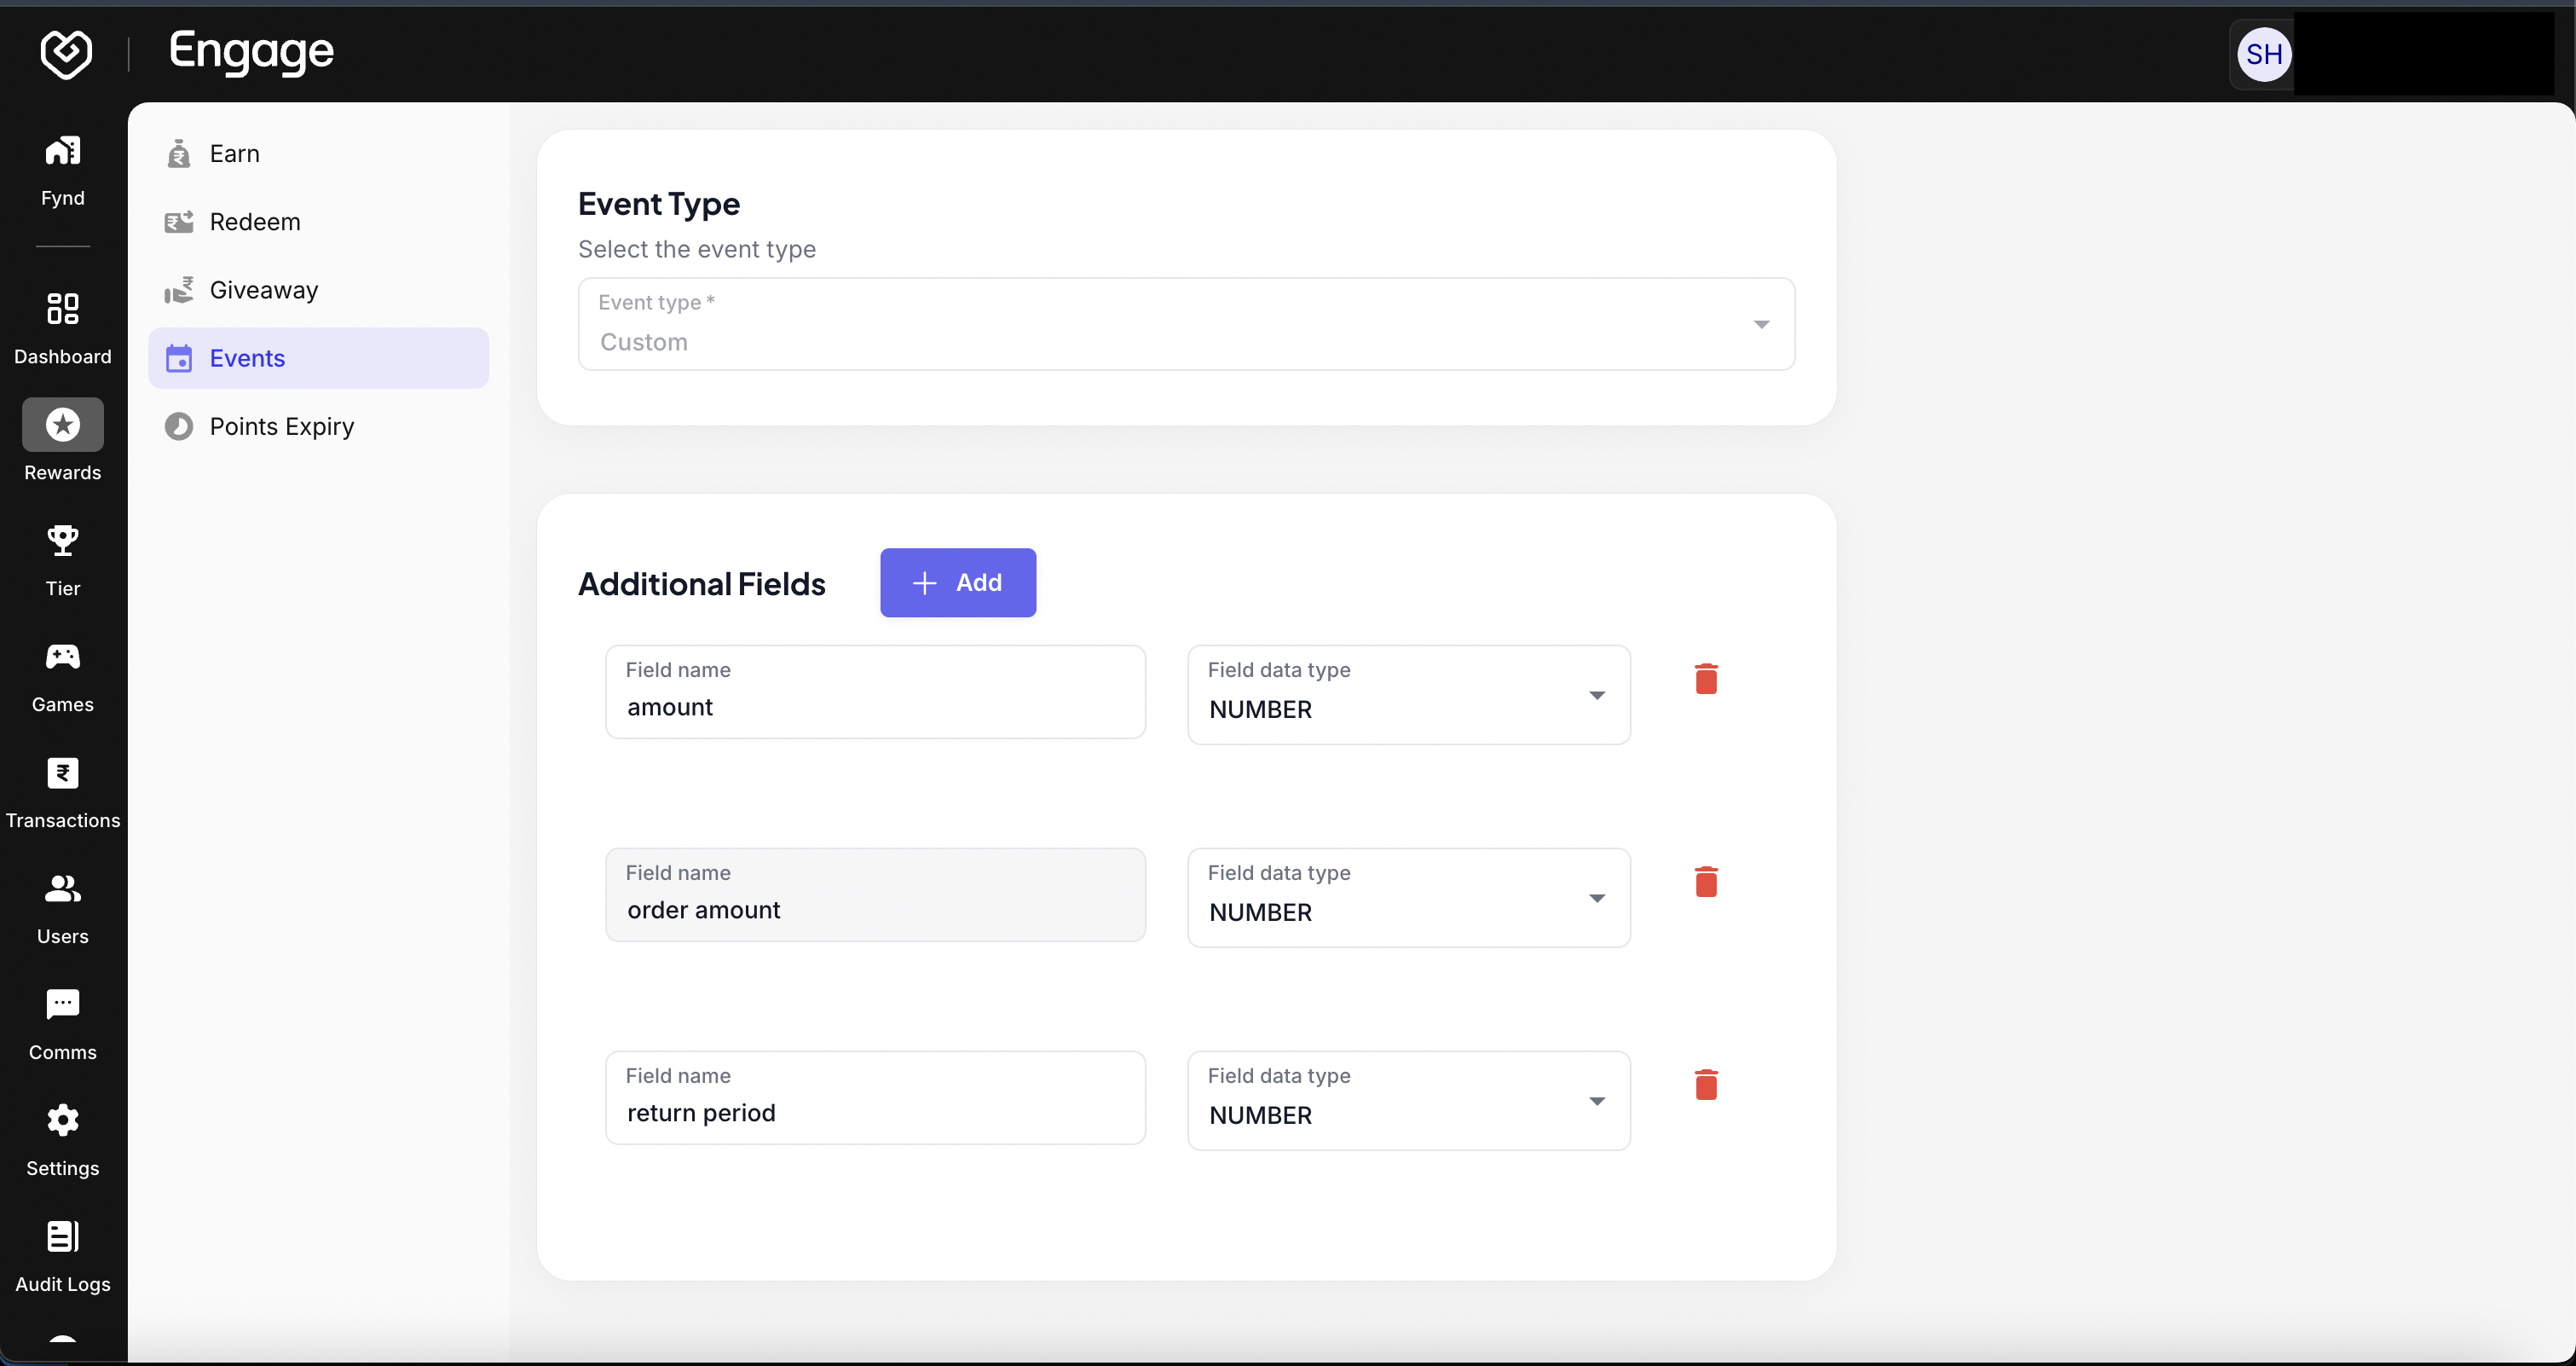
- Adjust Custom Fields - Add new keys or modify existing Custom Fields to capture different data points or change validation rules for the event.
- Toggle Active Status - Use the toggle switch to change the event status. You can set an event to Inactive to pause point collection without deleting the event configuration entirely.
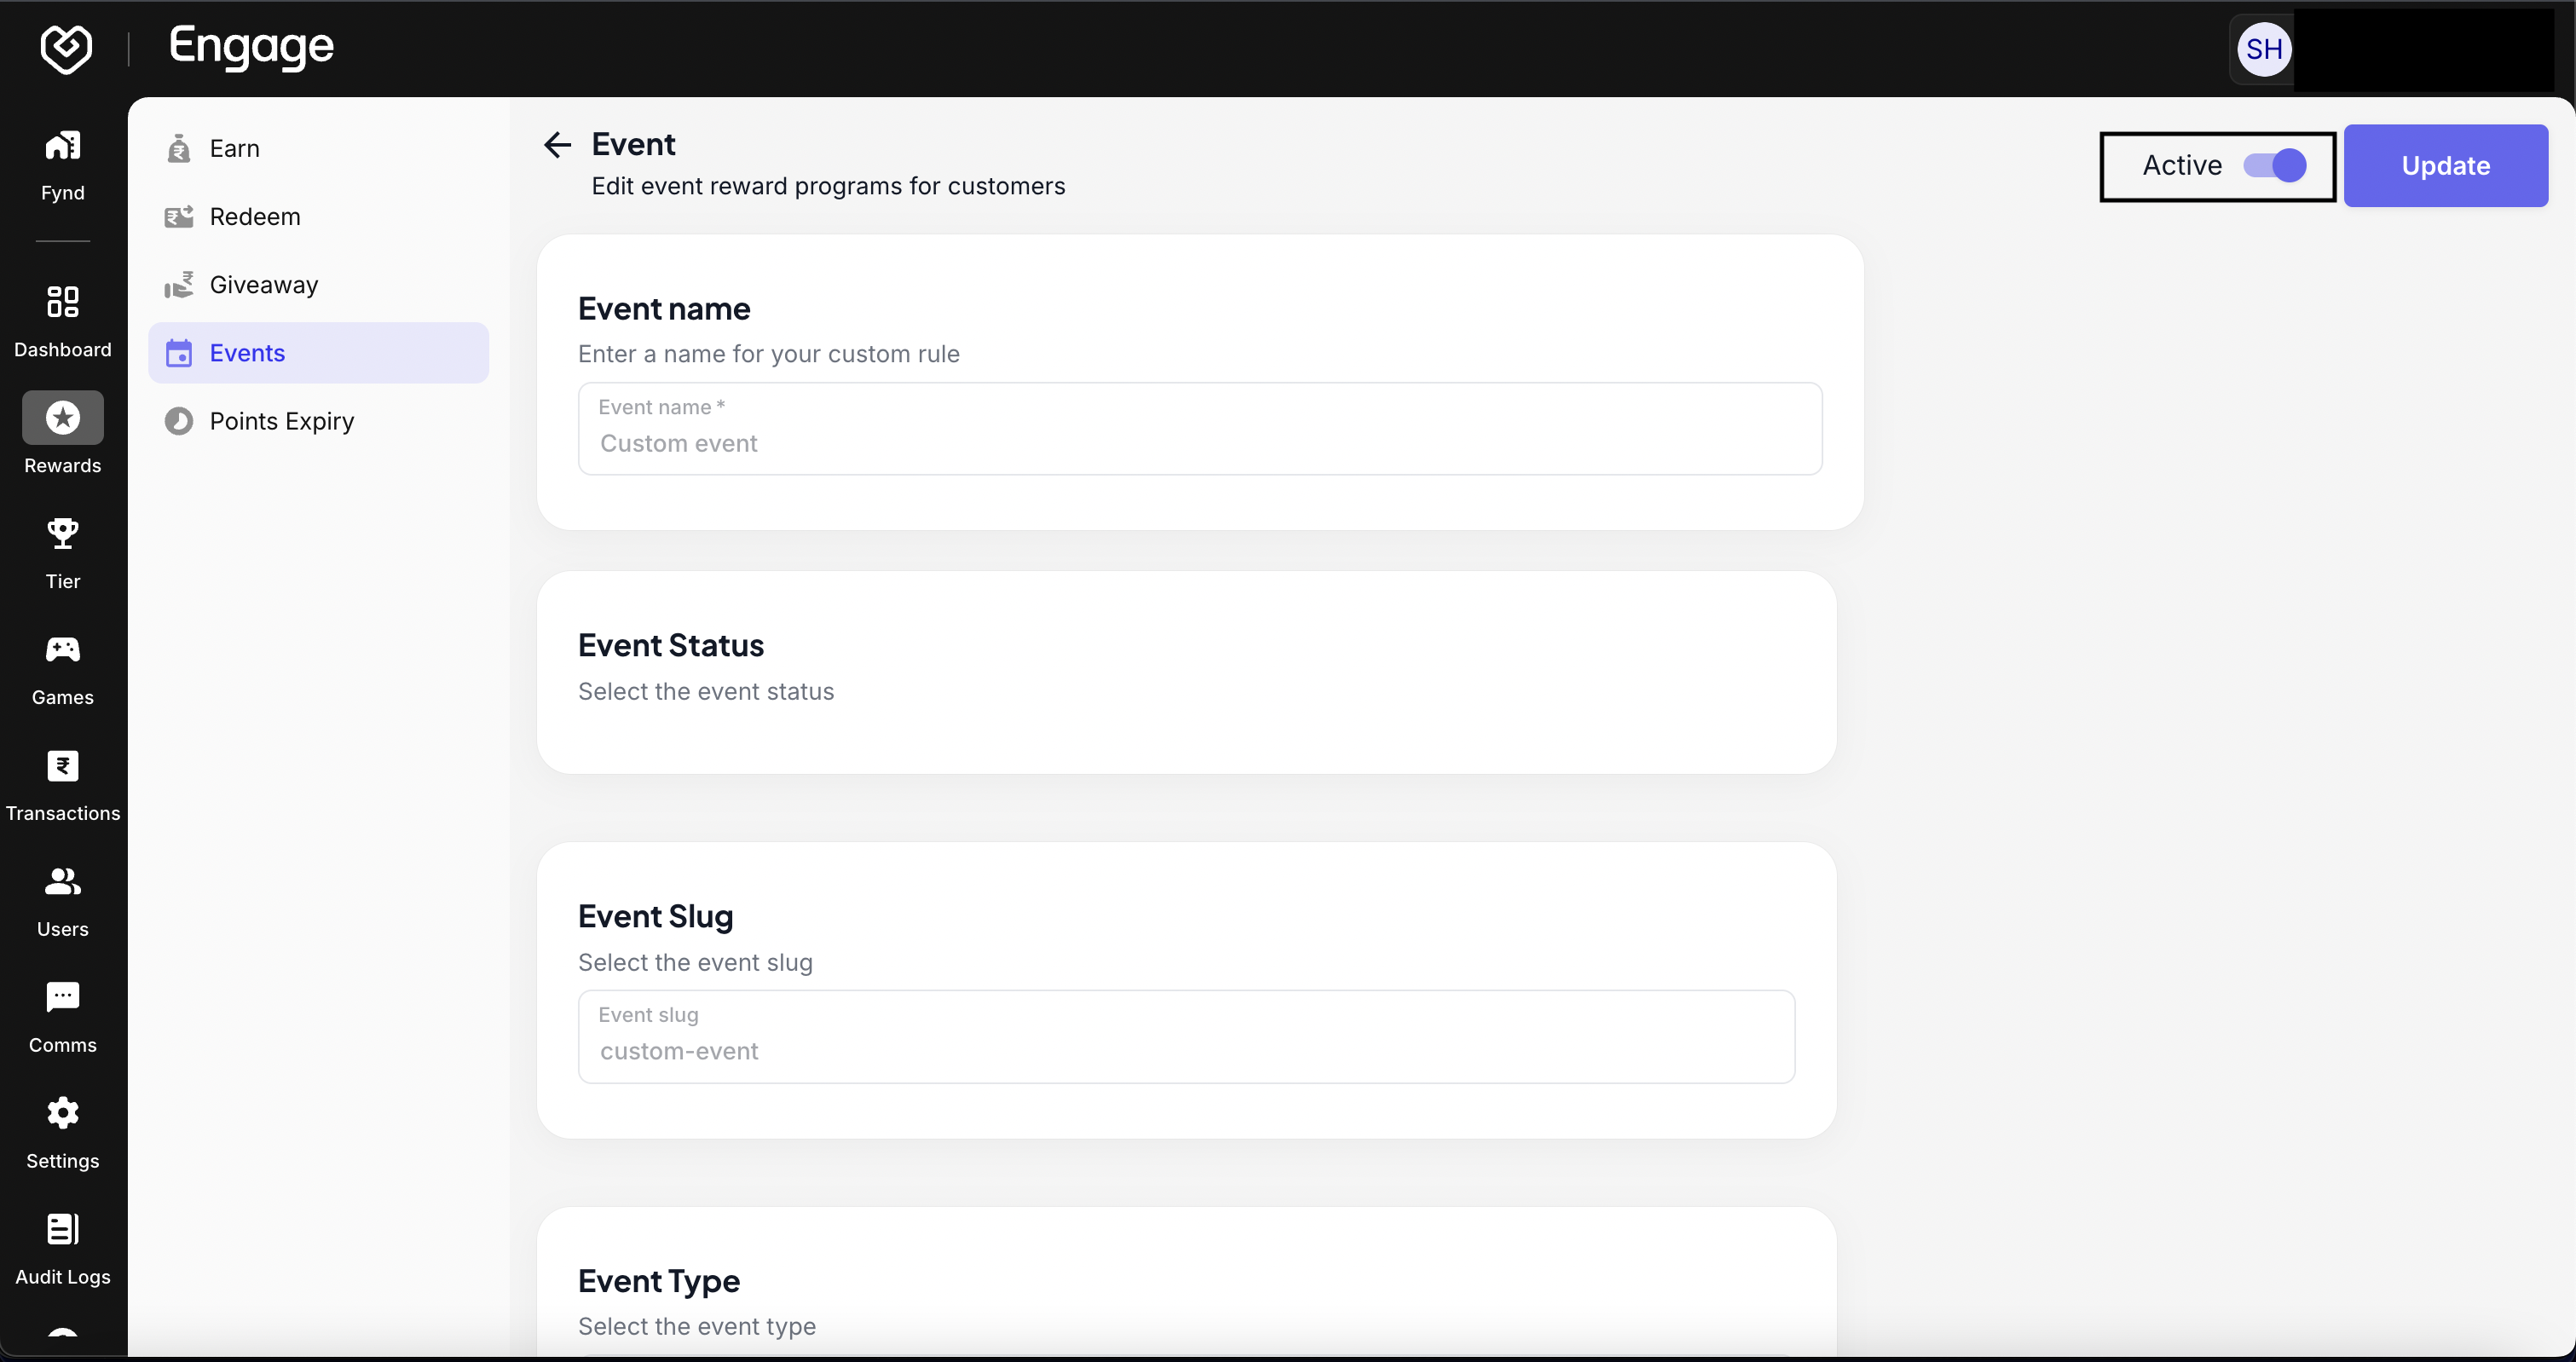
- Save Changes - Review your modifications and click Save. The updates will be applied immediately to the loyalty platform.