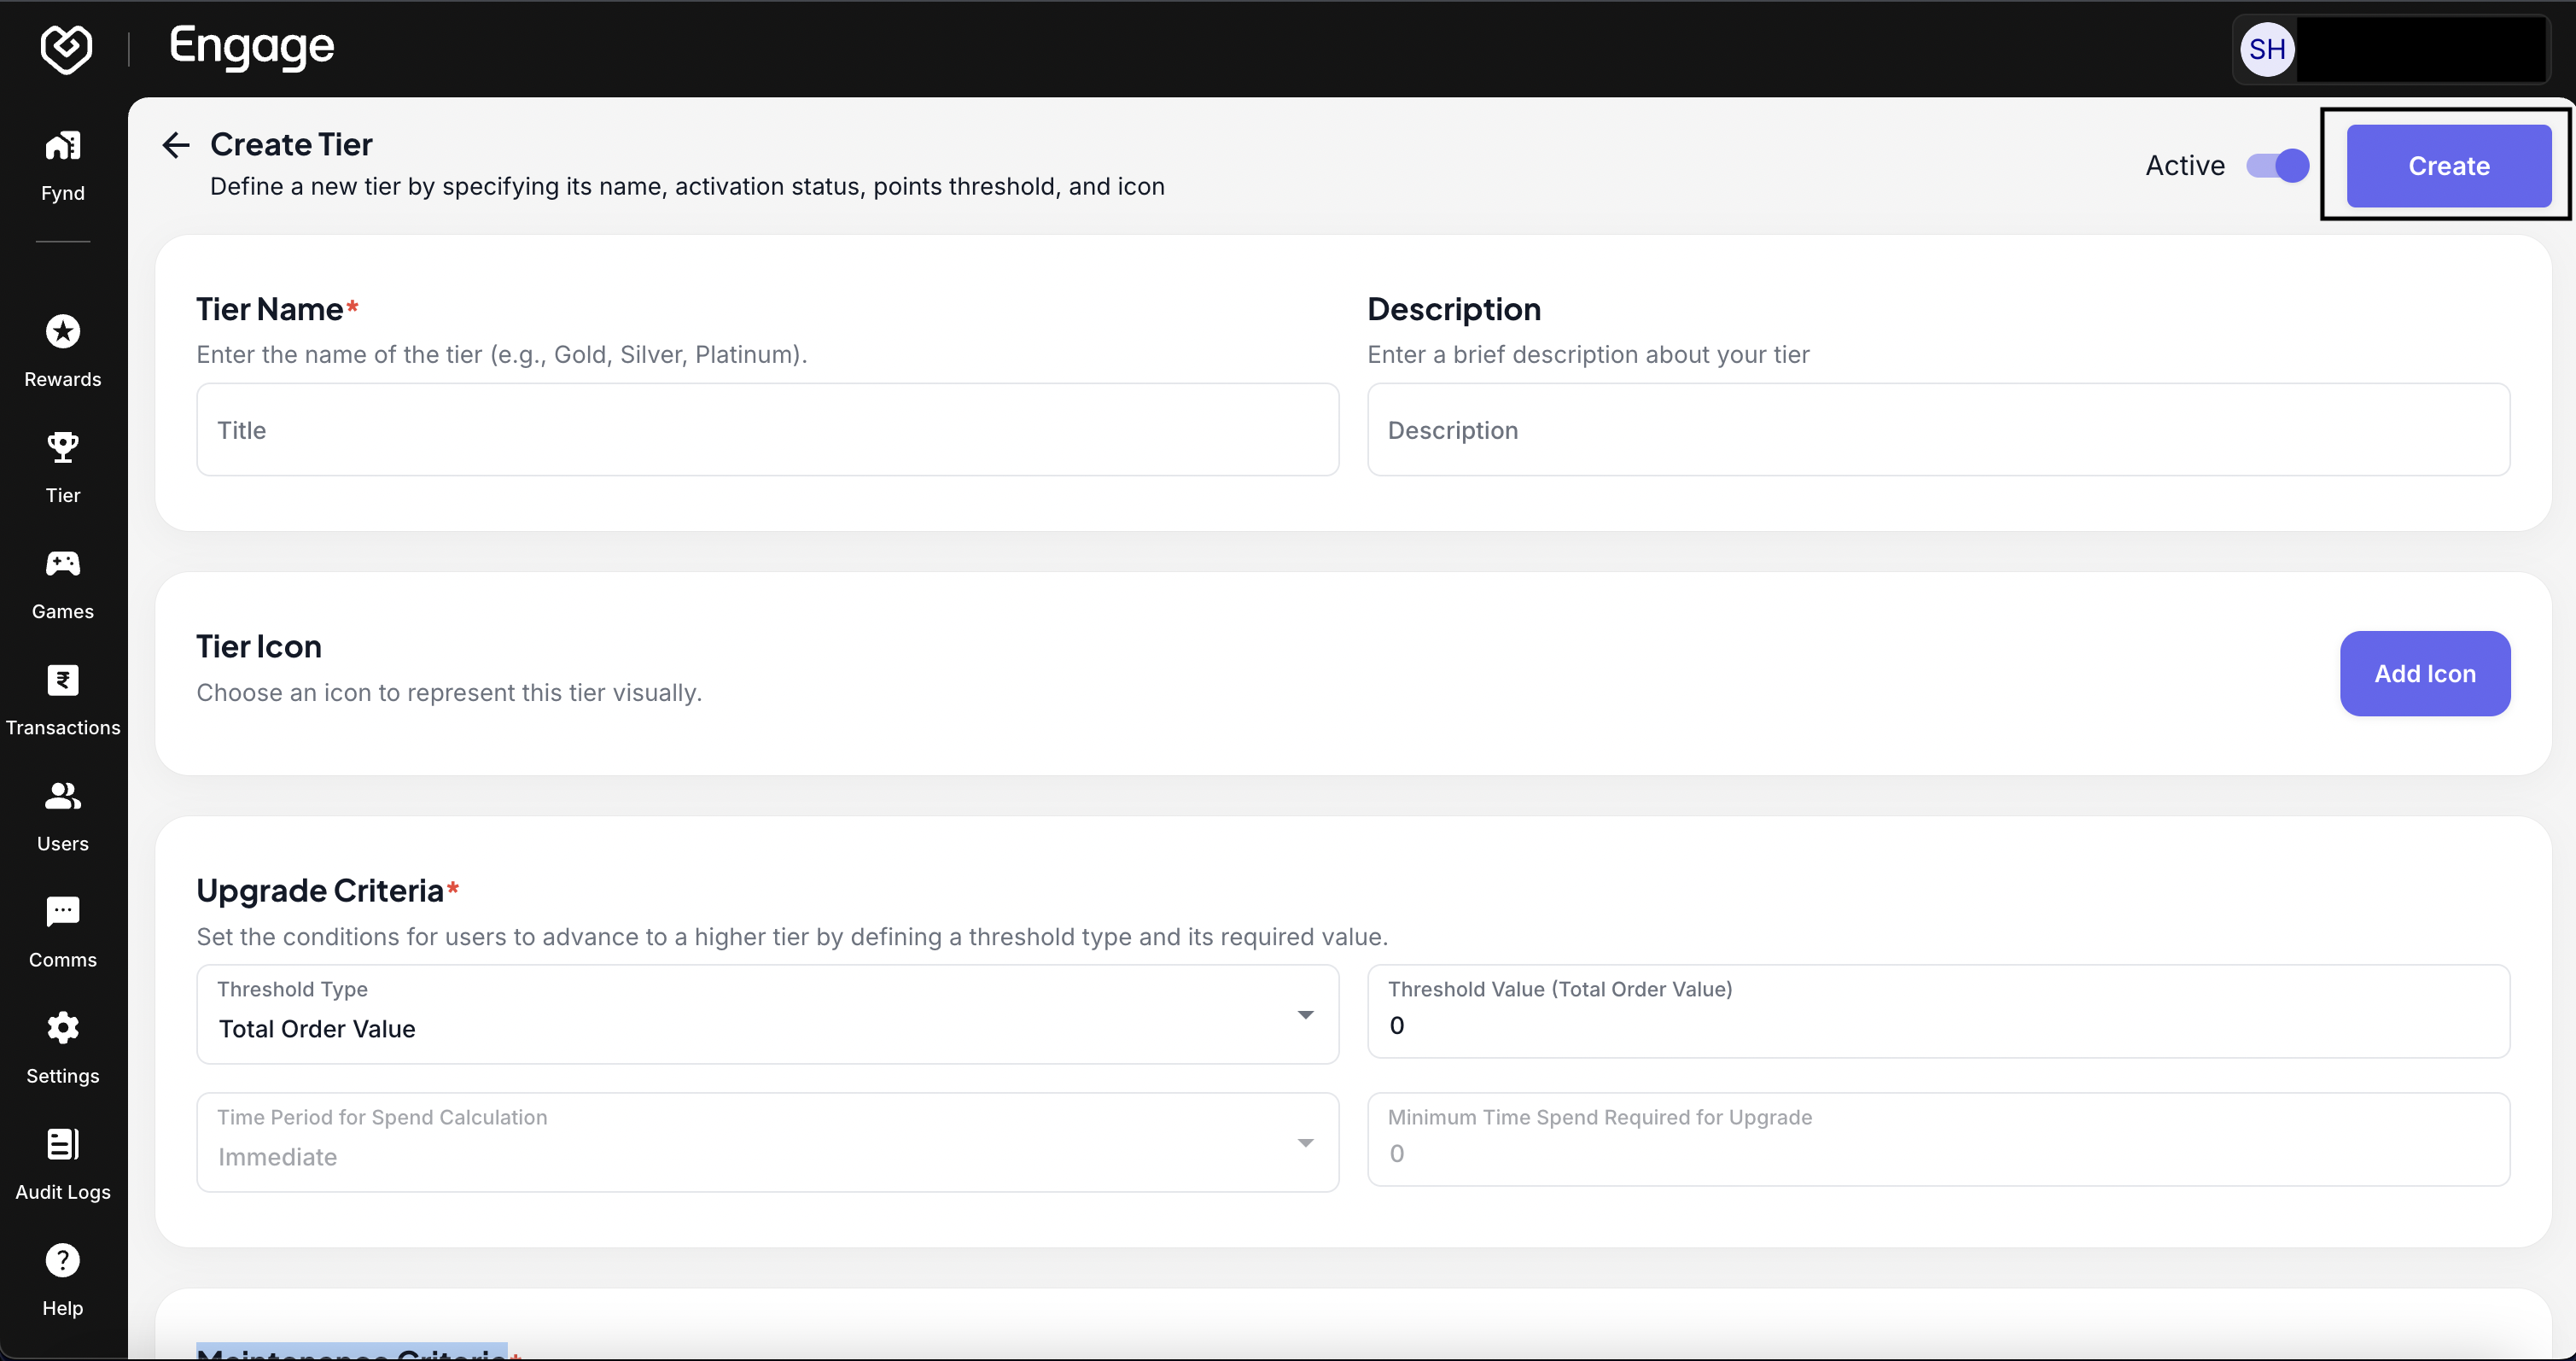
Tiers allow you to gamify your loyalty program by segmenting customers into different levels (e.g., Bronze, Silver, Gold). By attaching exclusive benefits and prestige to higher tiers, you encourage customers to increase their engagement and spending to unlock the next level of status.
- Initiate Tier Setup - Navigate to the Tier Management section and click on Create Tier to begin configuring a new level for your program.
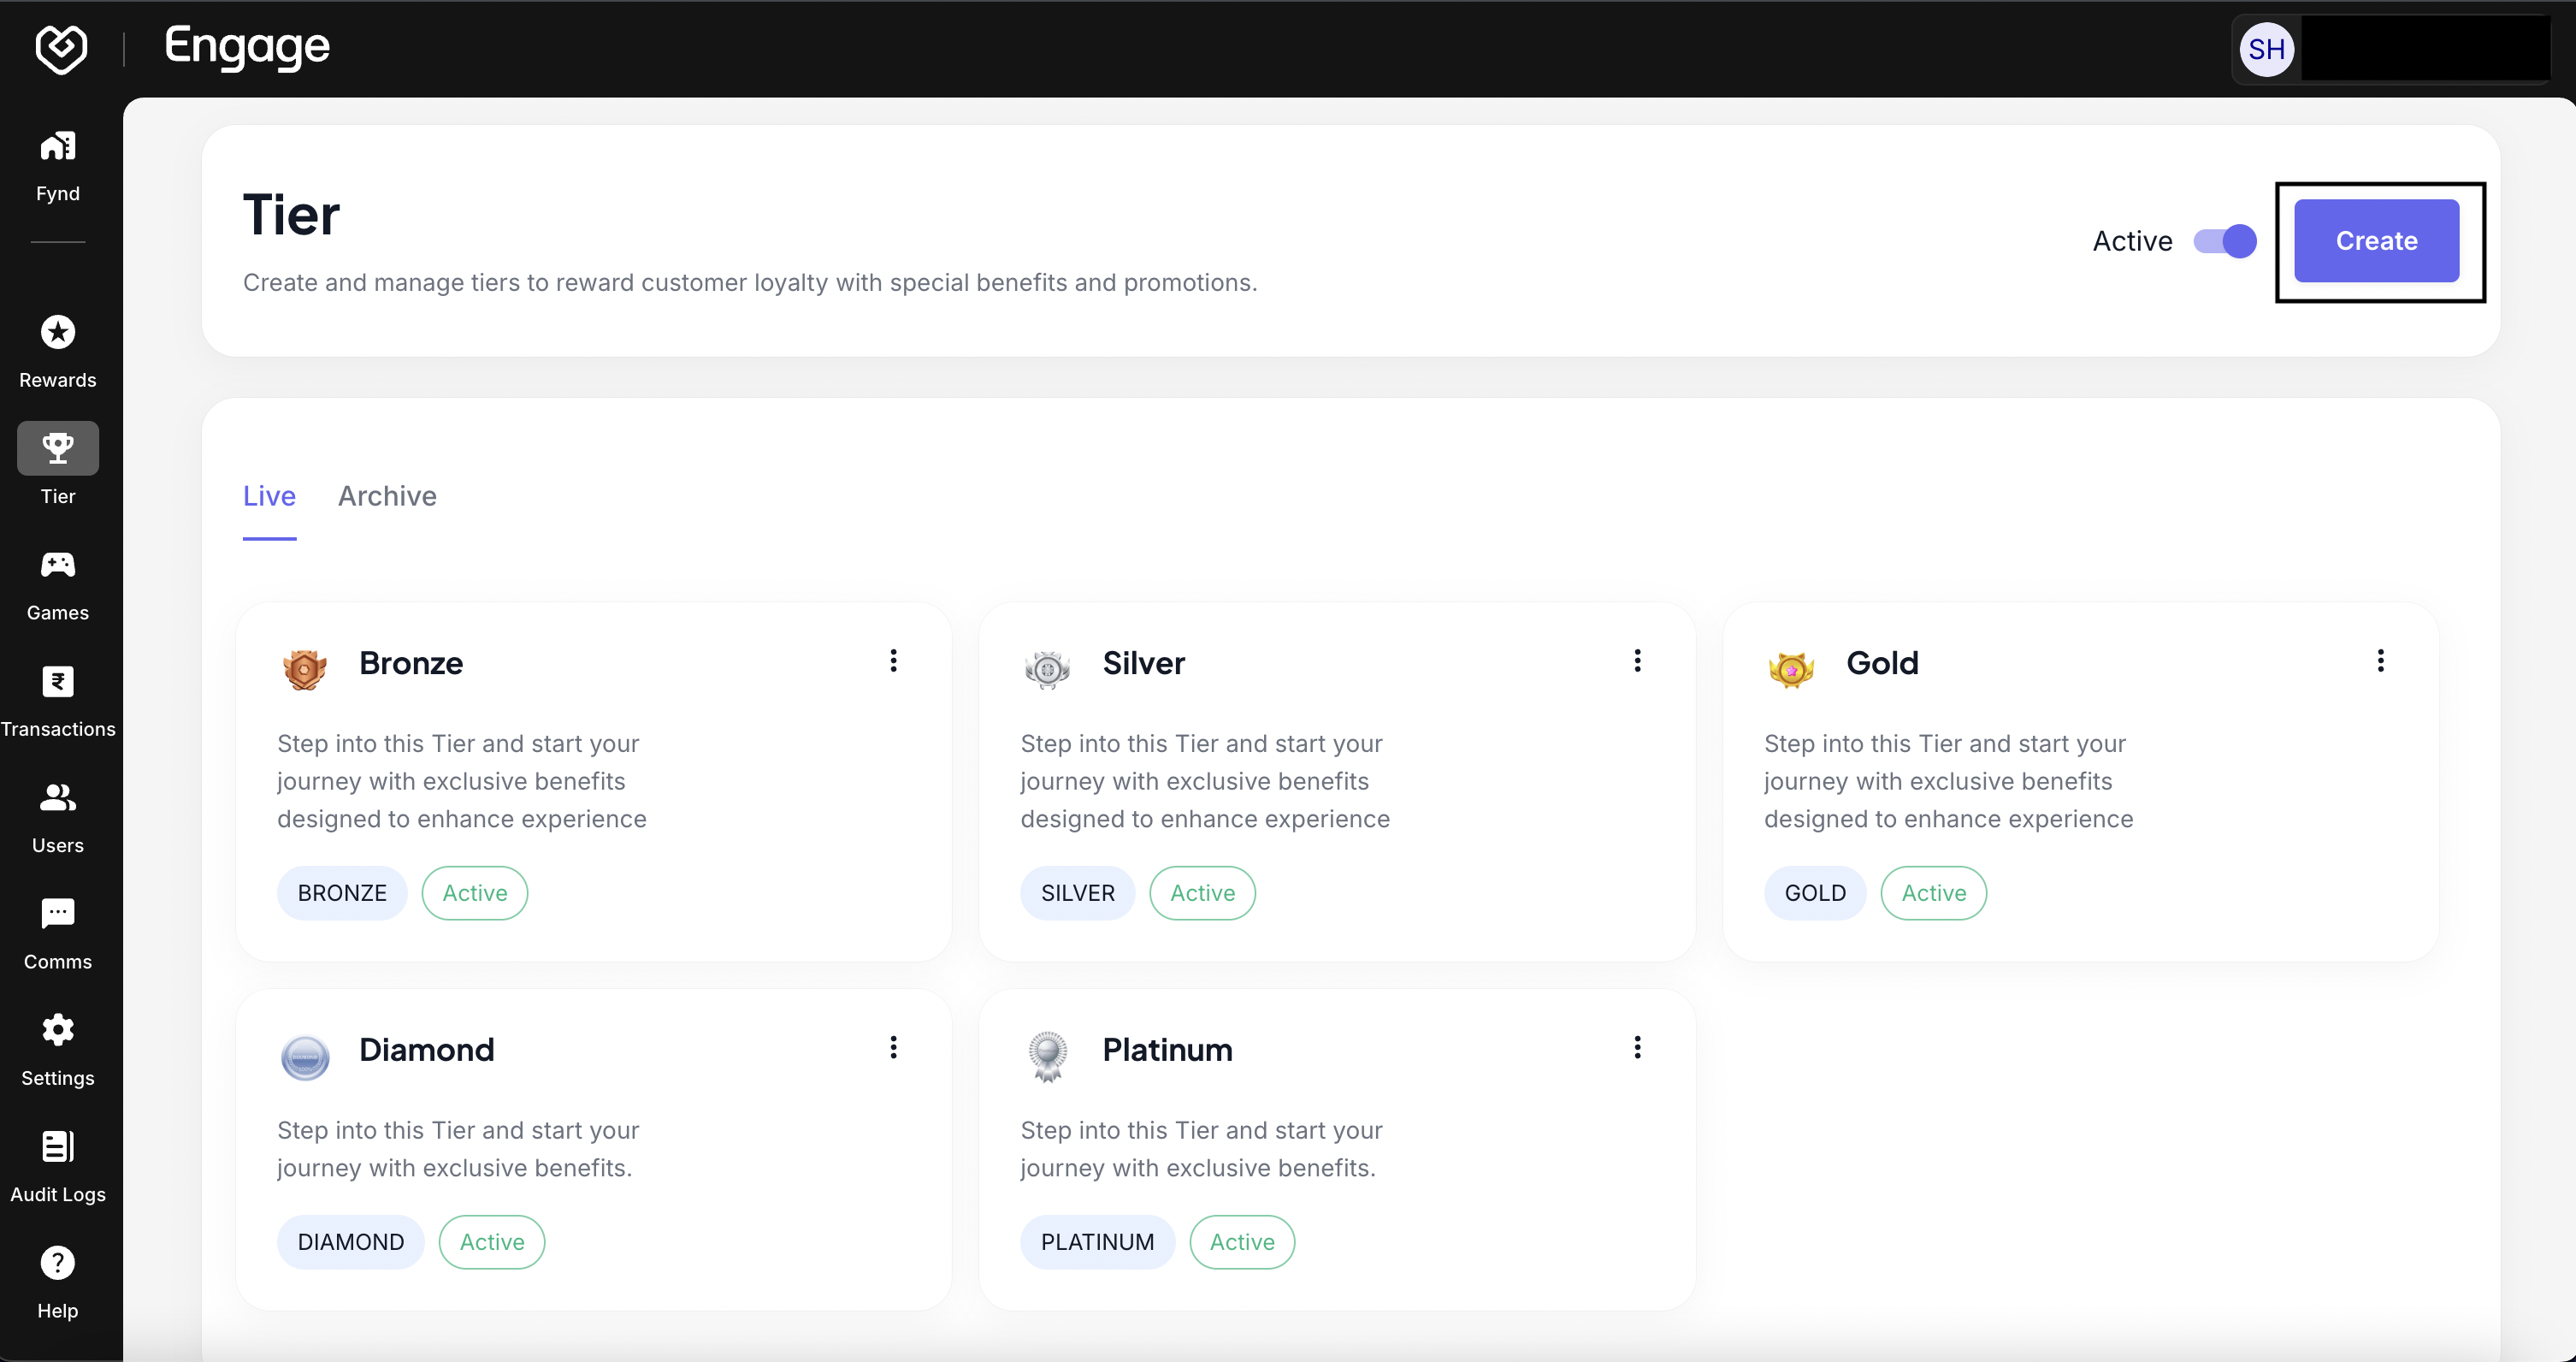
- Define Tier Identity - Enter a distinct Tier Name (e.g., "Gold Member"). This name will be visible to customers and should reflect the prestige of the level.
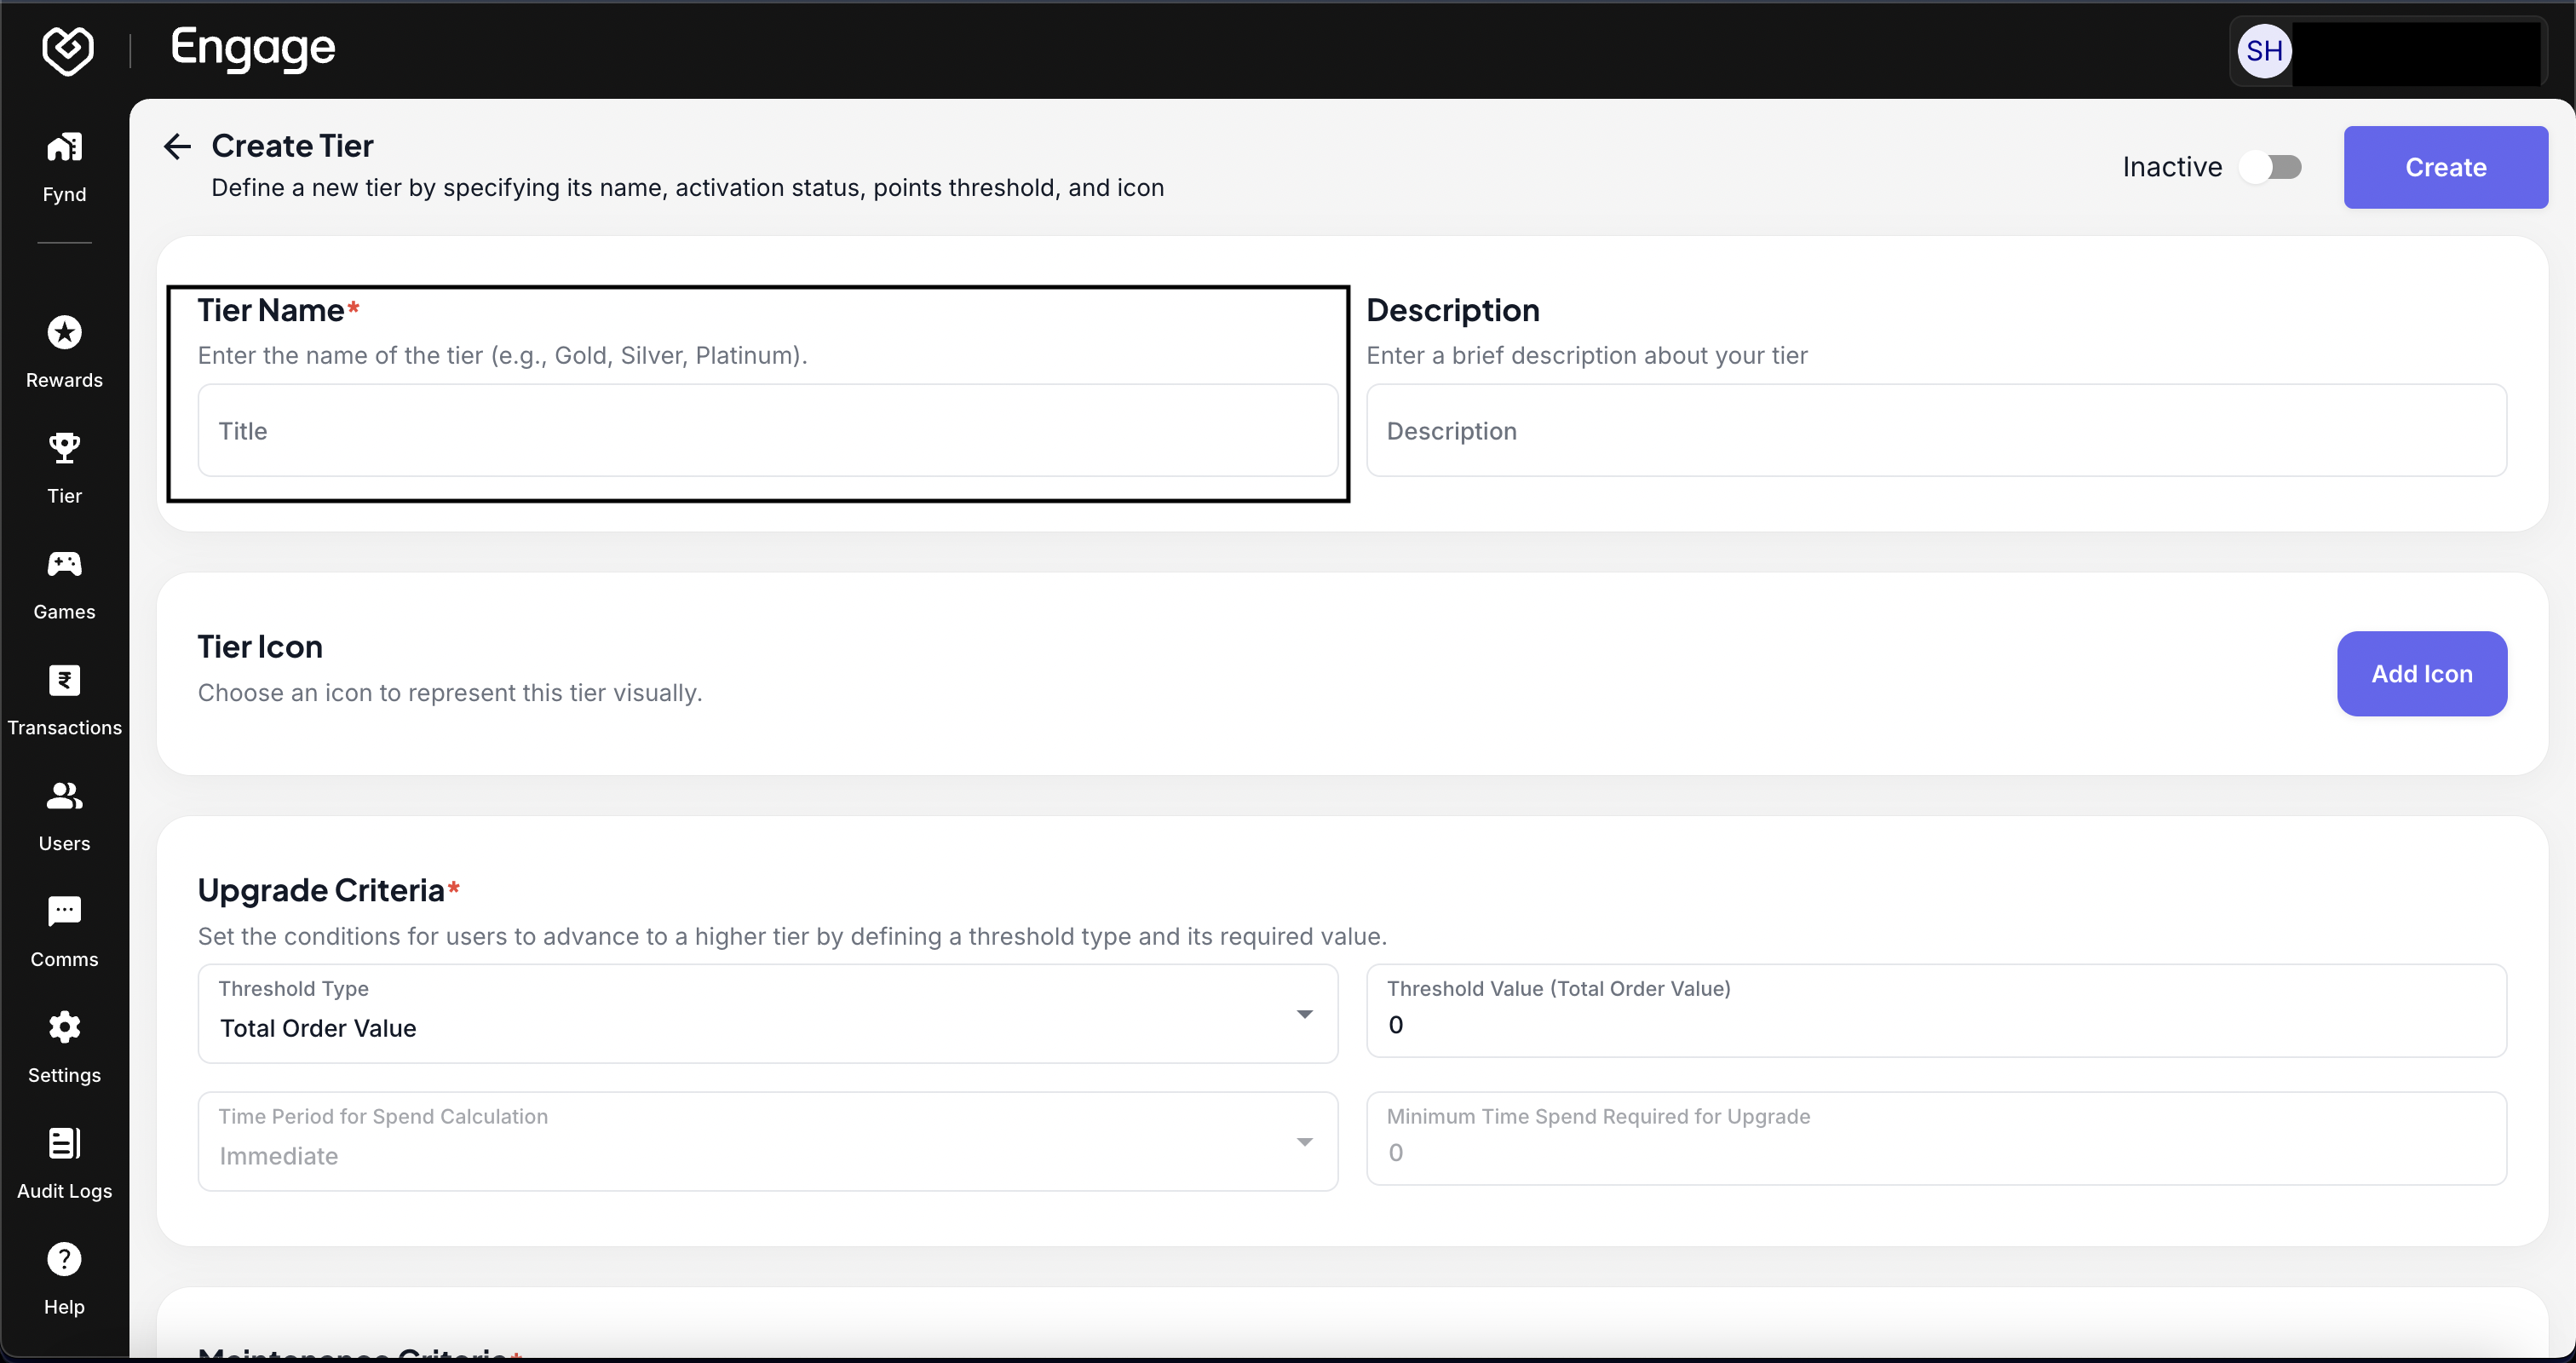
- Set Upgrade Criteria (Entry Rules) - Define the Upgrade Criteria. These are the milestones a customer must hit to enter this tier (e.g., "Earn 5000 points" or "Spend $1000"). This acts as the gatekeeper for the tier.
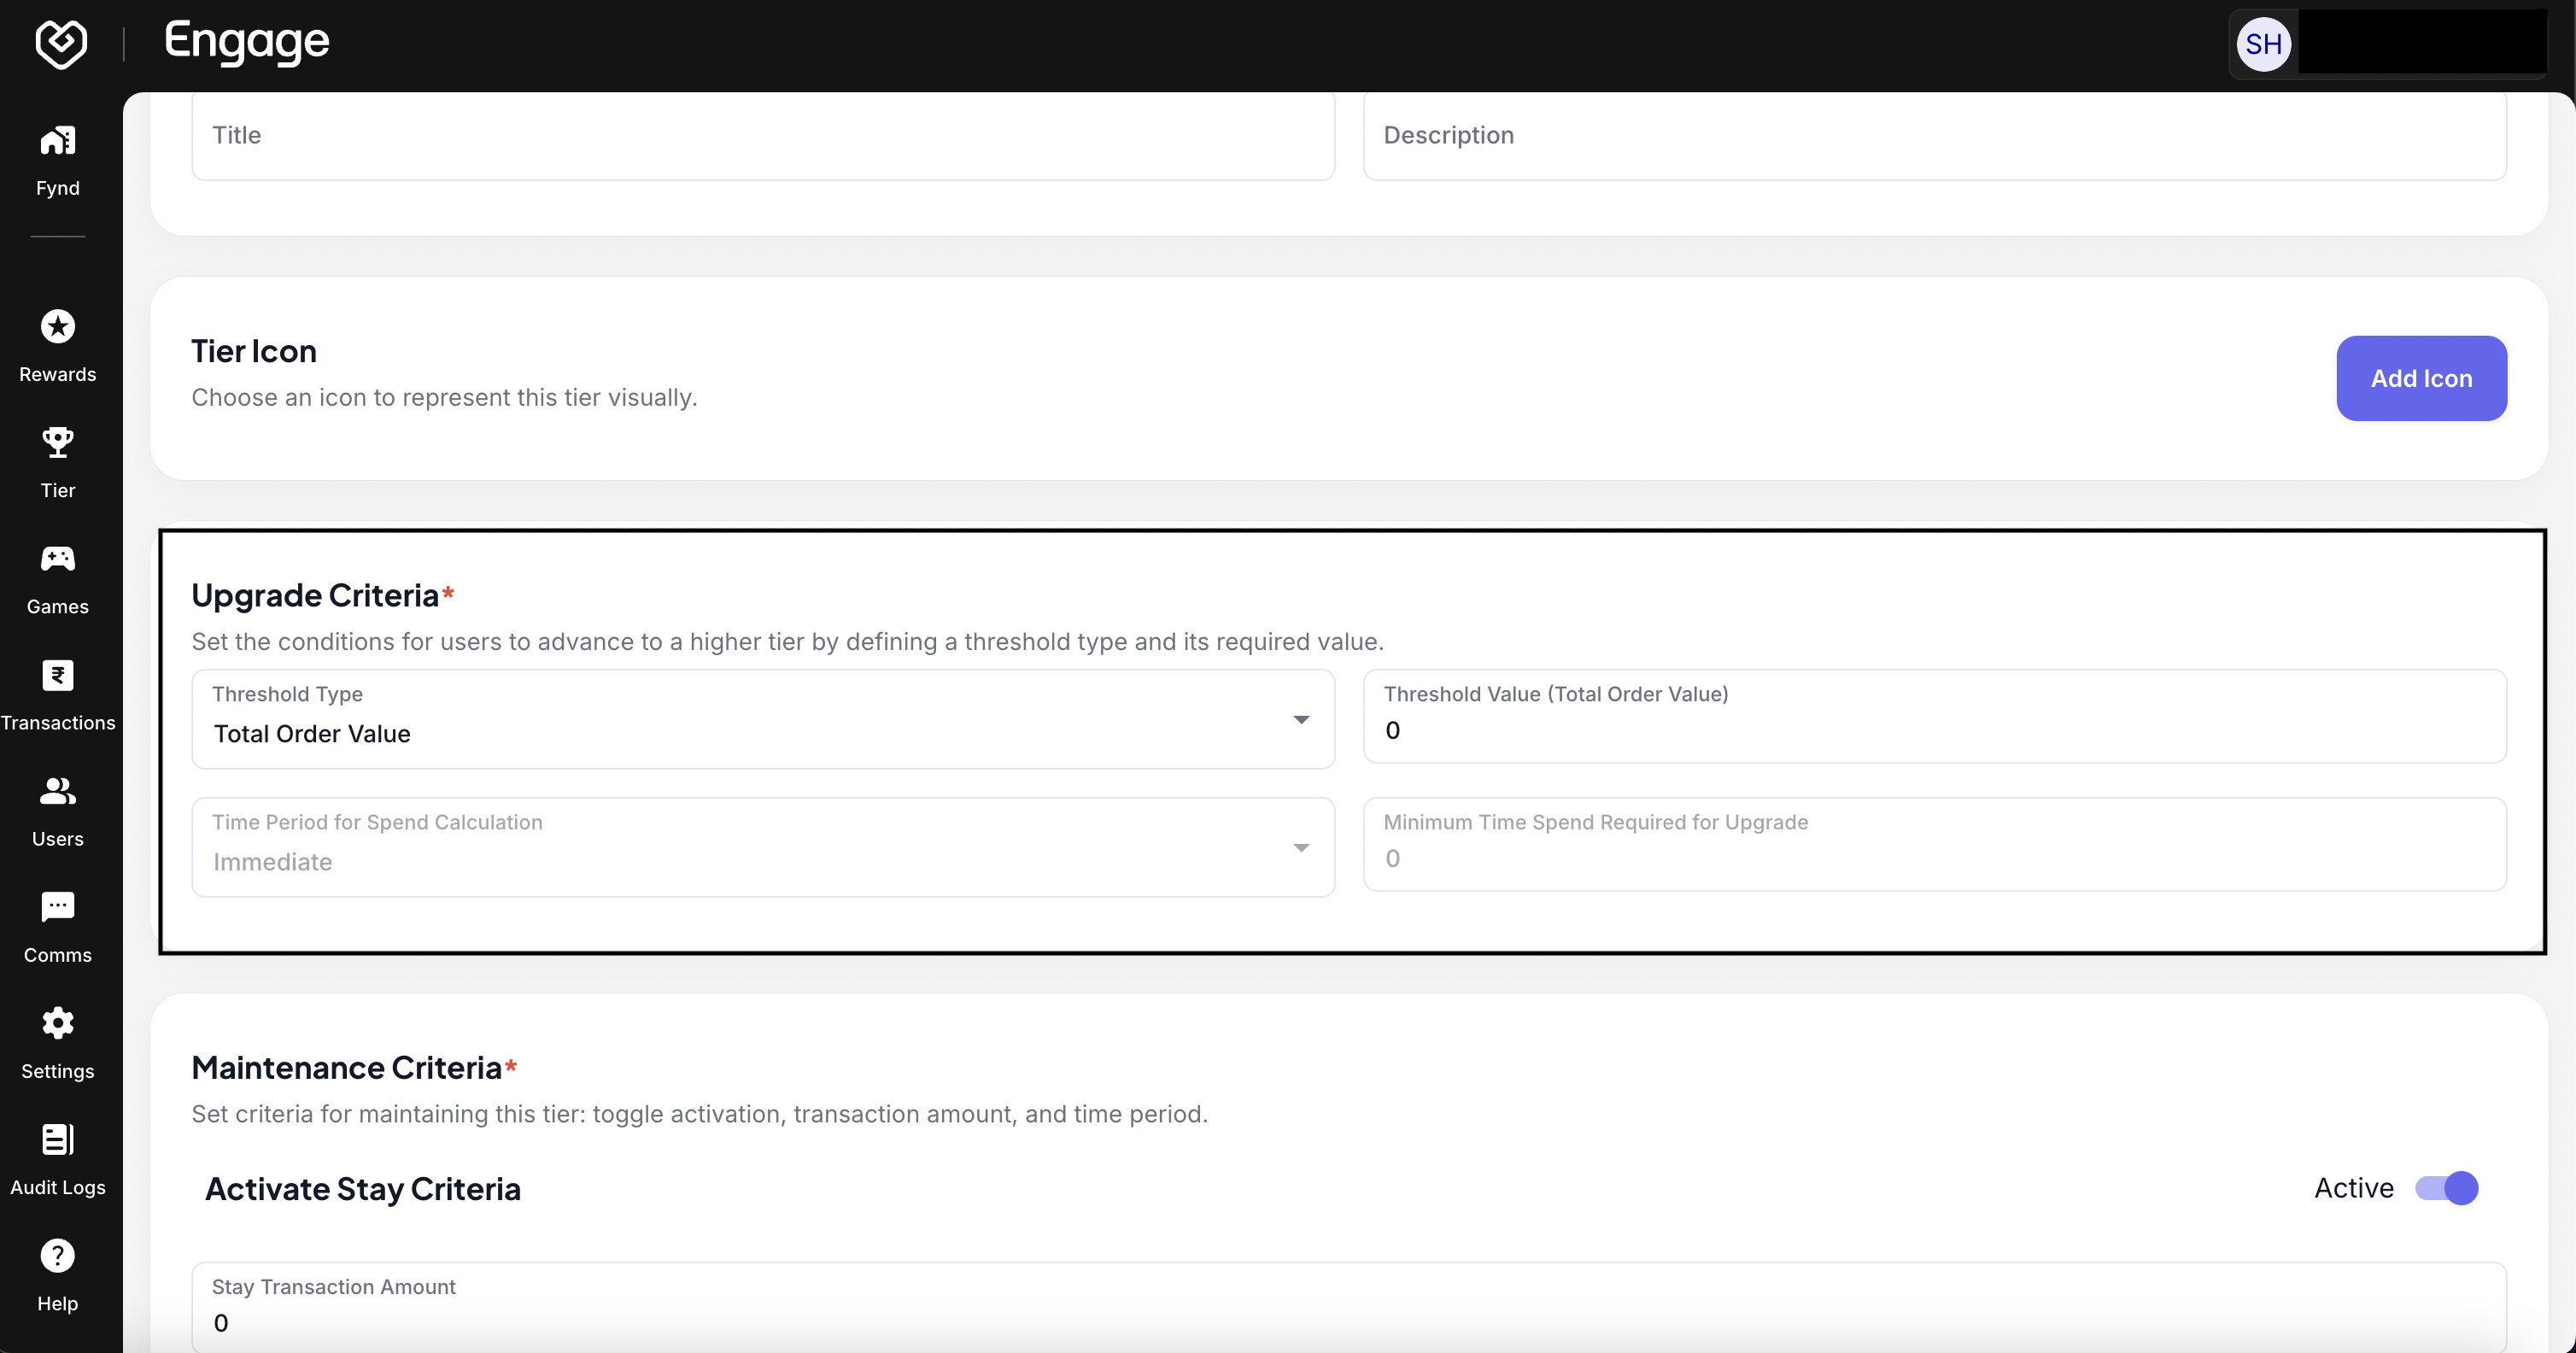
- Configure Maintenance Criteria (Retention Rules) - Establish the Maintenance Criteria. These are the conditions a user must meet within a specific timeframe to remain in this tier. This ensures that only active customers retain high-value status.
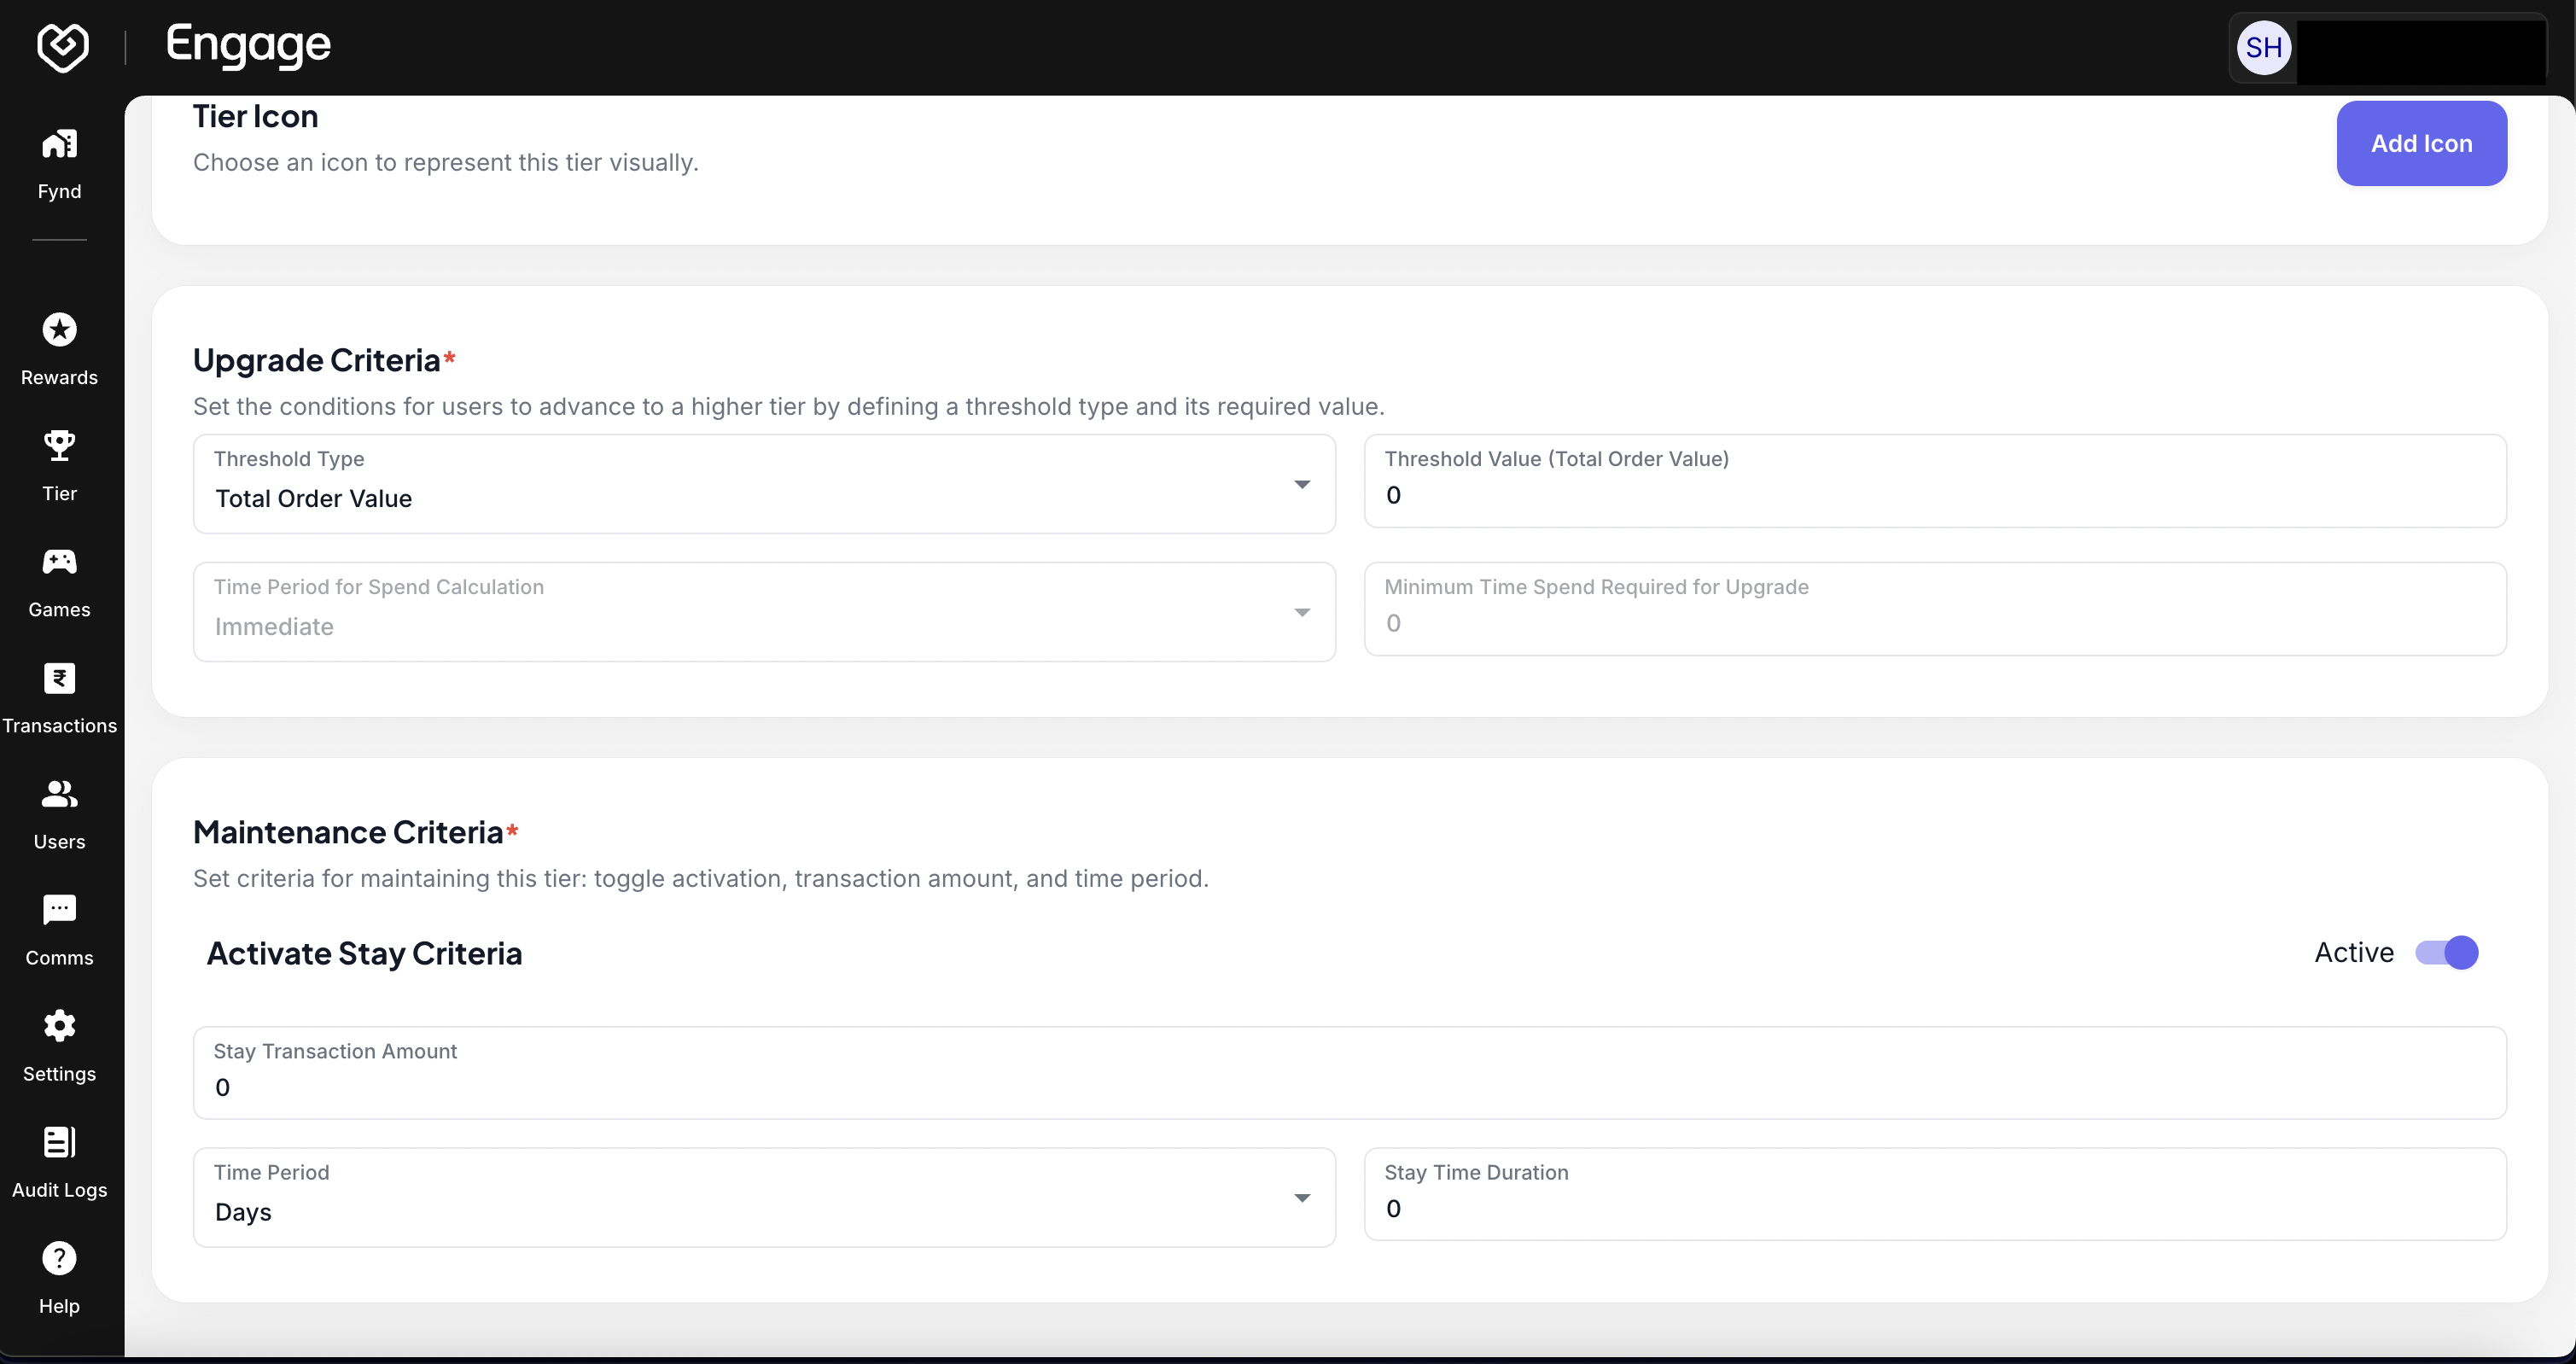
- Upload Visual Badge - Add a Tier Icon. Upload a distinct image or badge that visually represents the tier in the user's profile app (e.g., a gold shield for the Gold tier).
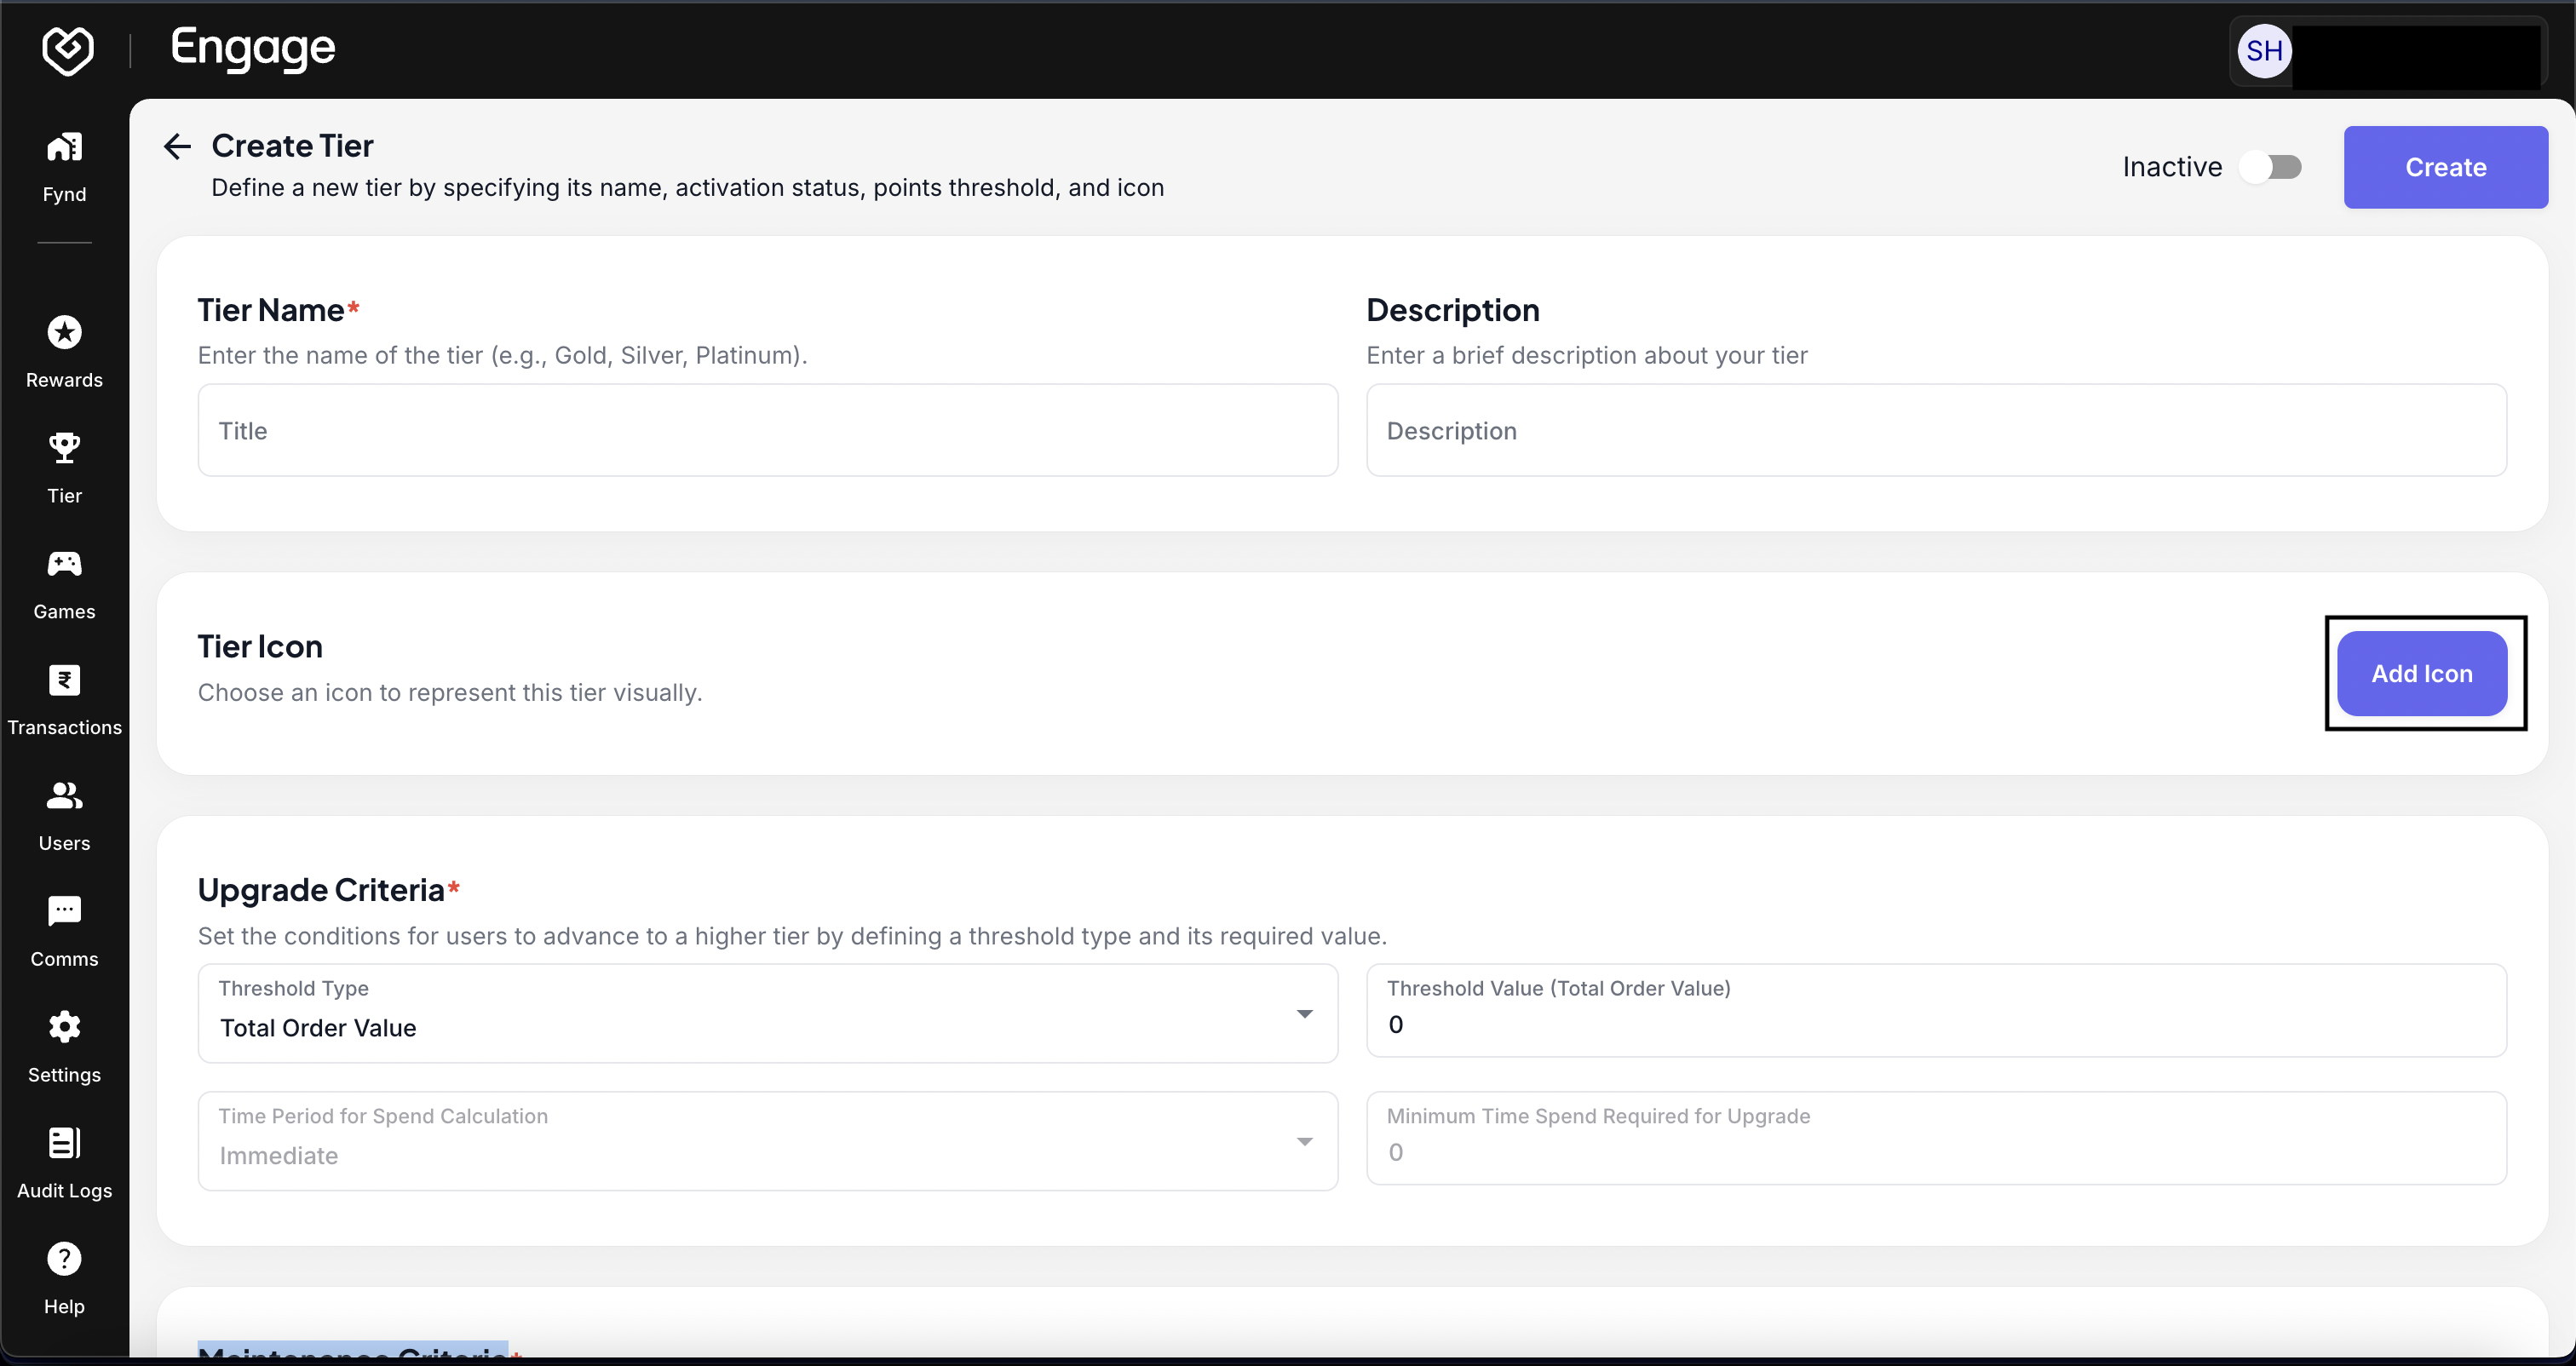
- Finalize and Save - Review all criteria to ensure the progression logic is sound. Click Save to publish the tier to your loyalty structure.